


The instruments used in orthodontic procedures are mainly exclusive to the discipline. That’s why it’s important for dental students to study and memorize their uses before beginning clinical orthodontic treatments on real patients. A refresher is also helpful when ordering orthodontic instruments for a new orthodontic practice.
Keep reading for inside knowledge on commonly used orthodontic instruments:
17 Essential Tools for Orthodontists
If you’re curious about orthodontic instrument kits, you probably want to know which tools should be included. Many of these supplies come in sets, but to have the variety of tools required to carry out your services, make sure that you get all of the essentials. Below are 17 of the most frequently used tools in orthodontic procedures:
- Adhesive removing pliers: This set of pliers helps remove traces of adhesive after a completed orthodontic treatment.
- Band burnisher: Similar to a band pusher, it is flatter and can contour an orthodontic band to fit the tooth.
- Band pusher: This instrument has a long handle and a rectangular, serrated tip set at an angle. It is used to fit orthodontic bands in the patient’s mouth.
- Bite stick: This silicone instrument has a small handle and a serrated, triangular tip. It helps to place orthodontic bands with the help of the patient’s bite.
- Bracket tweezer: Also called a bracket holder, this tweezer works in reverse action with angled tips and is used for placing, holding, and maneuvering orthodontic brackets.
- Cheek retractor: A handheld instrument used to pull back the lips and cheeks while taking photographs of the mouth or during an orthodontic procedure.
- Cotton pliers: A set of pliers designed specifically to hold cotton rolls in place, it might also be used to retrieve small objects intra-orally.
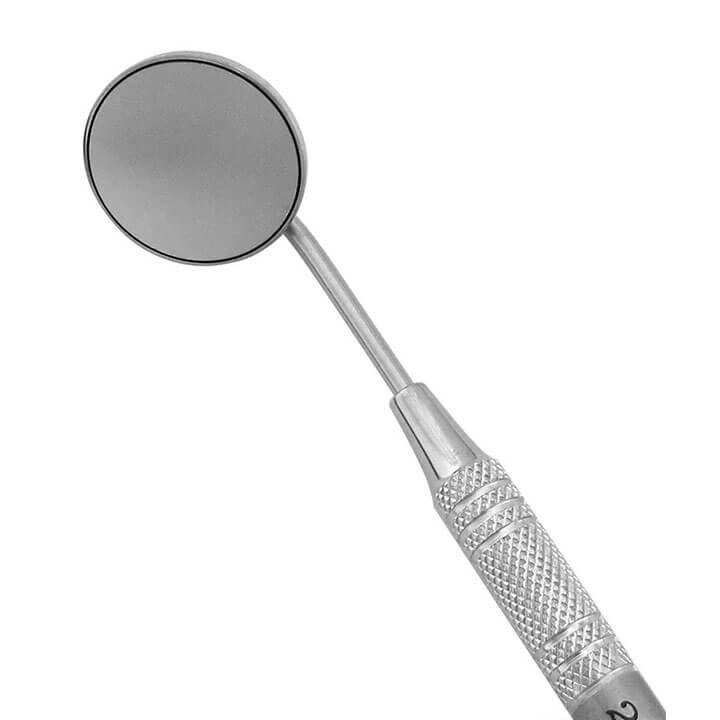
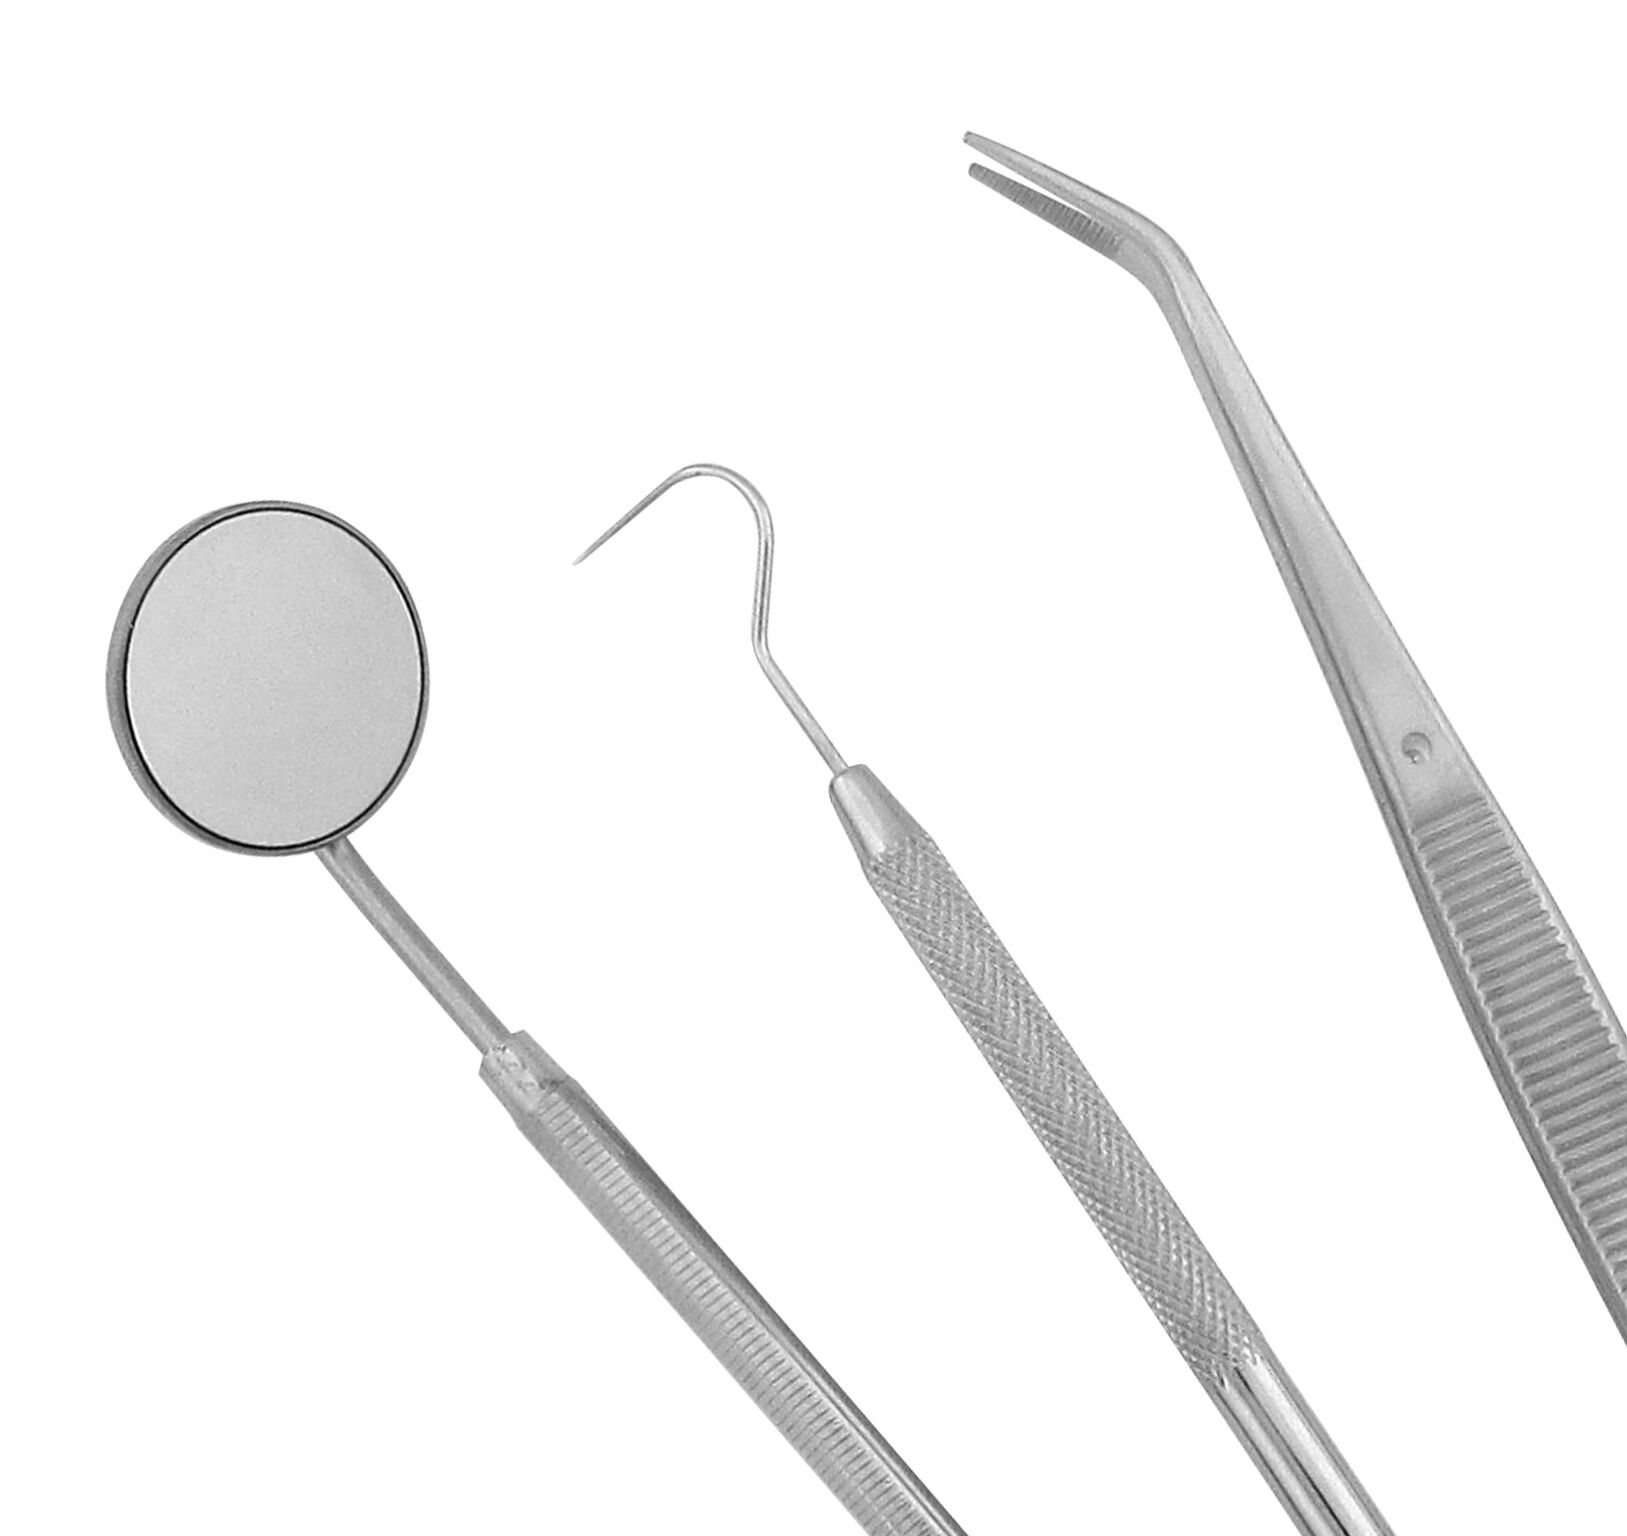
- Dental mirrors: Used to see around and behind teeth during exams or procedures, all practices that provide dental services require their use.
- Distal end cutters: These cutters work at right angles to the device’s axis and are used for intra-oral cuts of ligated archwires. Distal end cutters can also hold the cut piece of the archwire after it is cut.
- How utility pliers: With a round, serrated beak, these pliers are for holding archwires while planting or removing them.
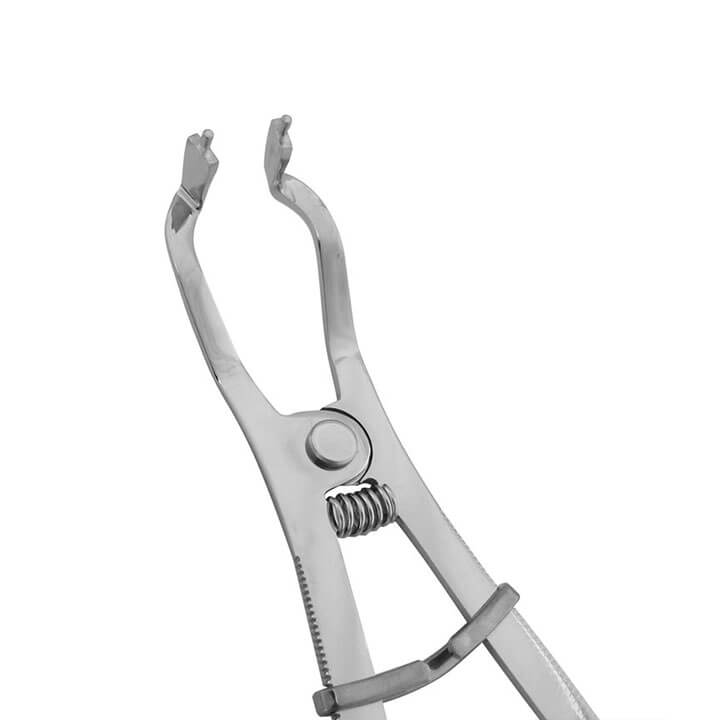
- Mathieu plier: With a quick-release locking mechanism for safety, a set of Mathieu pliers is used for working with elastomeric ligatures.
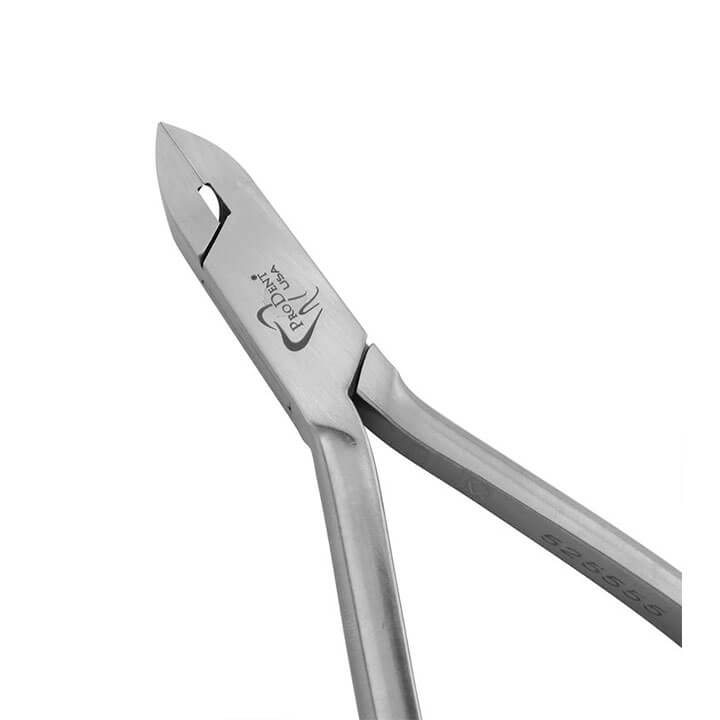
- Pin and ligature cutter: Also called a wire cutter, a set of pin and ligature cutters is used for slicing easily through wires of less than 0.016 of an inch in diameter. It is mainly used for stainless steel ligatures.
- Plastic file: Used to place composite onto an orthodontic bracket before bonding to a tooth.
- Posterior band remover: This nylon-tipped instrument has a flat, slightly tapered head and is used to remove orthodontic bands on the posterior teeth.
- Separating pliers: These work in reverse action to place elastics, which they can hold on their specialized tips. Once prepared, they stretch the elastics to go on brackets already placed on patients’ teeth.
- Straight probe: This type of probe assists with cleaning orthodontic brackets and removing elastomeric ligatures.
- 139 plier: Also called the bird beak plier, it has one pyramidal and one conical half, which combine to shape bends in various orthodontic wires.

Essential Equipment for an Orthodontic Practice
Other necessary equipment for an orthodontic practice includes:
- Orthodontic Boley Gauge: This tool is a measuring device with narrow tips designed for precise orthodontic work.
- An autoclave: This is sanitation equipment that sterilizes your equipment with pressurized steam or dry heat.
- Chairs and chair covers: Comfortable chairs with thin backrests and upholstery that can be replaced make the best options. Using chair covers helps chairs last longer and makes them less susceptible to wear.
- Computers and software: The appropriate technology includes a patient portal system. Even orthodontic offices that still use filing cabinets rely on healthcare software to stay organized.
- Handpieces: These mechanical tools offer customizable functions, with various models operating at different speeds.
- Cameras: The ideal cameras for diagnosing patients’ smiles have a professional 60mm macro lens and are capable of getting images of the entire mouth.
Utility Equipment
Equipment that runs on your utilities might serve the purpose of stabilizing air pressure or sterilizing the steam used to clean tools. This type of equipment includes:
- Air compressors: These machines lower the dew point of the air they compress, which helps filter the air and remove moisture to protect your equipment. They can be lubricated or oil-free.
- Amalgam separators: These devices rid your wastewater of amalgam particles through a process that may involve filtration, sedimentation or even centrifugation, depending on the model.
- Separation tanks: Used to collect materials contaminating the operatories, a tank functions using a vacuum system to clear out debris.
- Vacuums: Needed while the staff work in a patient’s oral cavity, a dental vacuum clears out saliva and is usually plugged into an outlet in order to work.
- Utility control centers: If your office ever experiences electrical problems, a control center prevents damage to your expensive equipment, serving as a form of insurance for your technology.
X-Ray Technology
Every orthodontic office needs an X-ray system to conduct thorough examinations of patients’ teeth. This is an important instrument for orthodontists that will last for years at a practice. Your options for an X-ray system include:
- Intraoral X-ray sensors: This type of x-ray is a modern replacement for the older film version.
- Digital panoramic x-rays: This is a 2-D X-ray system that captures a revolving image of the entire mouth using a small dose of ionizing radiation.
- Phosphor plate x-rays: This technology relies on phosphor storage plates rather than traditional film and stores the images in a digital format.
- Digital imaging software: The management software for your X-ray technology can keep patient files organized well and easy to find.
Essential Miscellaneous Items to Have in Stock at Your Orthodontic Practice
Other than the tools needed to diagnose and treat misaligned teeth, an orthodontic office must also stock disposable supplies for surgical extraction of extra teeth and keep important sanitation equipment updated. Orthodontic instrument suppliers that carry tools often provide these items. Some general supplies that orthodontic practices require include:
- Disinfectants: Hand sanitizer and cleaning products for tabletops and surfaces are important to have in patient areas and office spaces.
- Gauze: As a necessity for many orthodontic procedures, you can always have more packages of gauze.
- Gloves: As a must for any dental office, it’s best to stock up on a non-latex gloves in case a patient has an allergy.
- Patient bibs: Disposable bibs are useful for many procedures where fluids could drip down on a patient’s clothes.
- Protective eye shields: For the best surgical practices, eye shields protect the orthodontist and other employees from splatter.
- Surgical masks: Masks keep cross-contamination to a minimum and prevent the spread of disease.
- Surgical scrubs: Although the staff can buy their own sets of scrubs, ordering uniforms for your team helps everyone feel included at an important job.

Order Supplies for Your Orthodontic Practice With ProDentUSA
Do you need to stock orthodontic instrument kits and other supplies for your practice? Contact us to learn more about orthodontic products that you will need for your business, or browse our selection of orthodontic instruments.
 Diagnostic Sets & Accessories
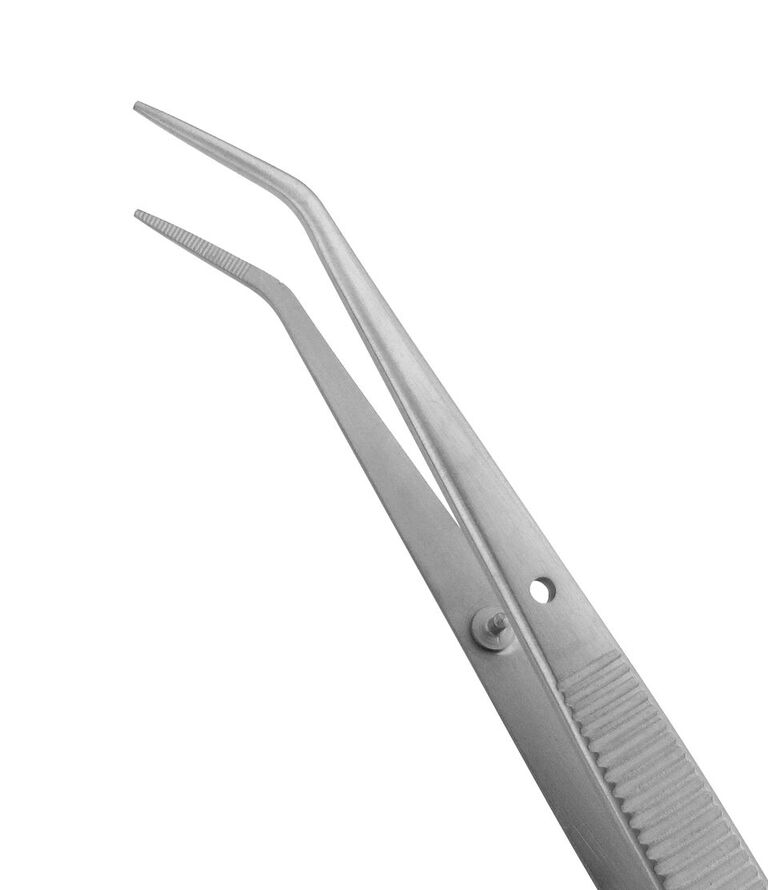 Dressing Pliers
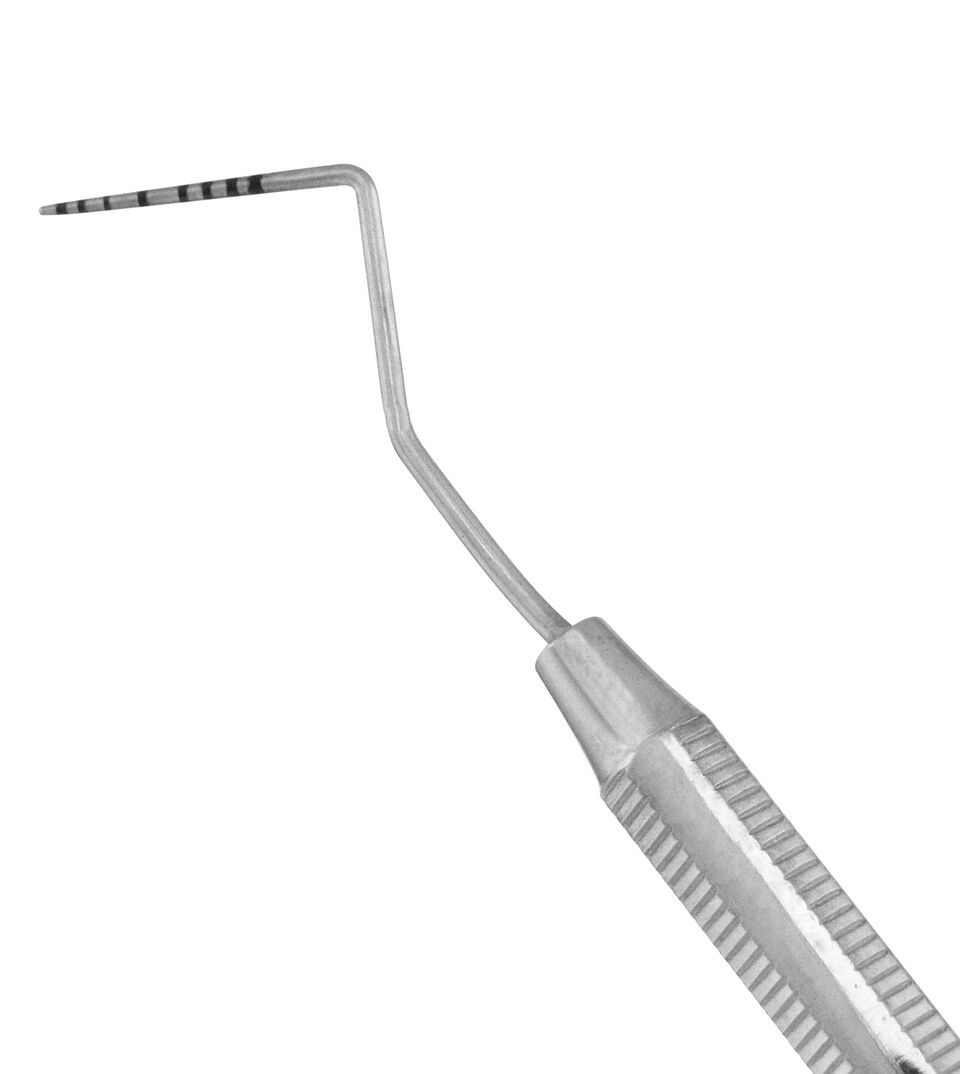 Explorer/Probes
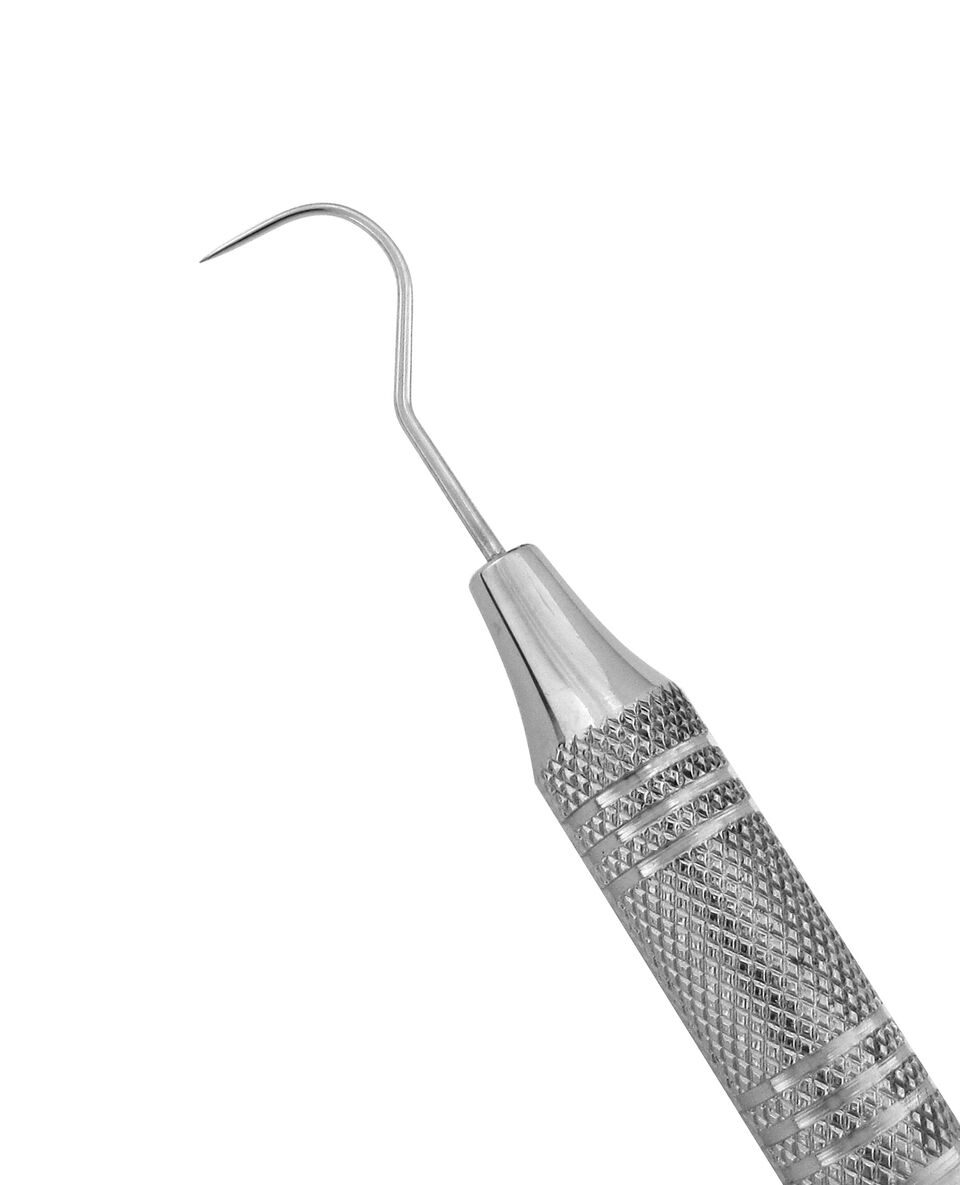 Explorers
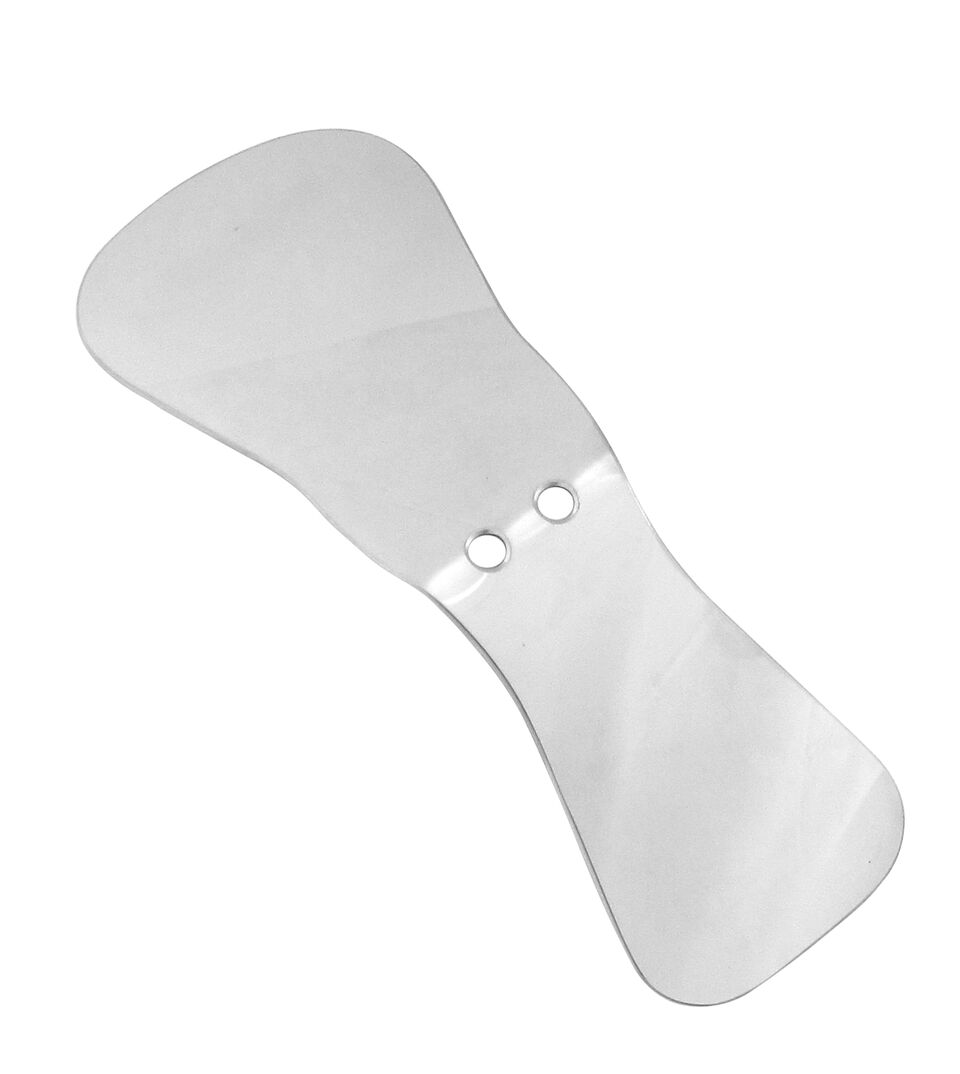 Intraoral Photography Mirrors
 Mirror Handles
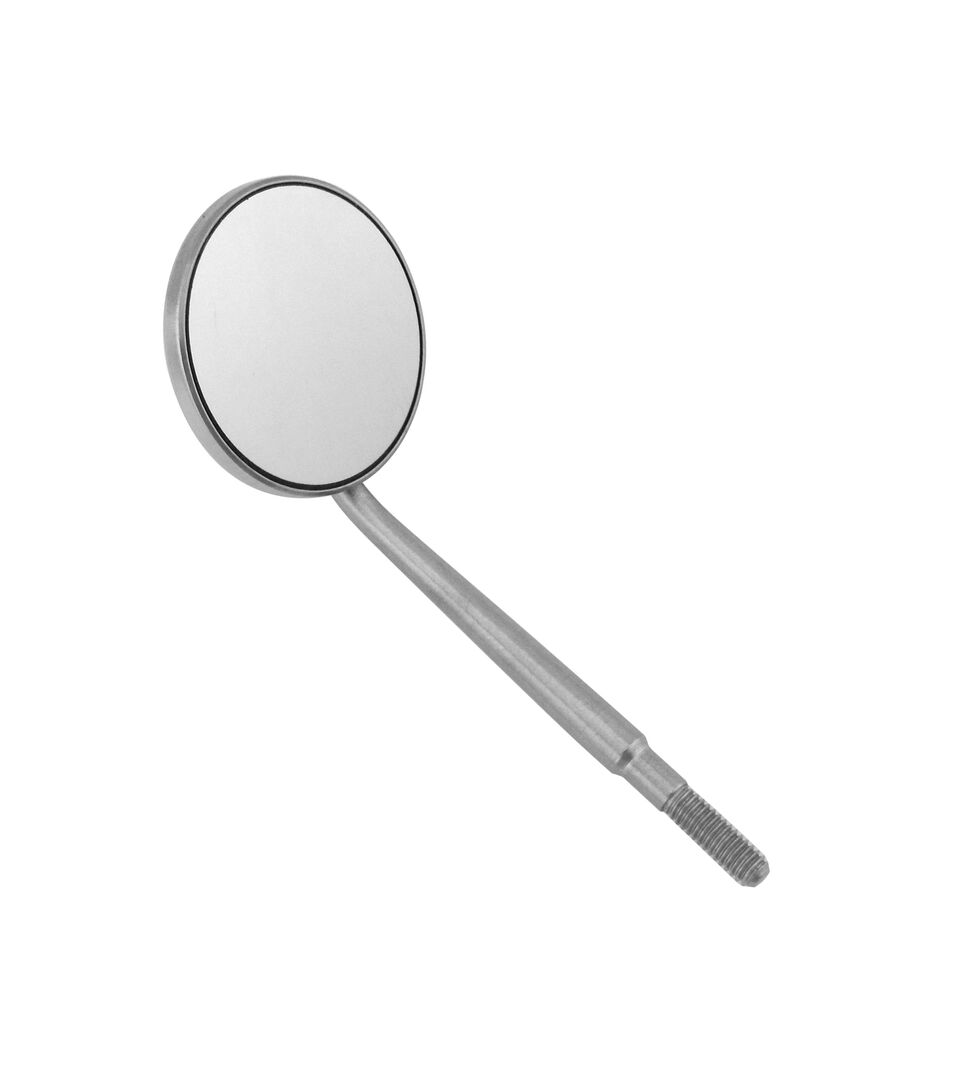 Mirrors
 Probes
 Endo Excavators
 Endo Explorers
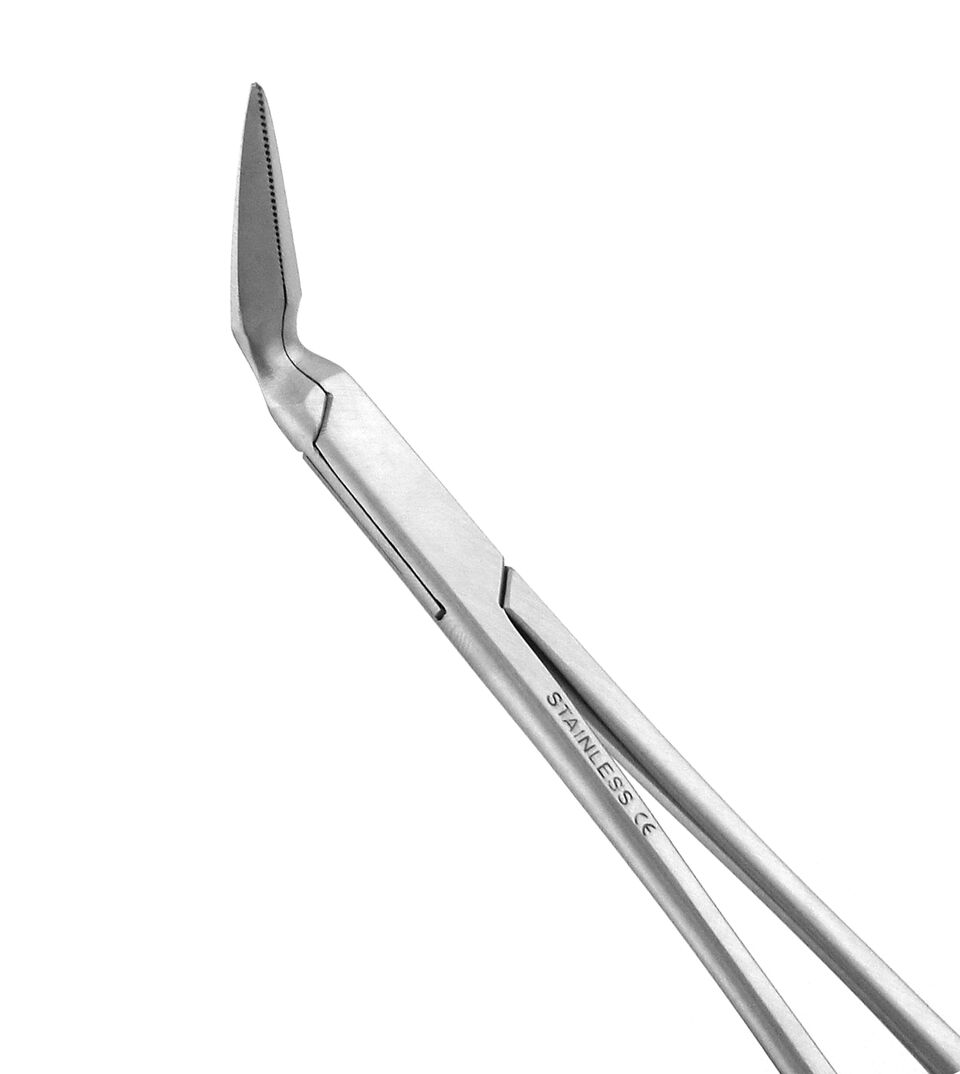 Endo Forceps
 Endo Rulers
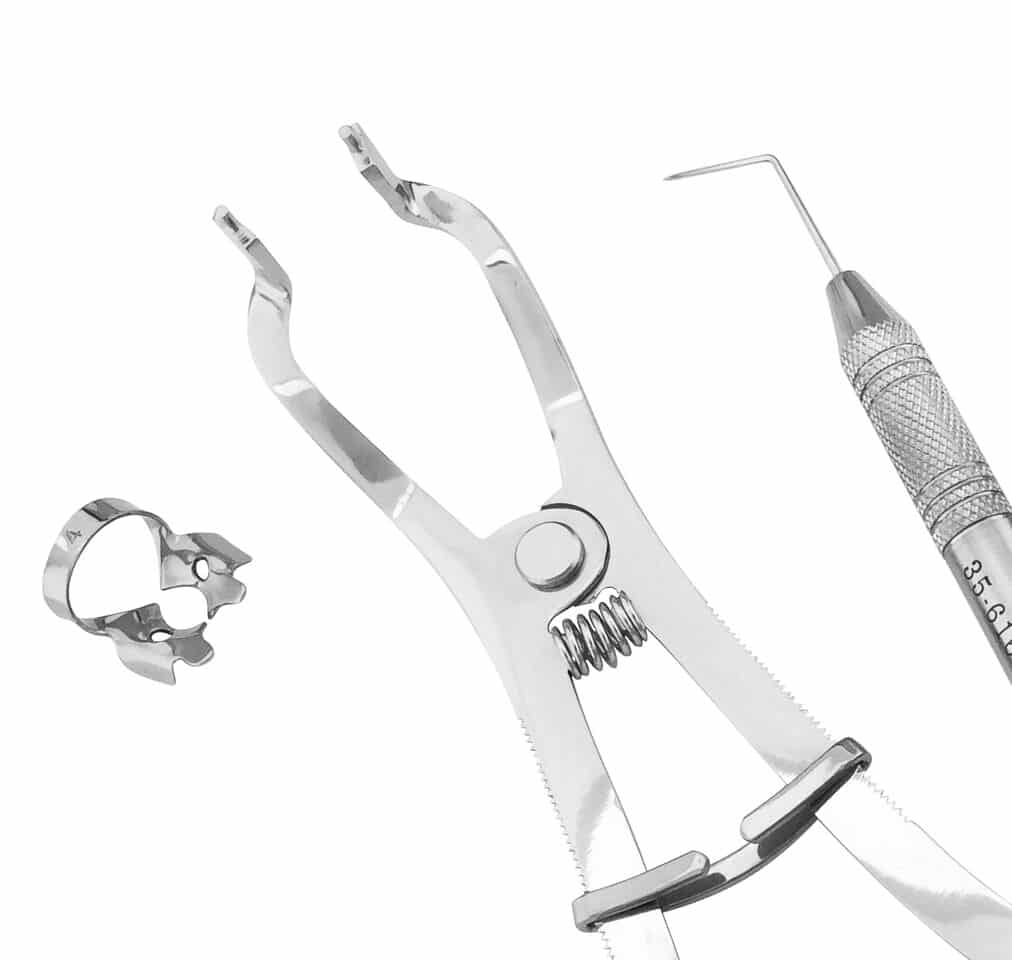 Endodontic Sets
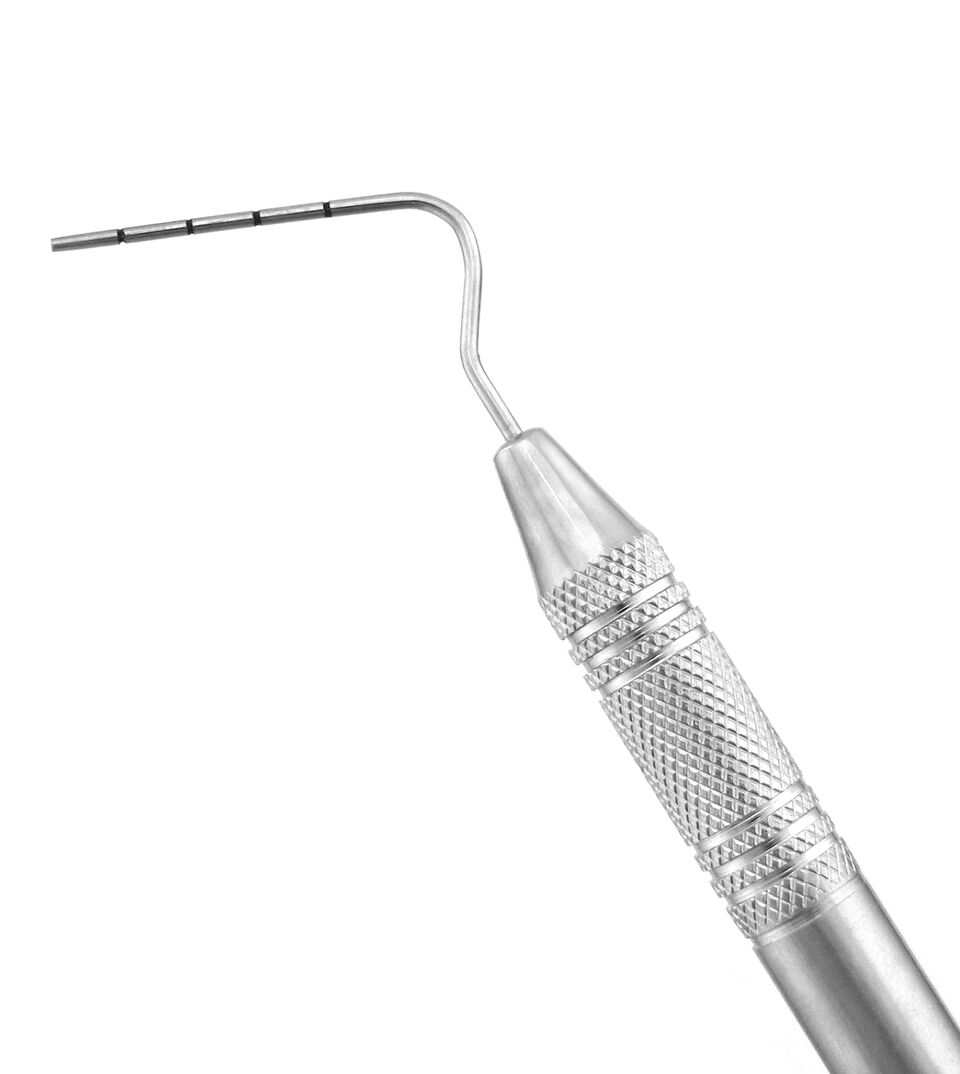 Root Canal Pluggers
 Root Canal Spreaders
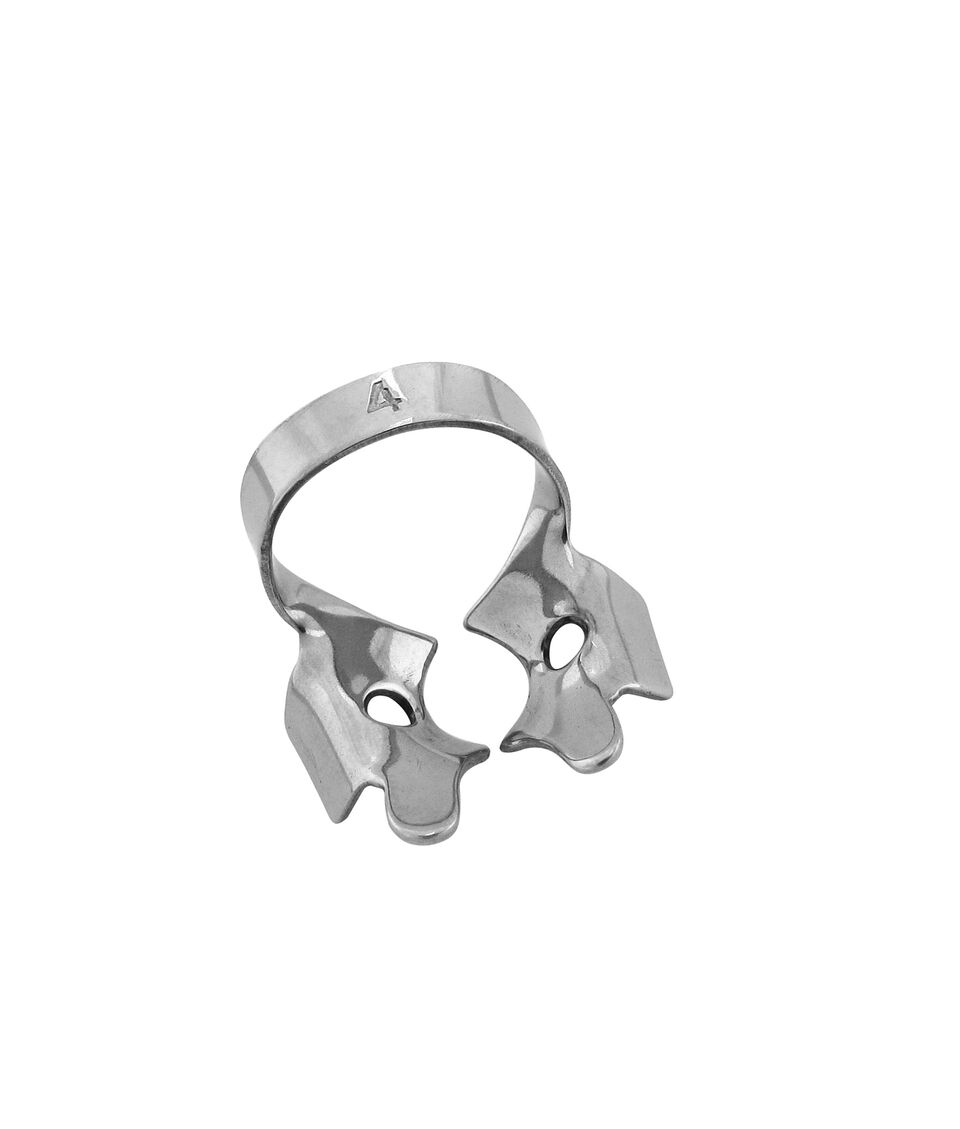 Rubber Dam Clamps
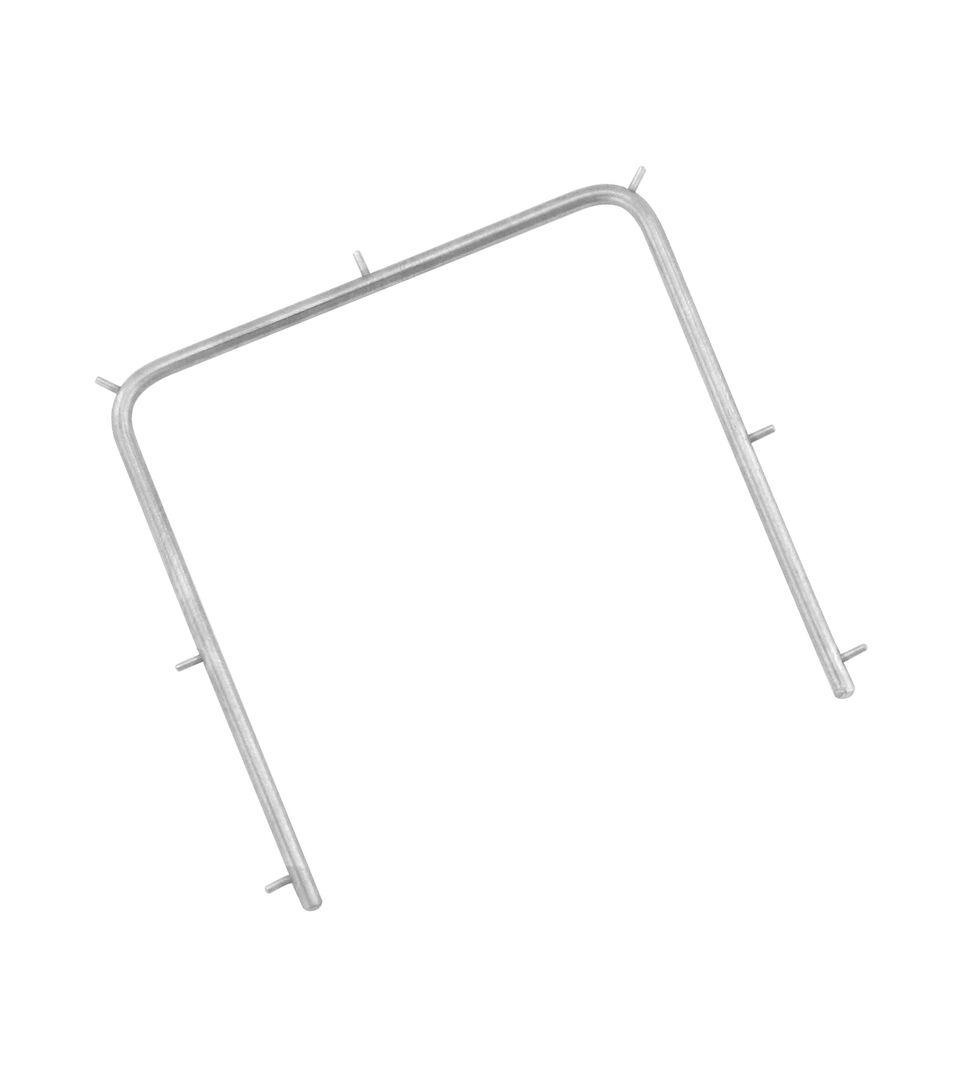 Rubber Dam Frames
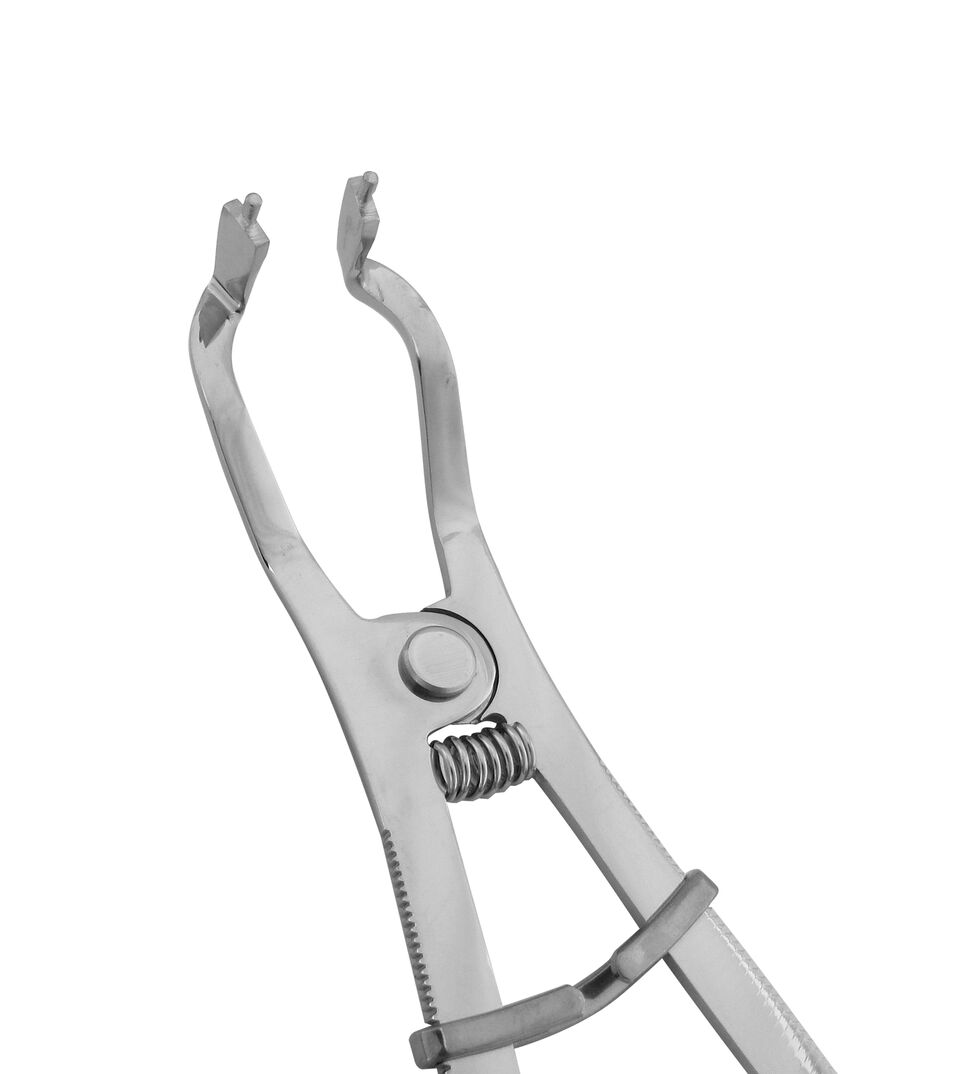 Rubber Dam Punches & Forceps
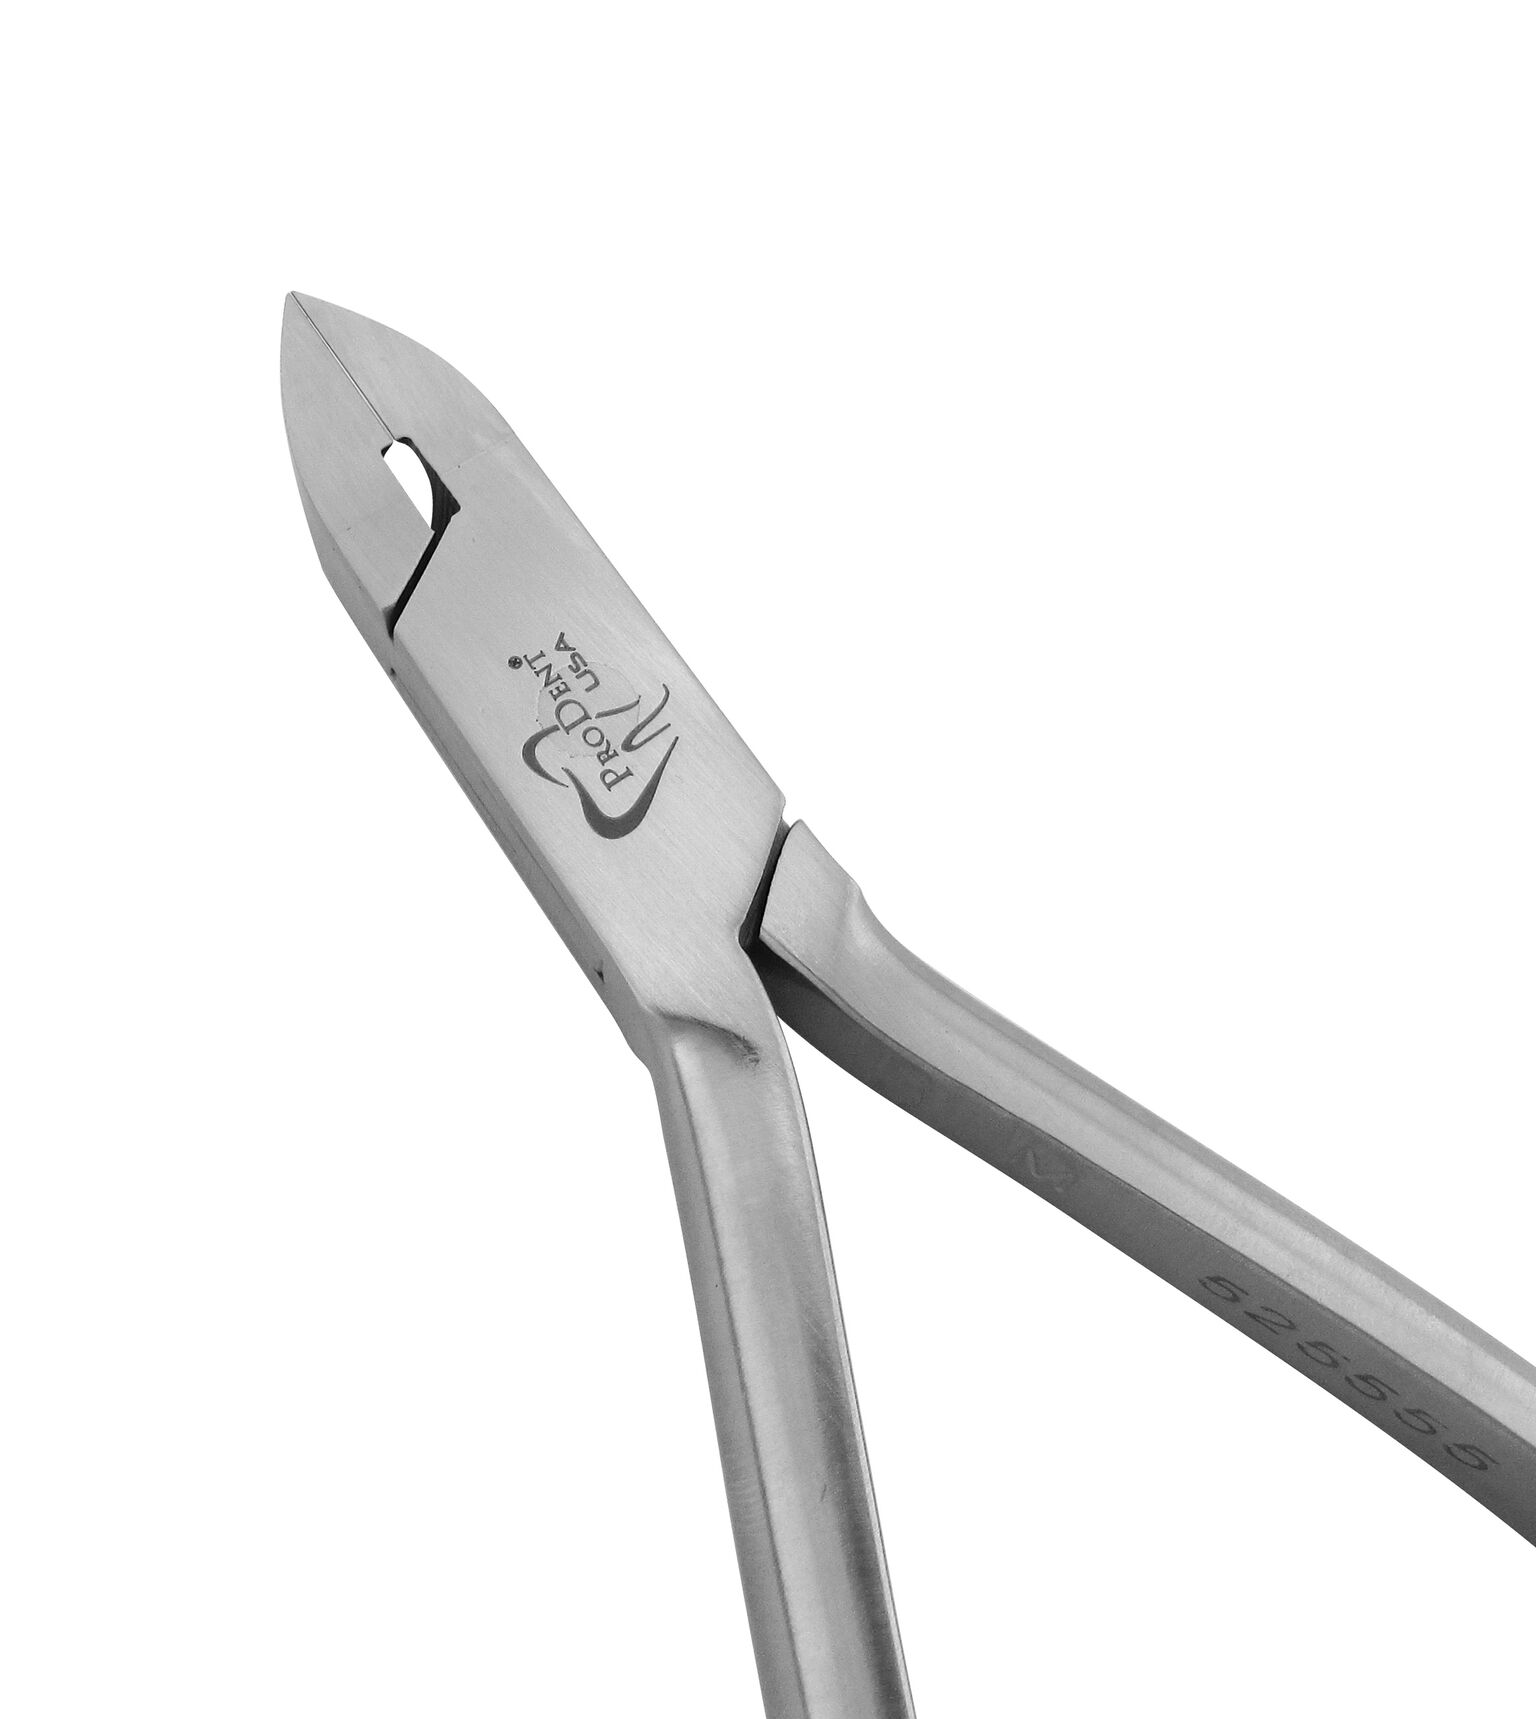 Cutters
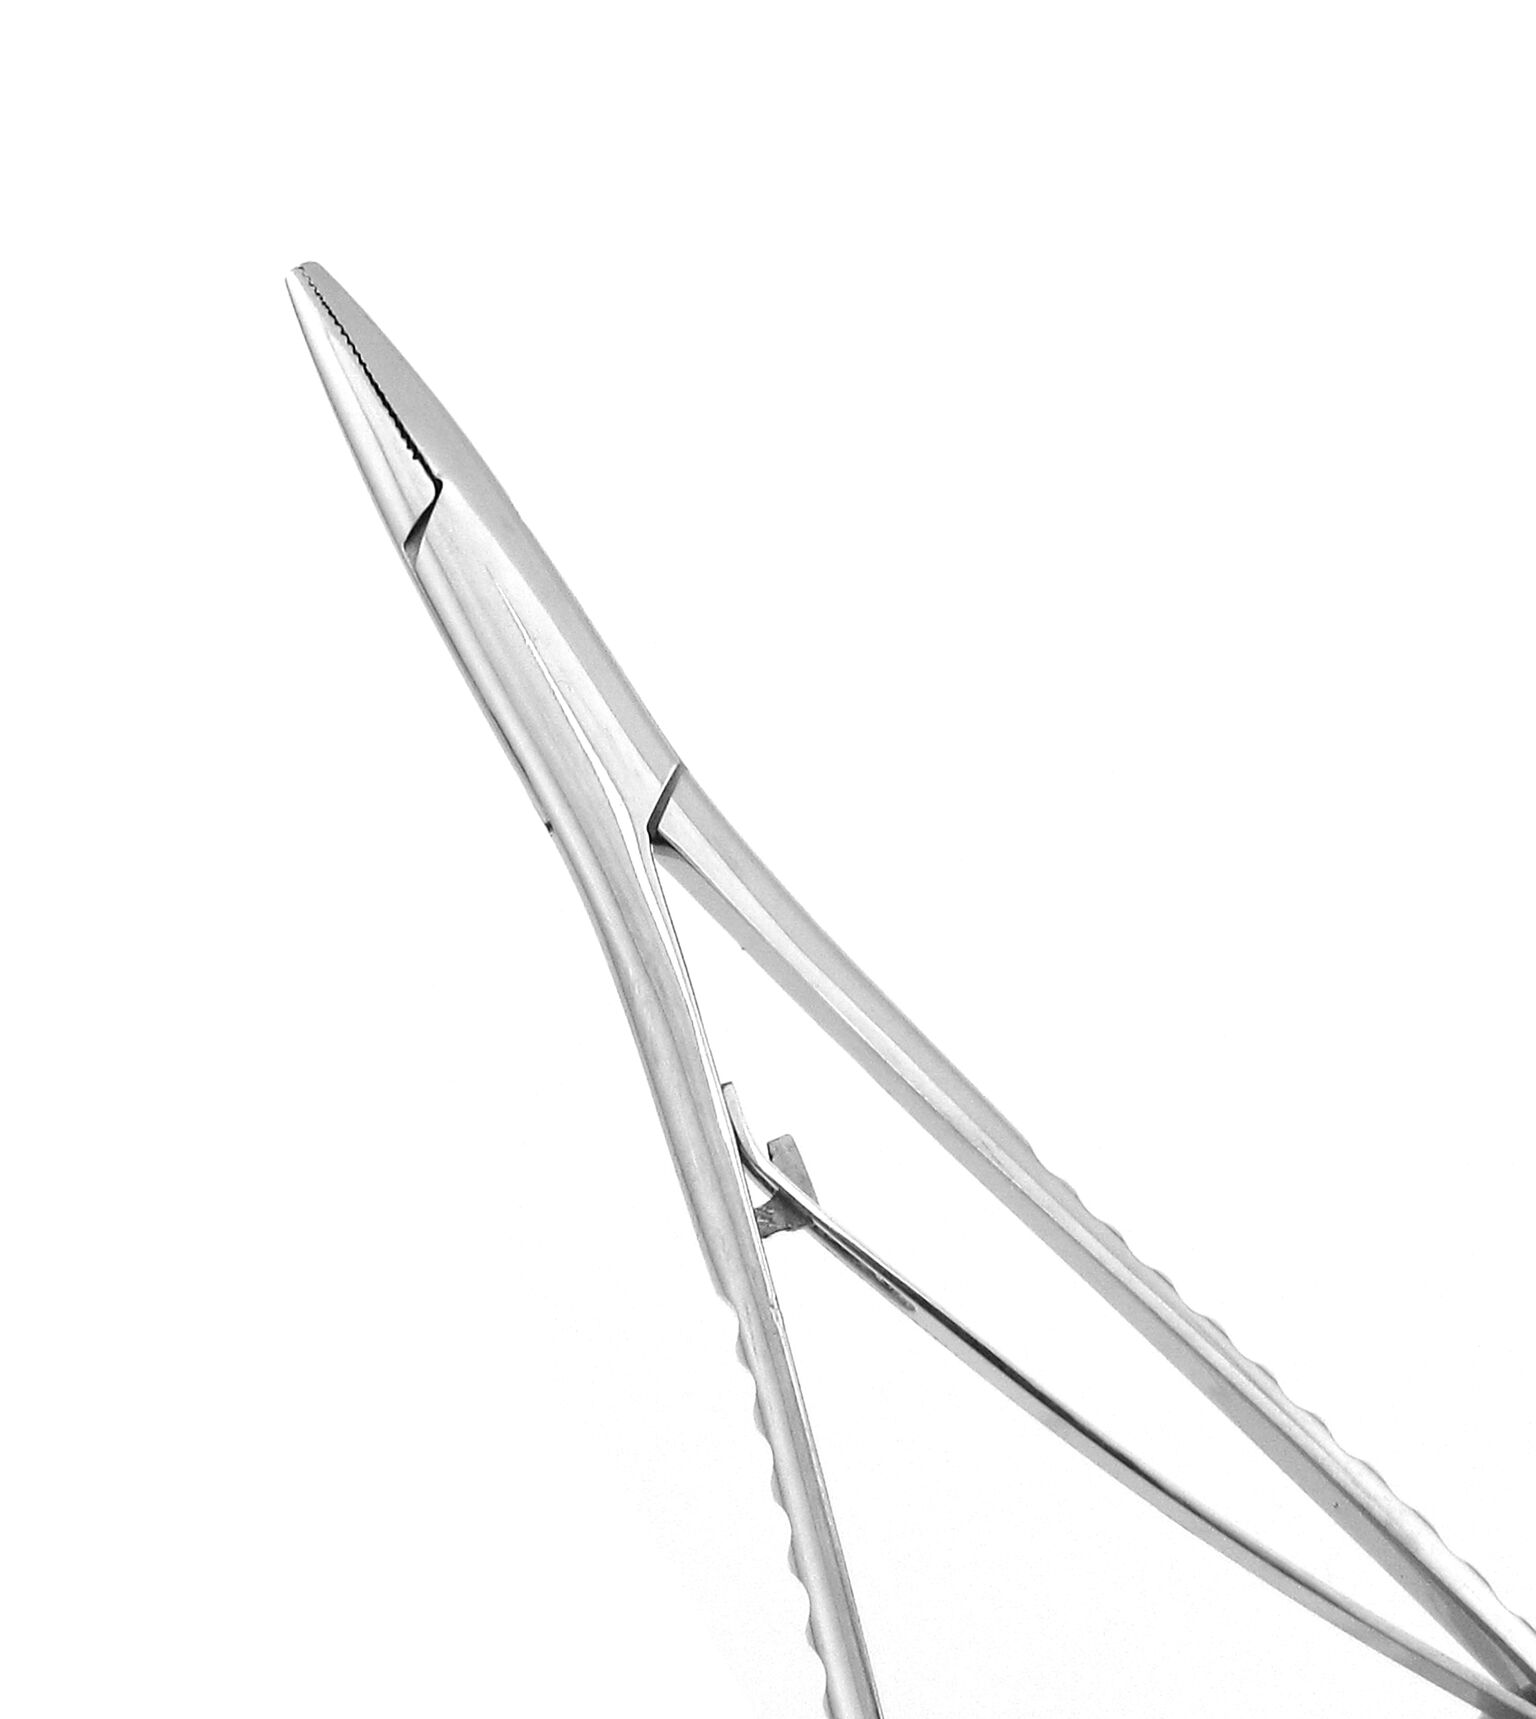 Elastic Placing Mathieu Pliers
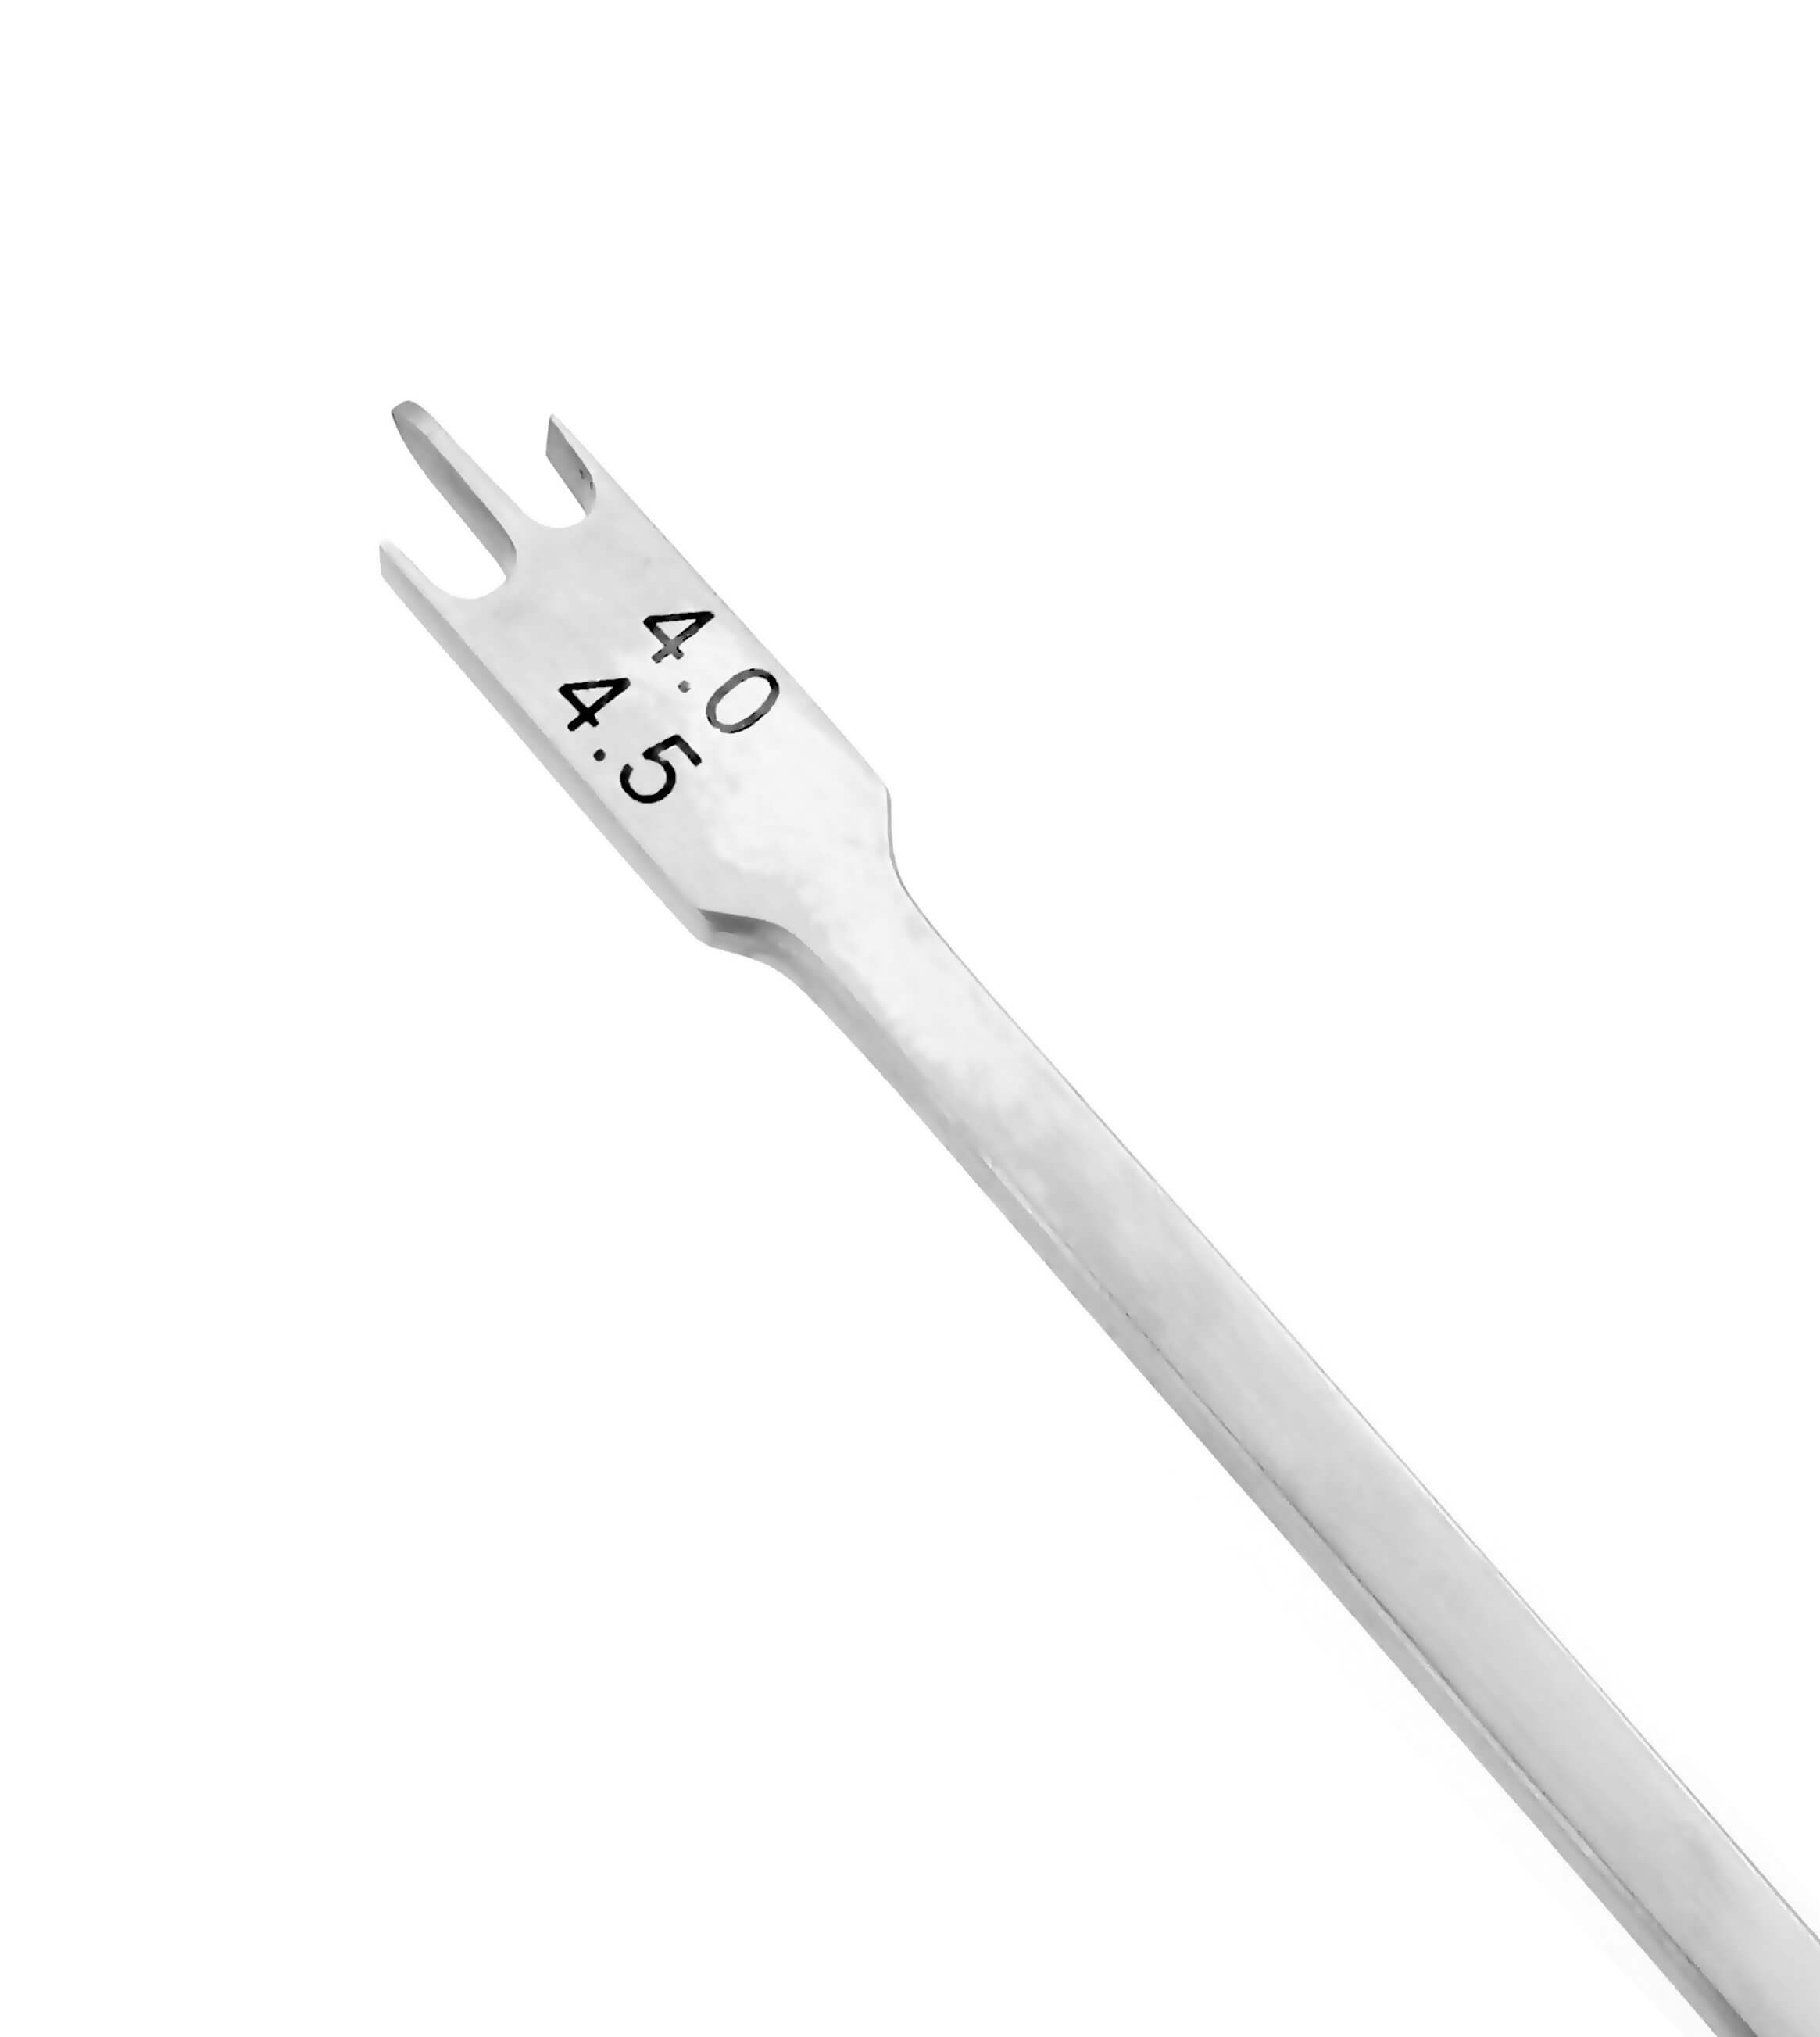 Gauges
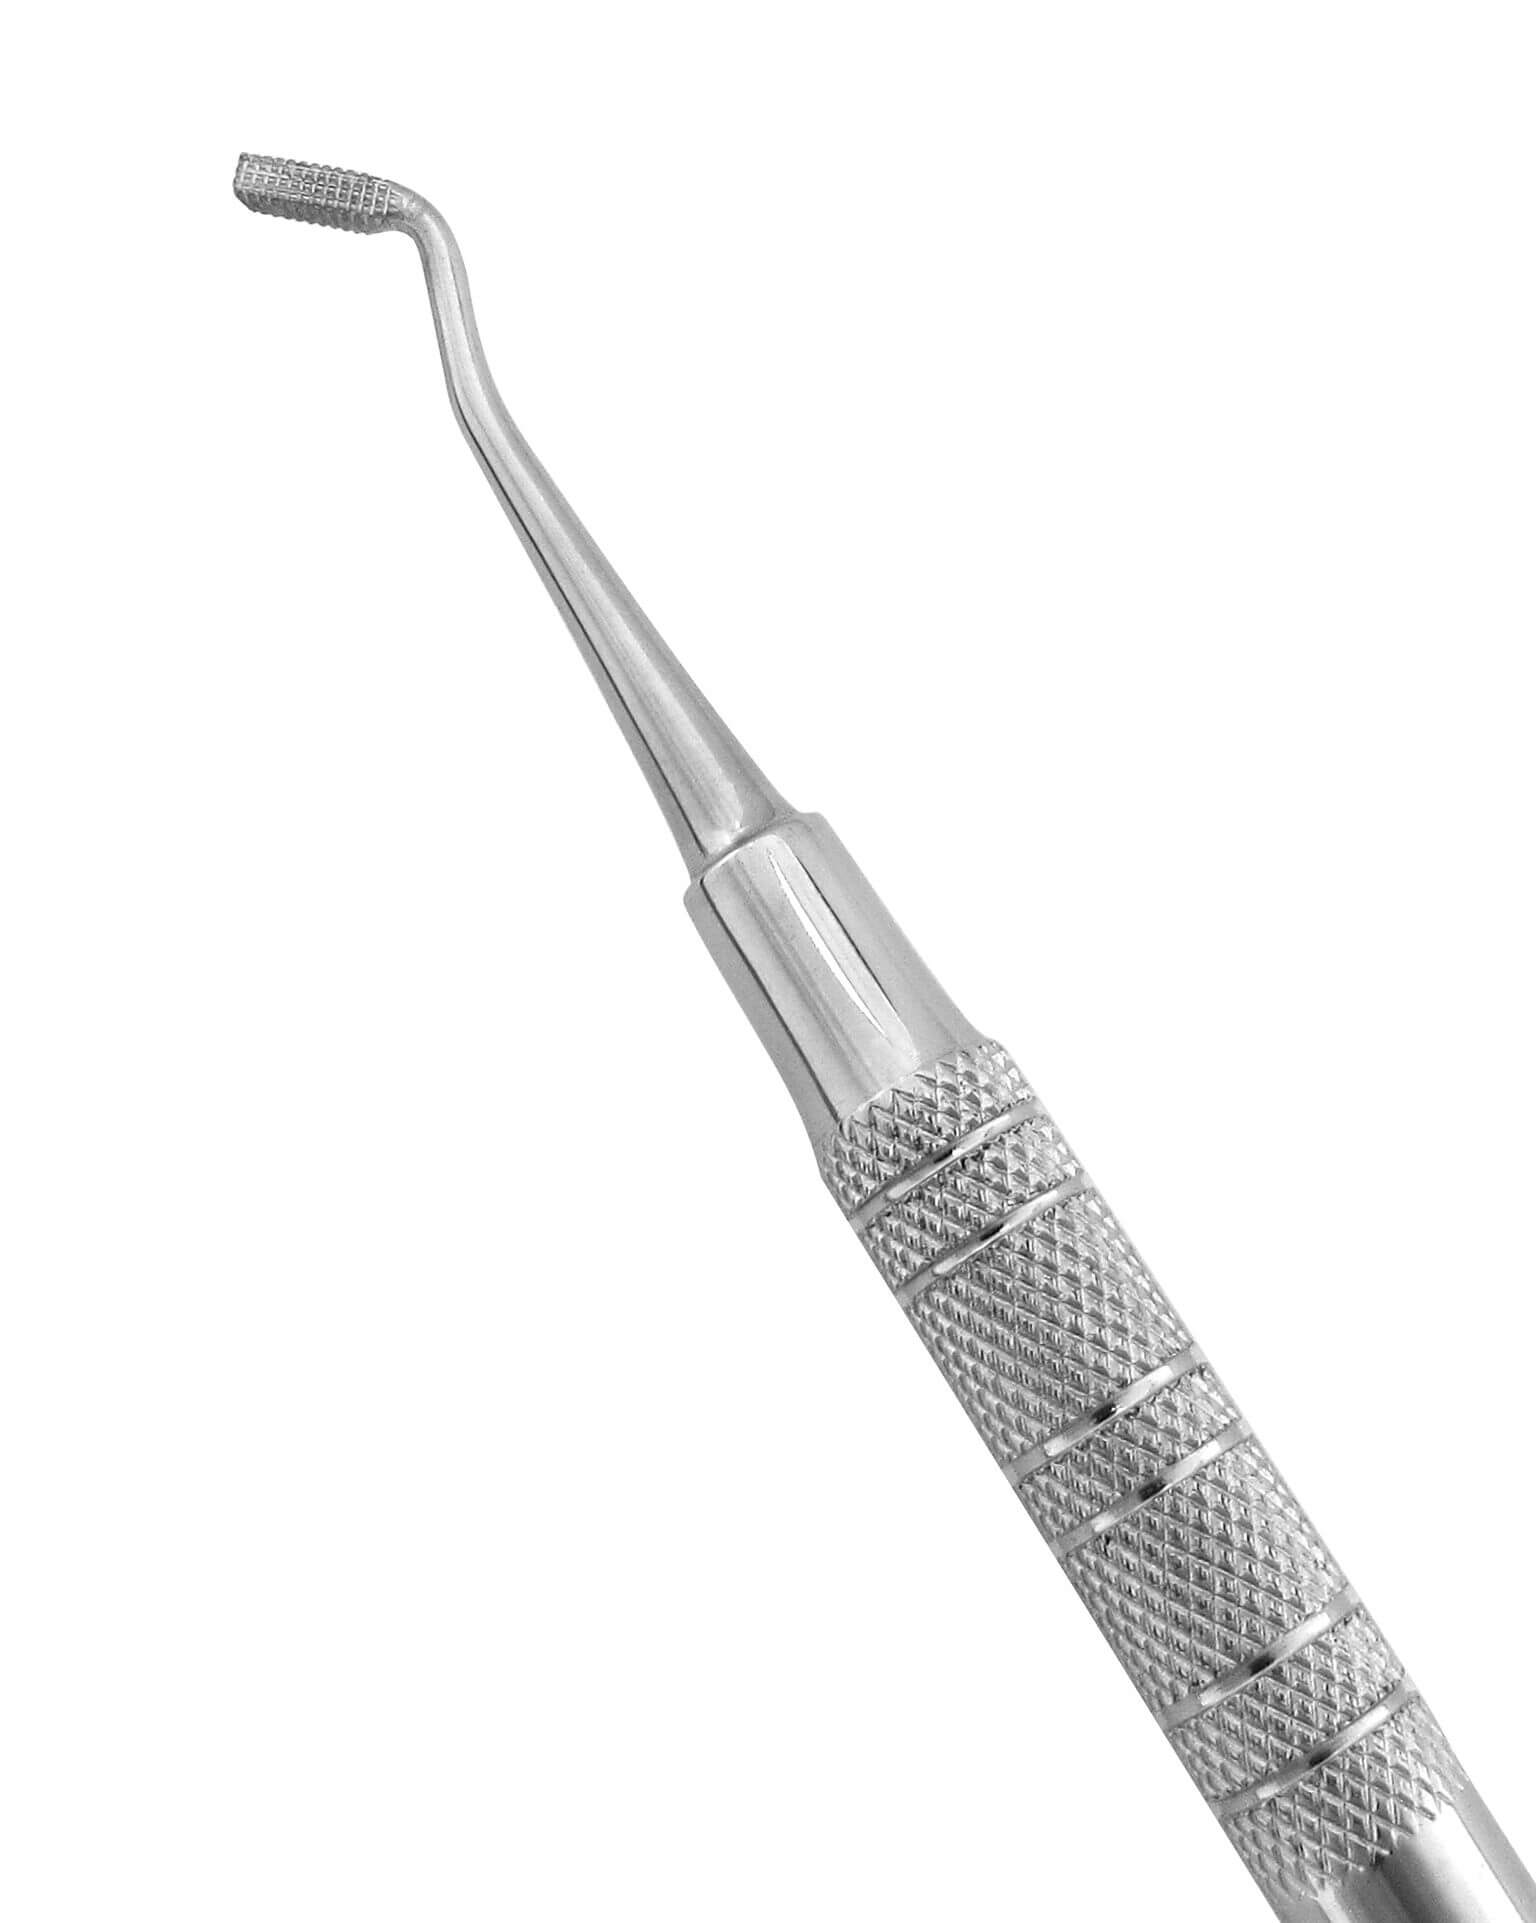 Hand Instruments
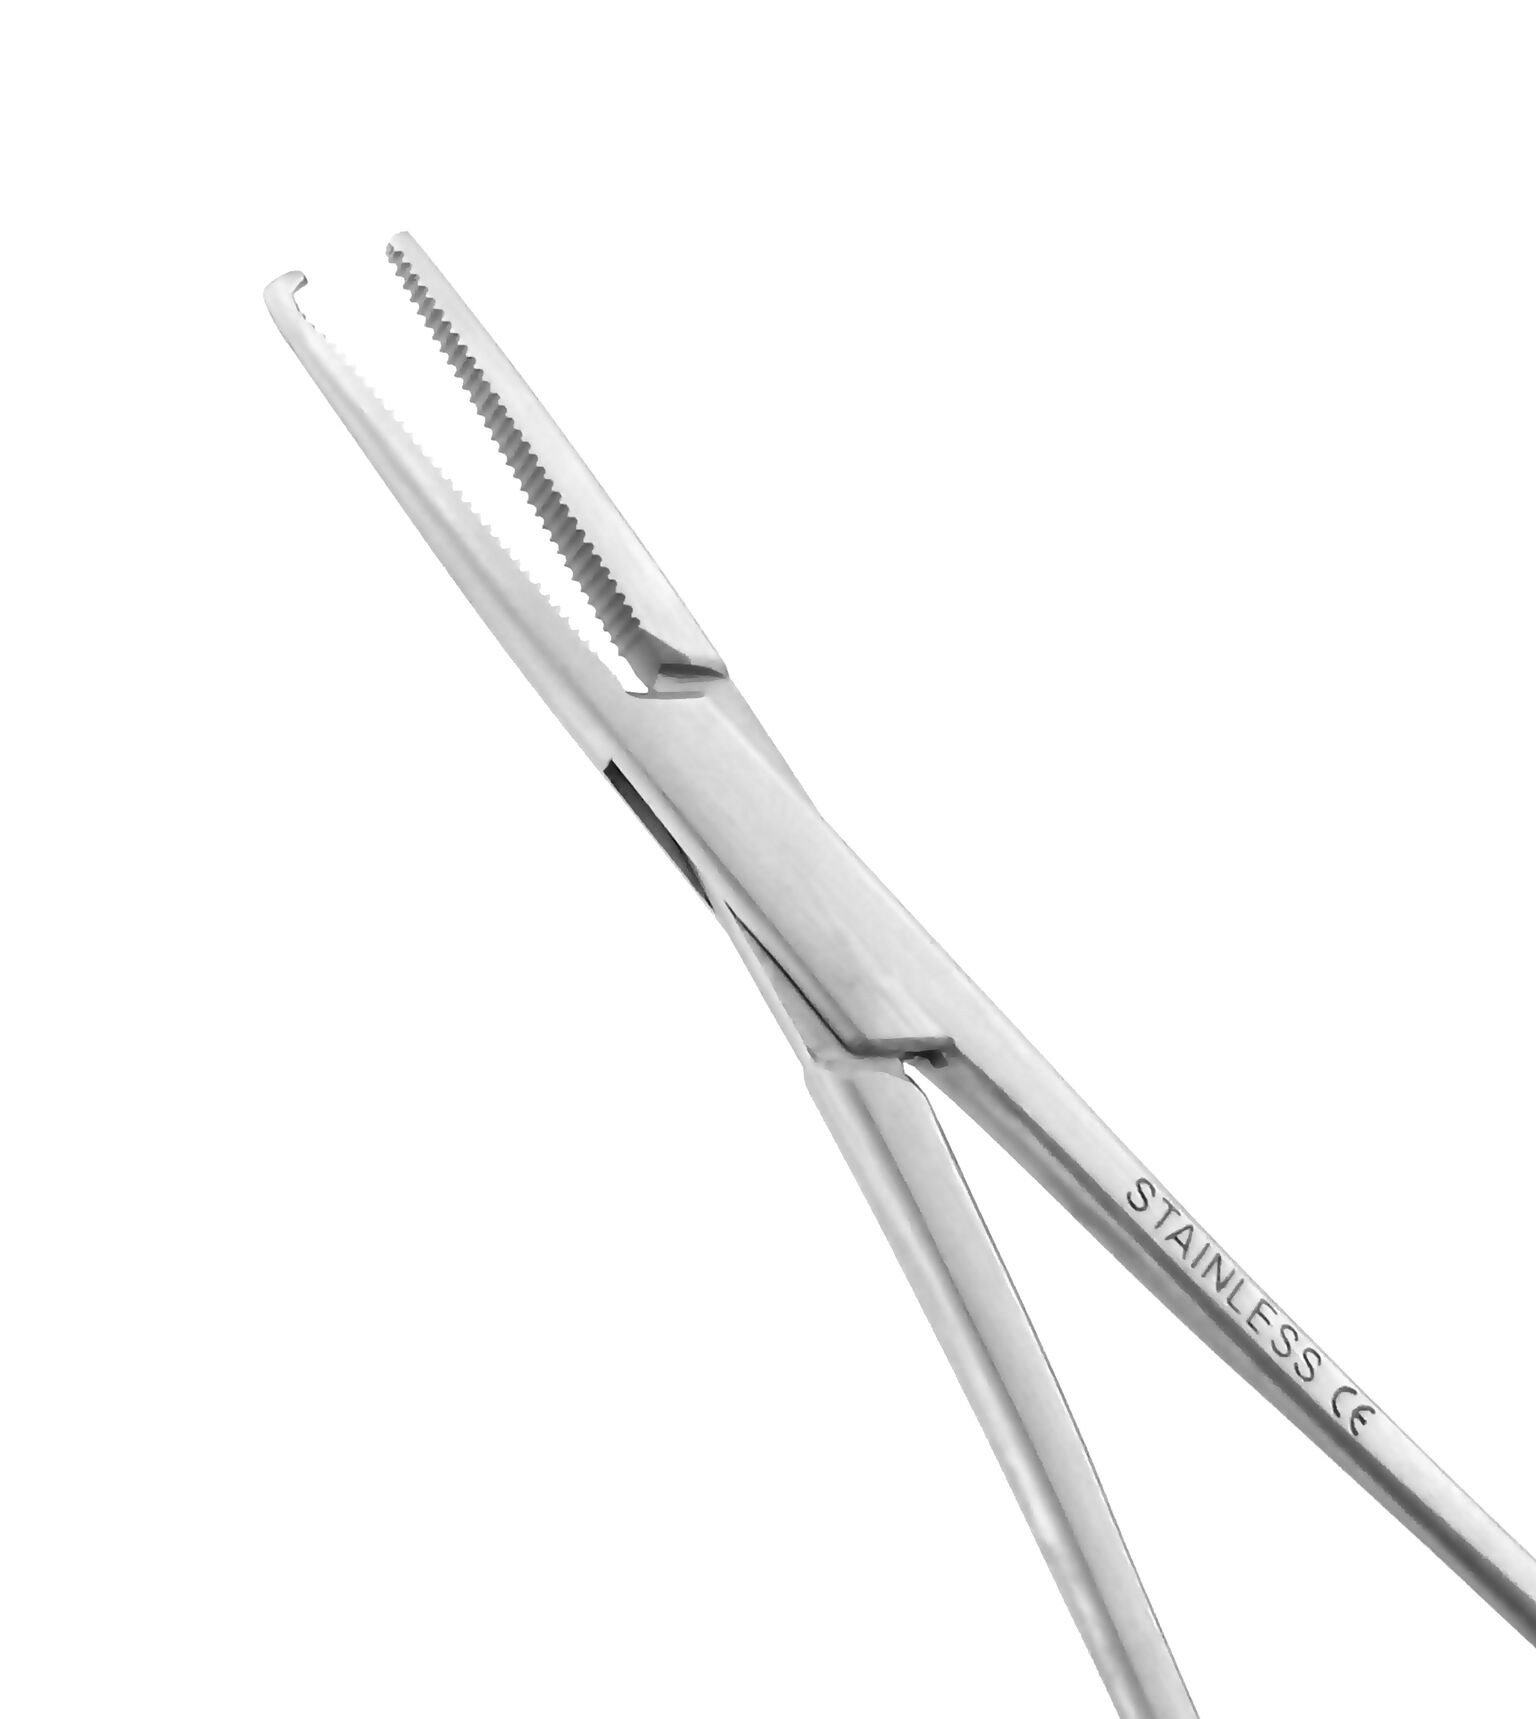 Mosquitoes
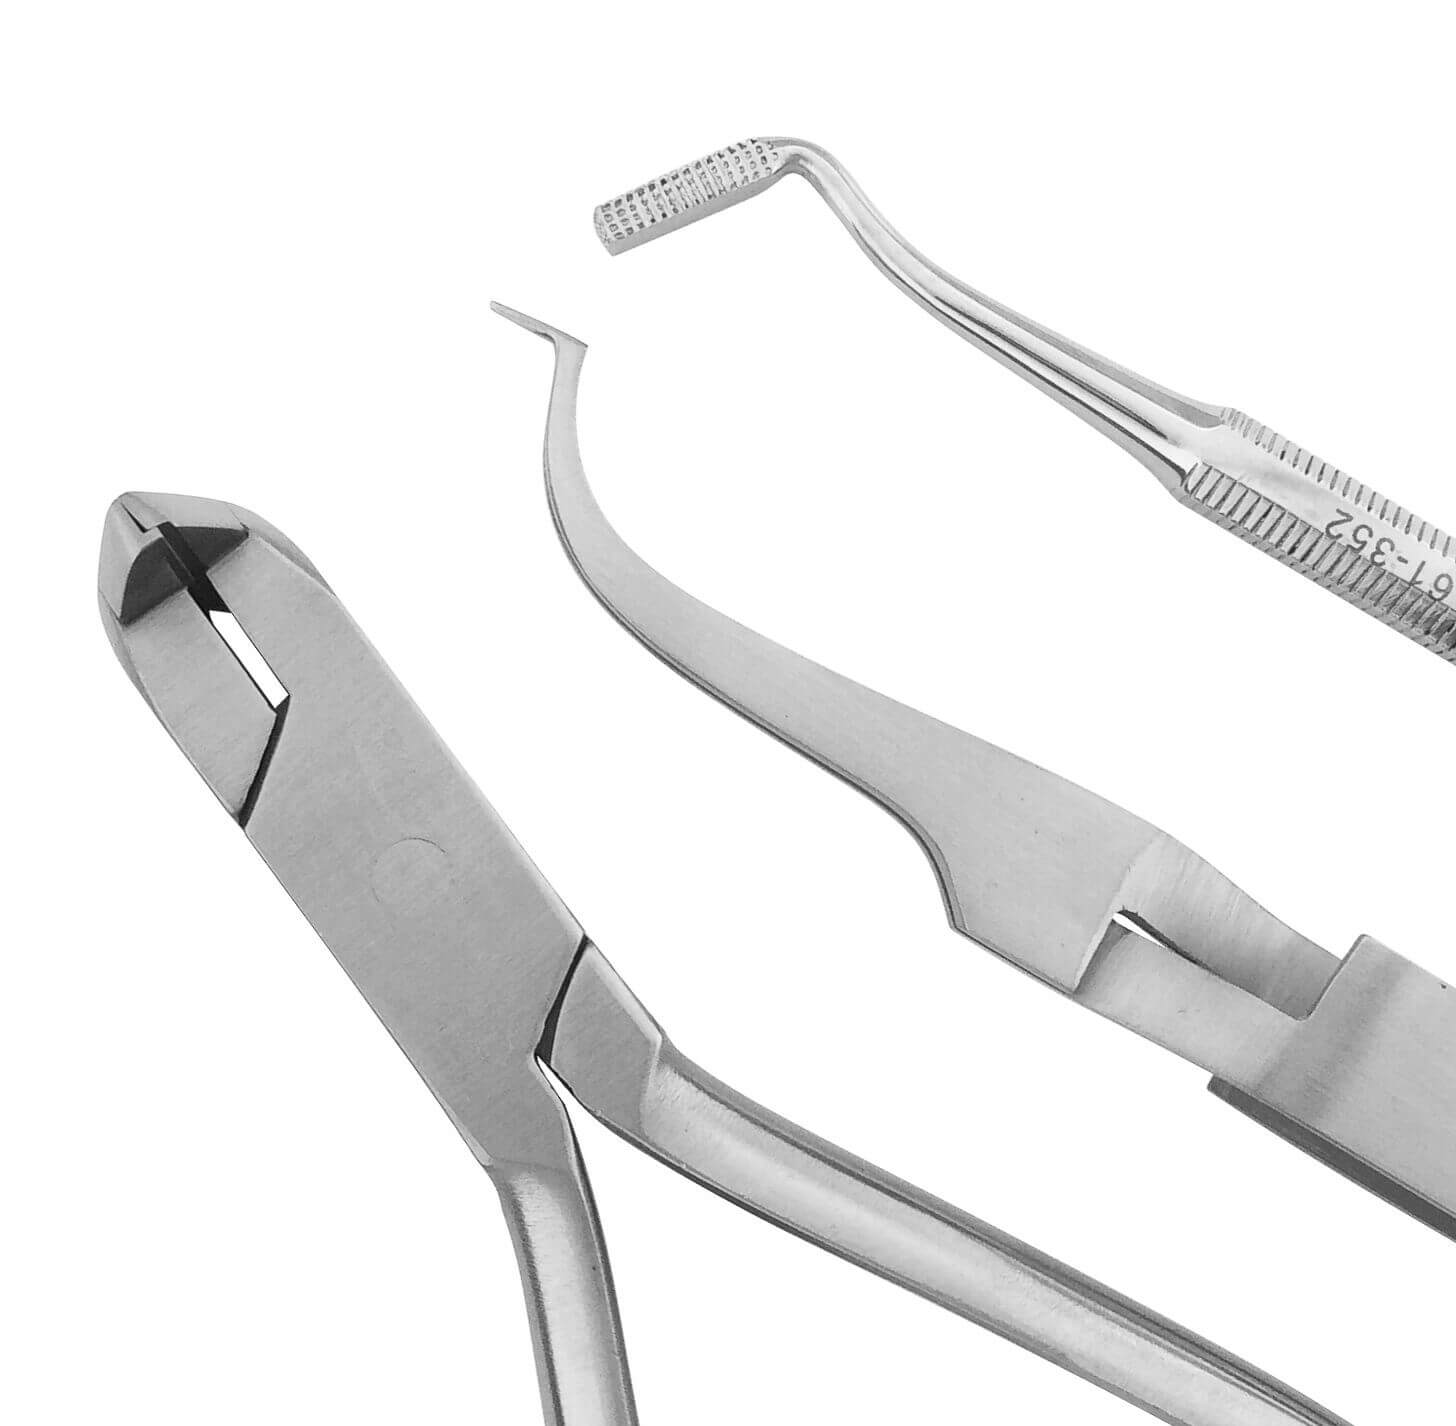 Orthodontic Sets
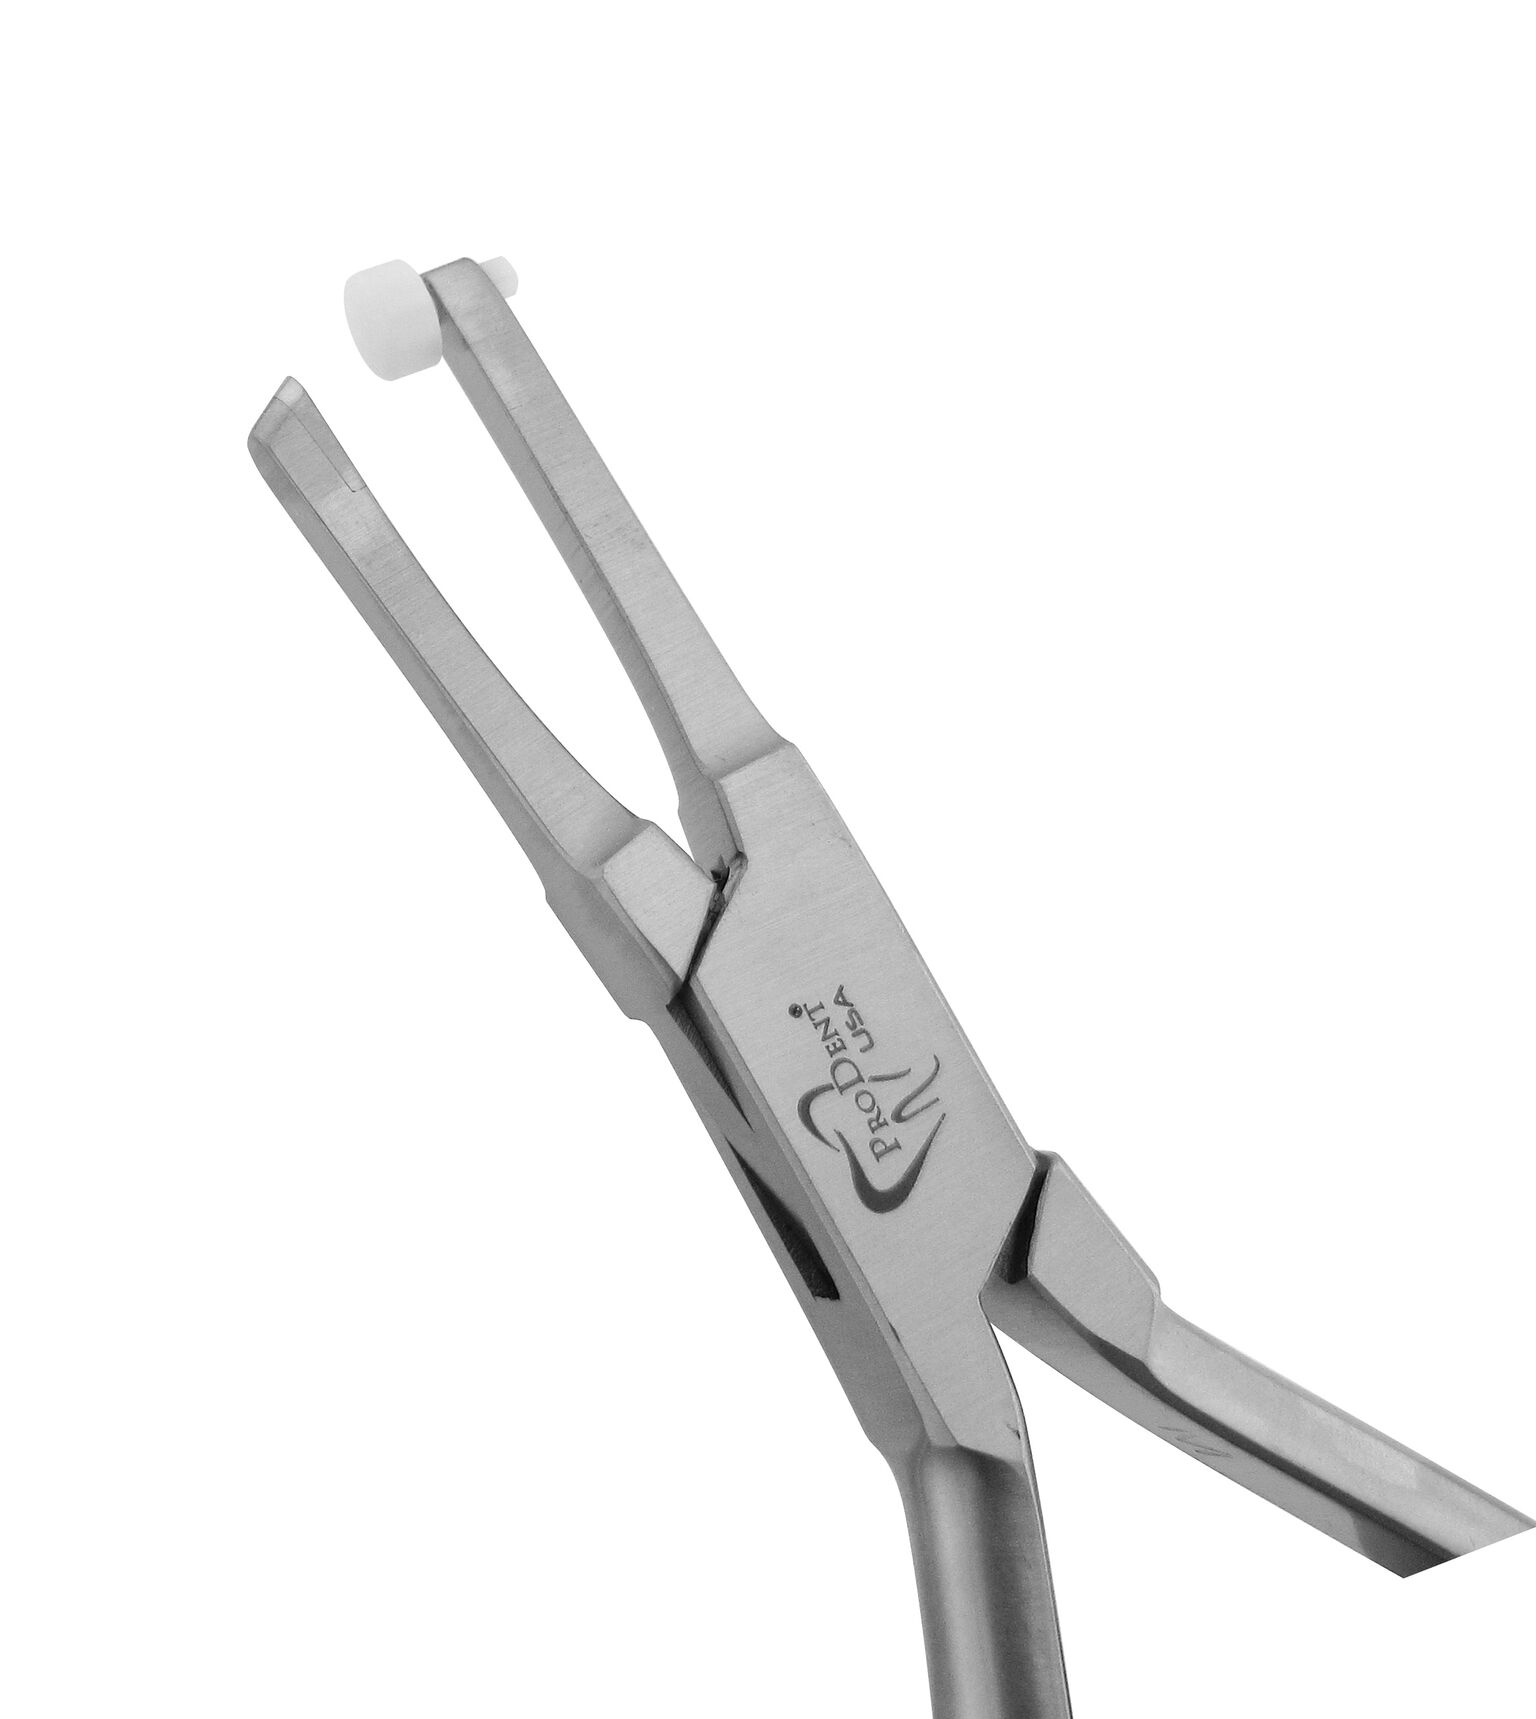 Pliers
 Scissors
 Tweezers
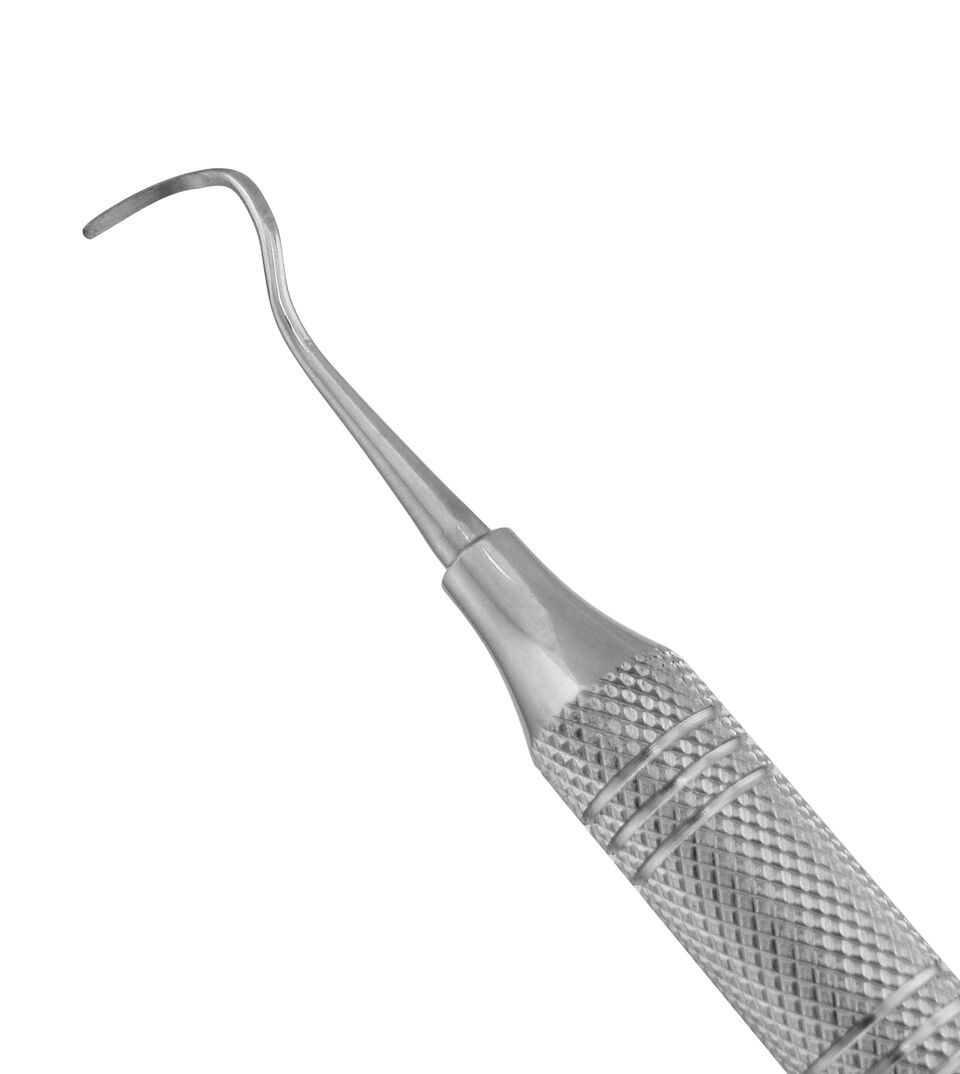 Curettes
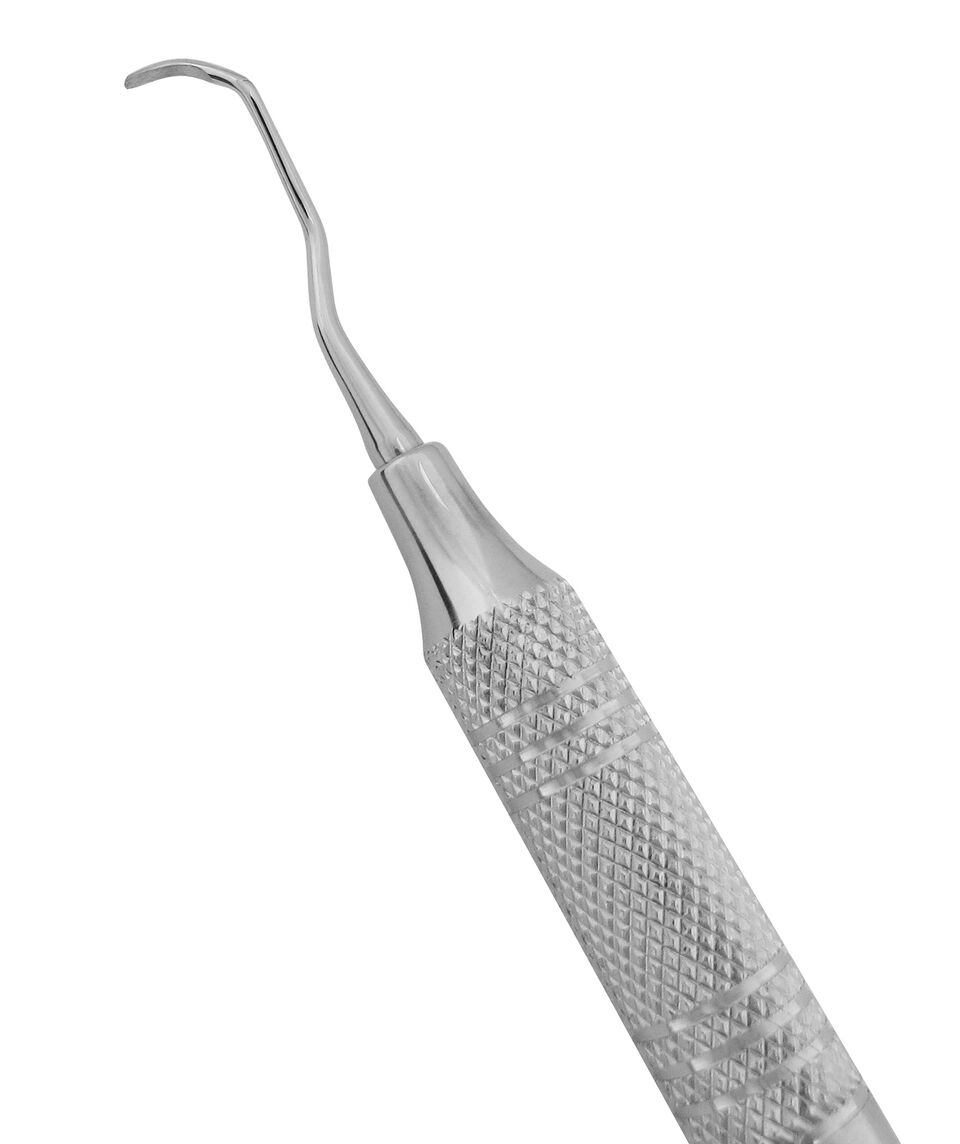 Gracey Curettes
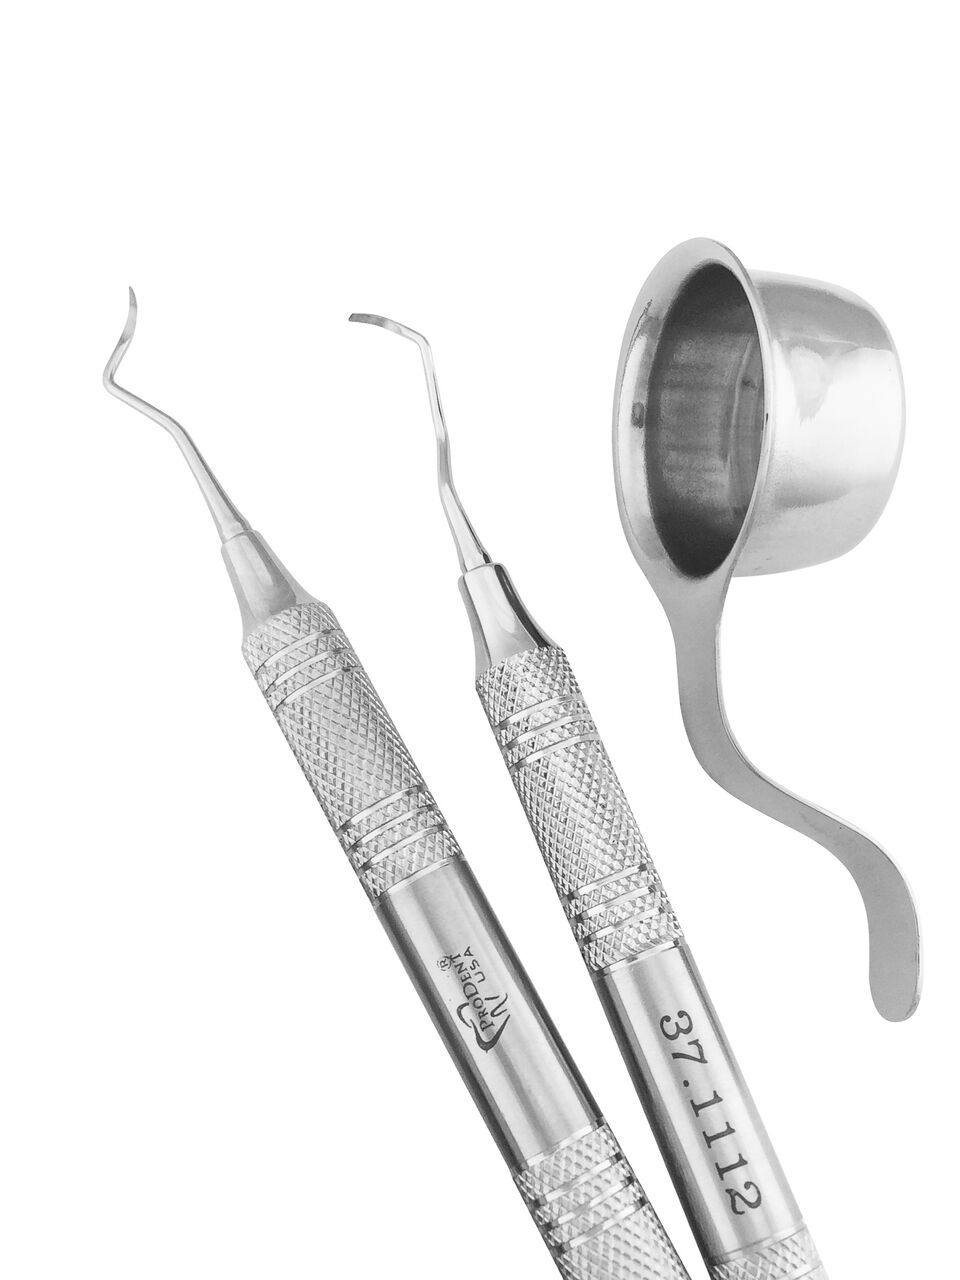 Periodontal Sets & Accessories
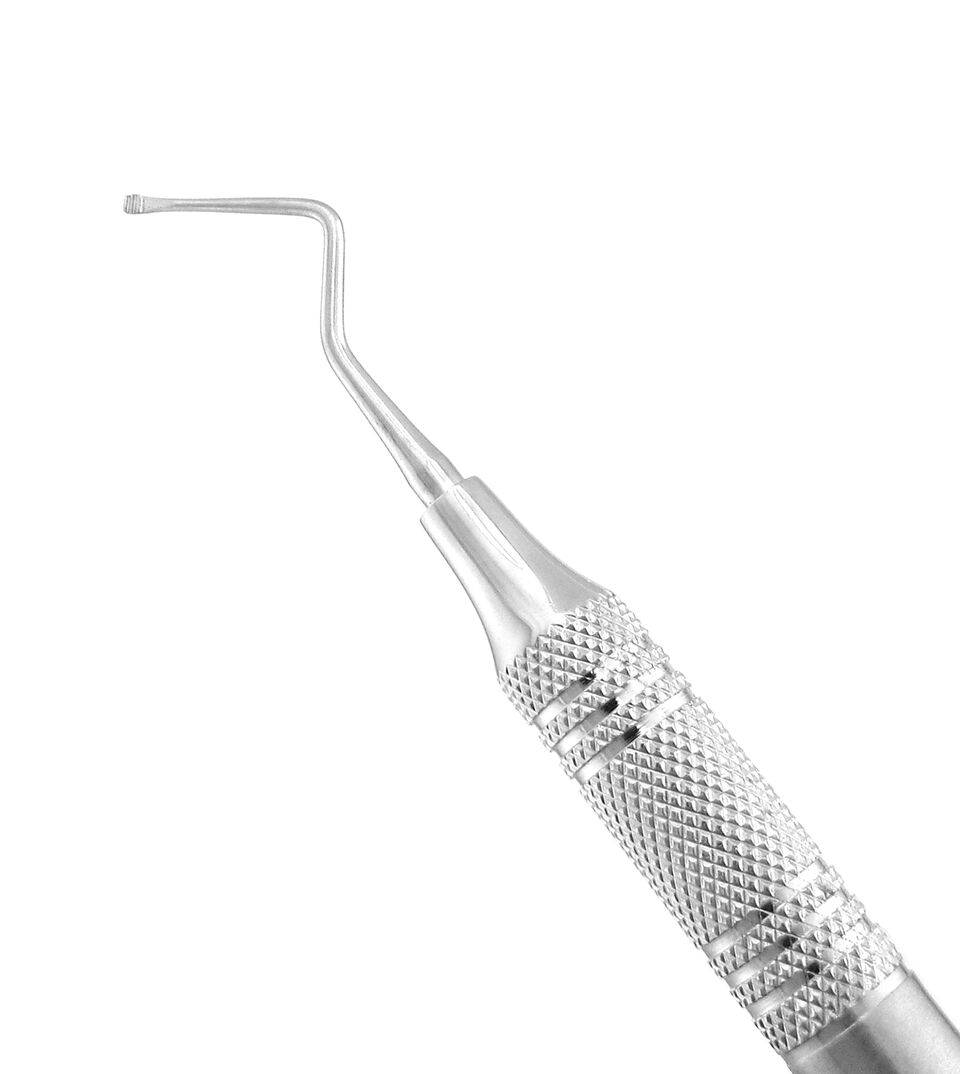 Periodontal Specialty Instruments
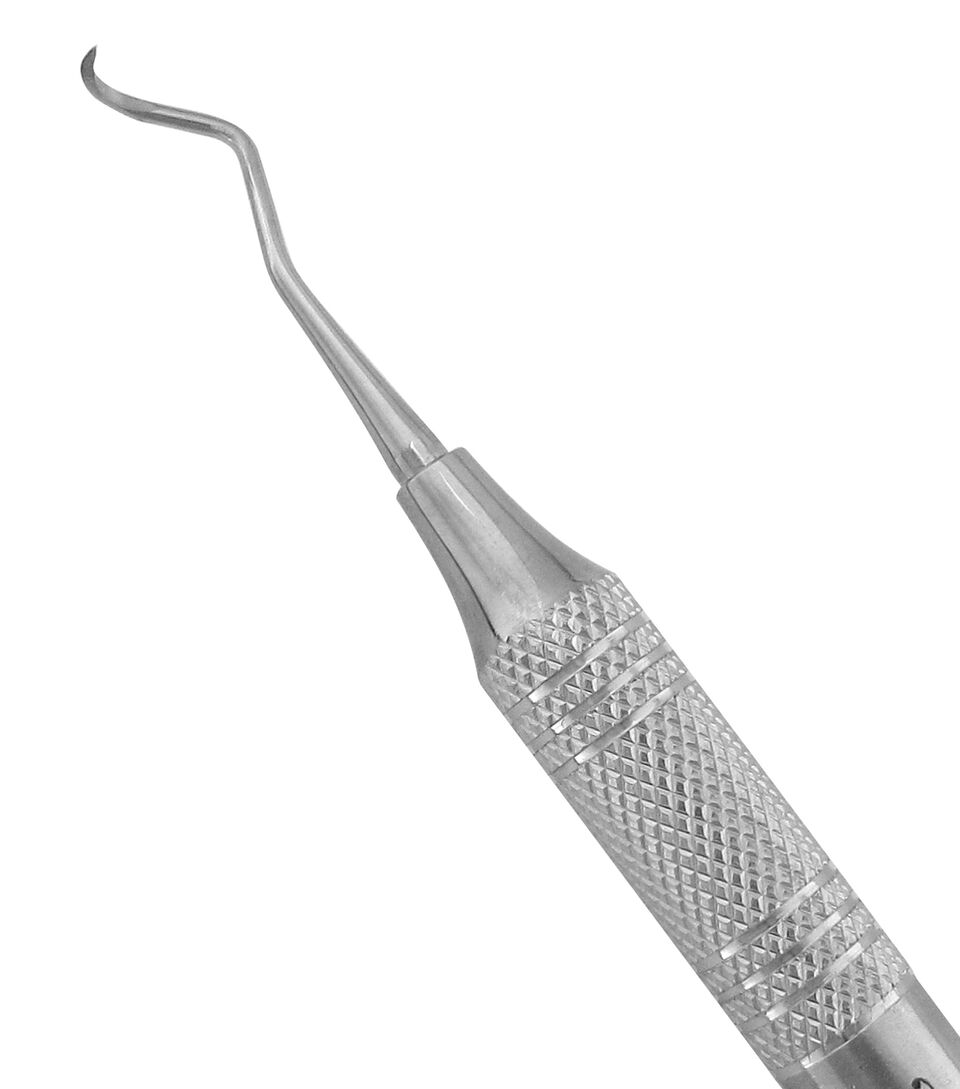 Scalers
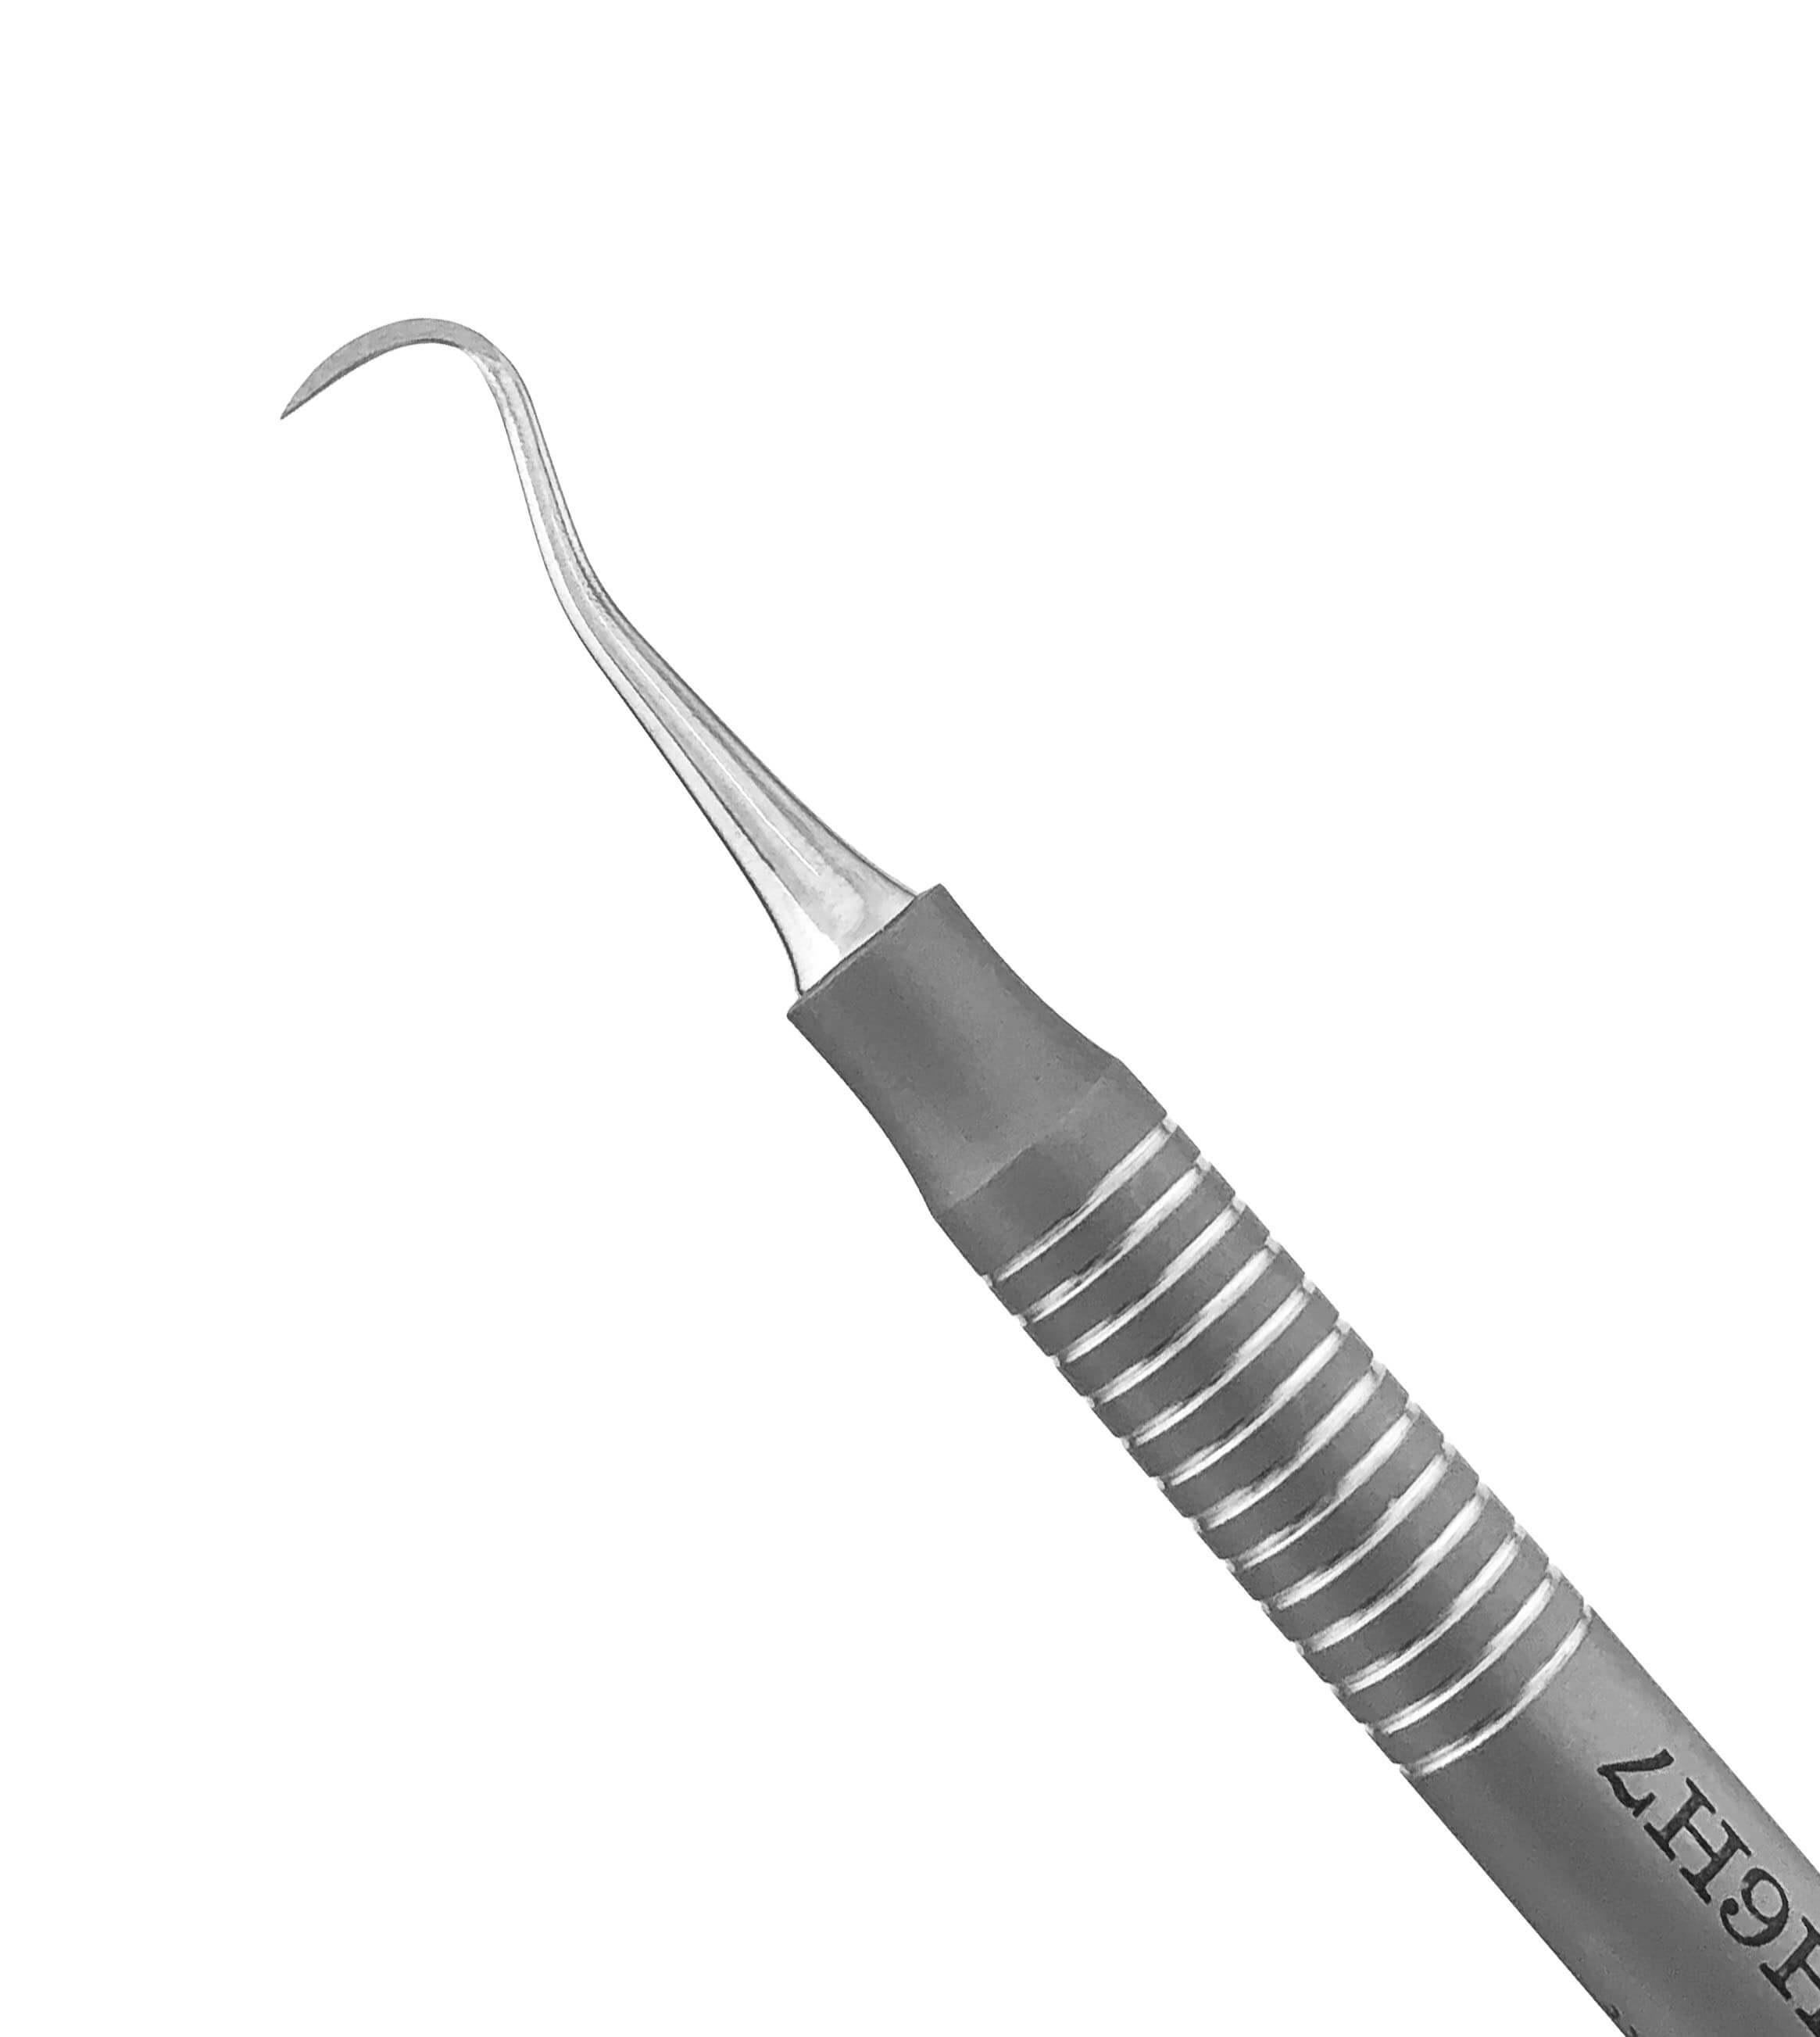 Siberian Stone™ Collection
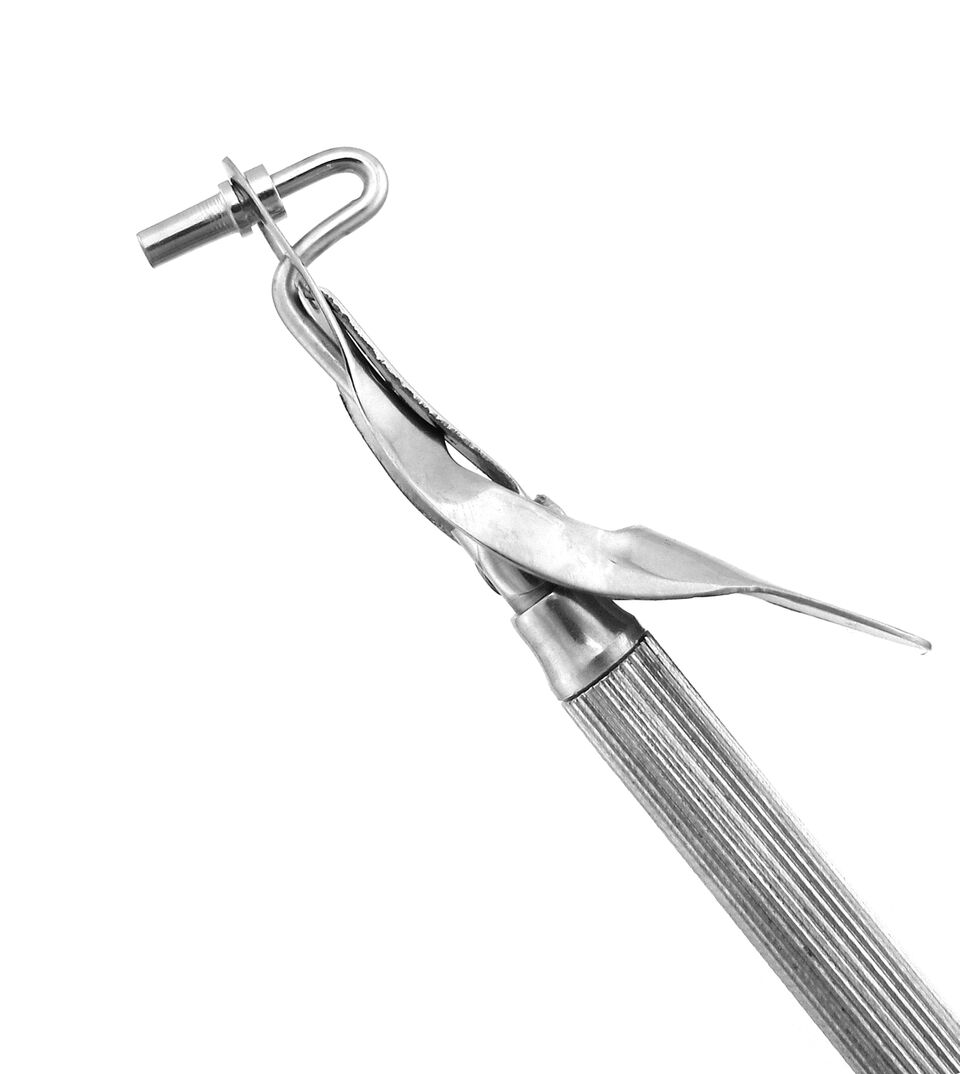 Amalgam Carriers & Well
 Burnishers
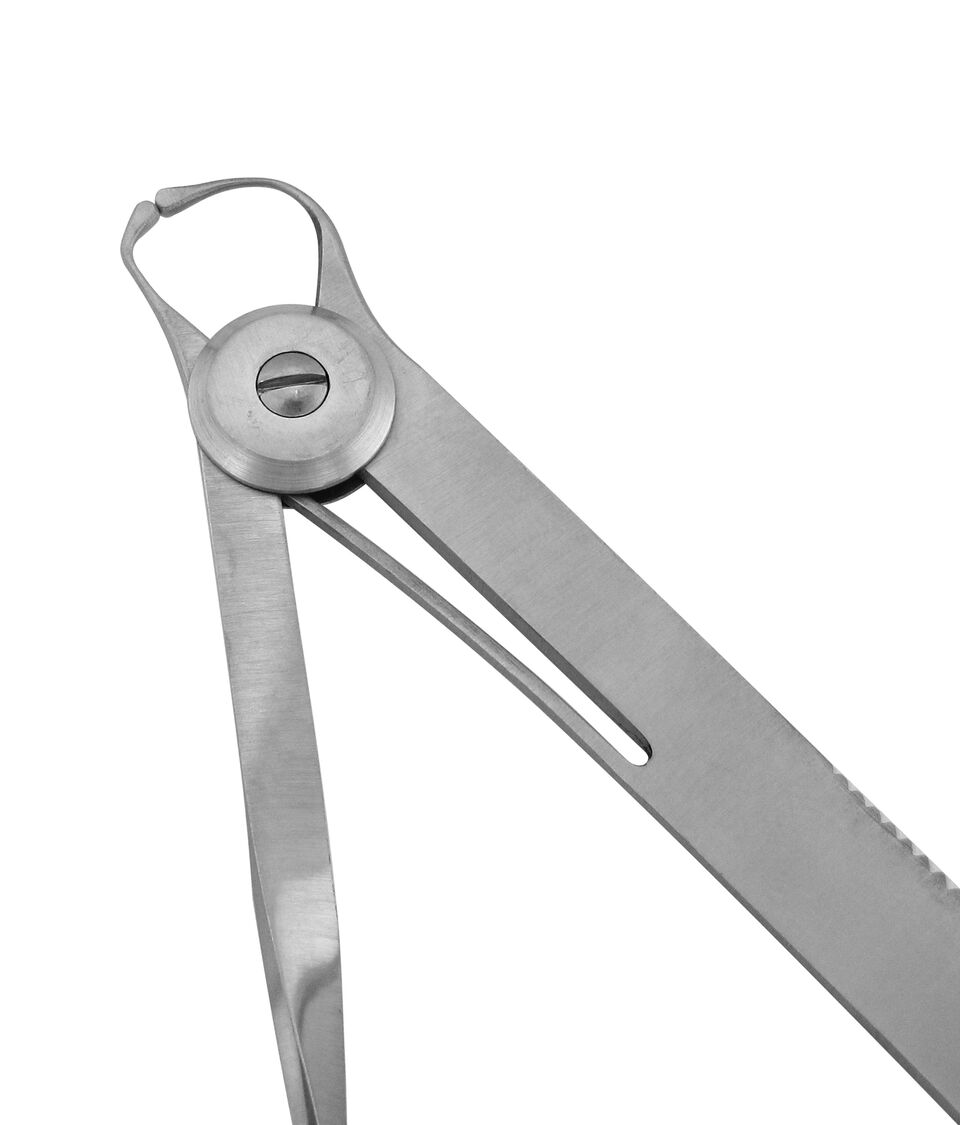 Calipers
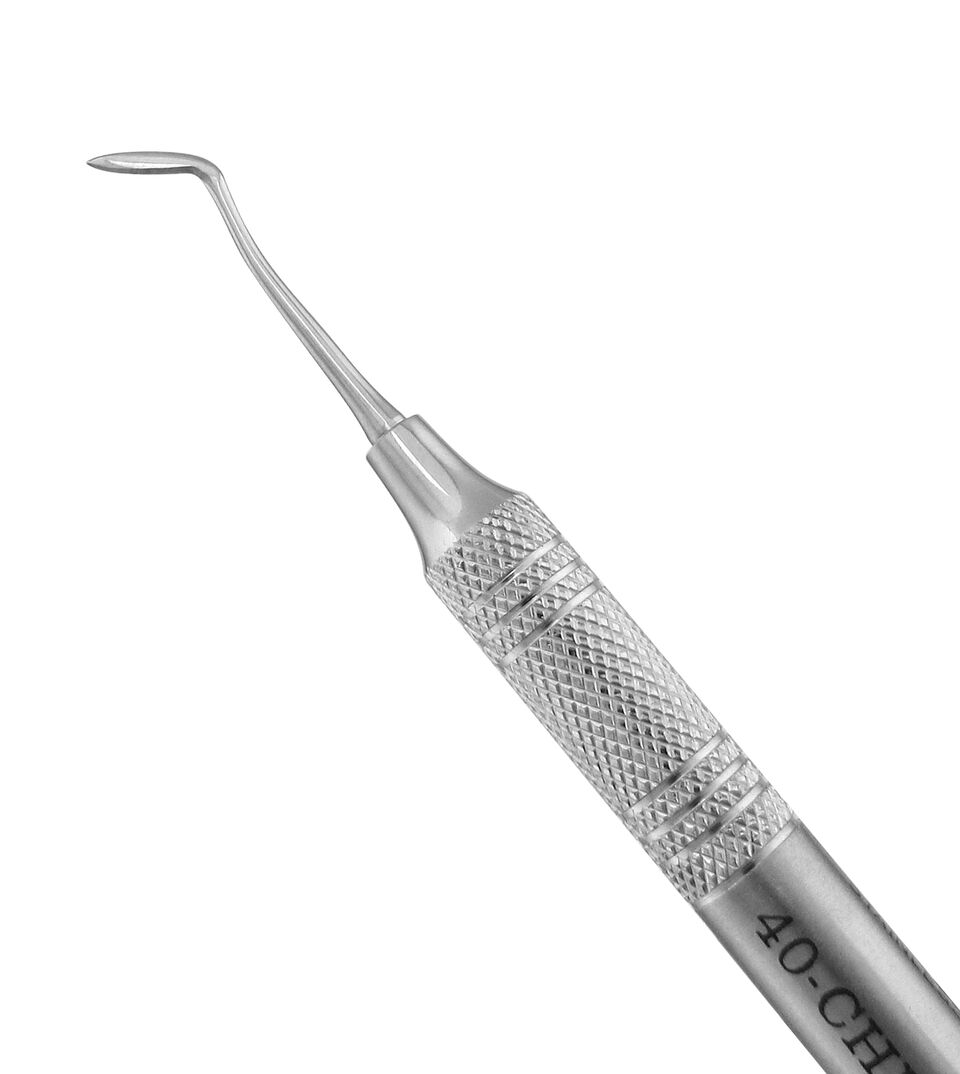 Carvers
 Cement Spatulas
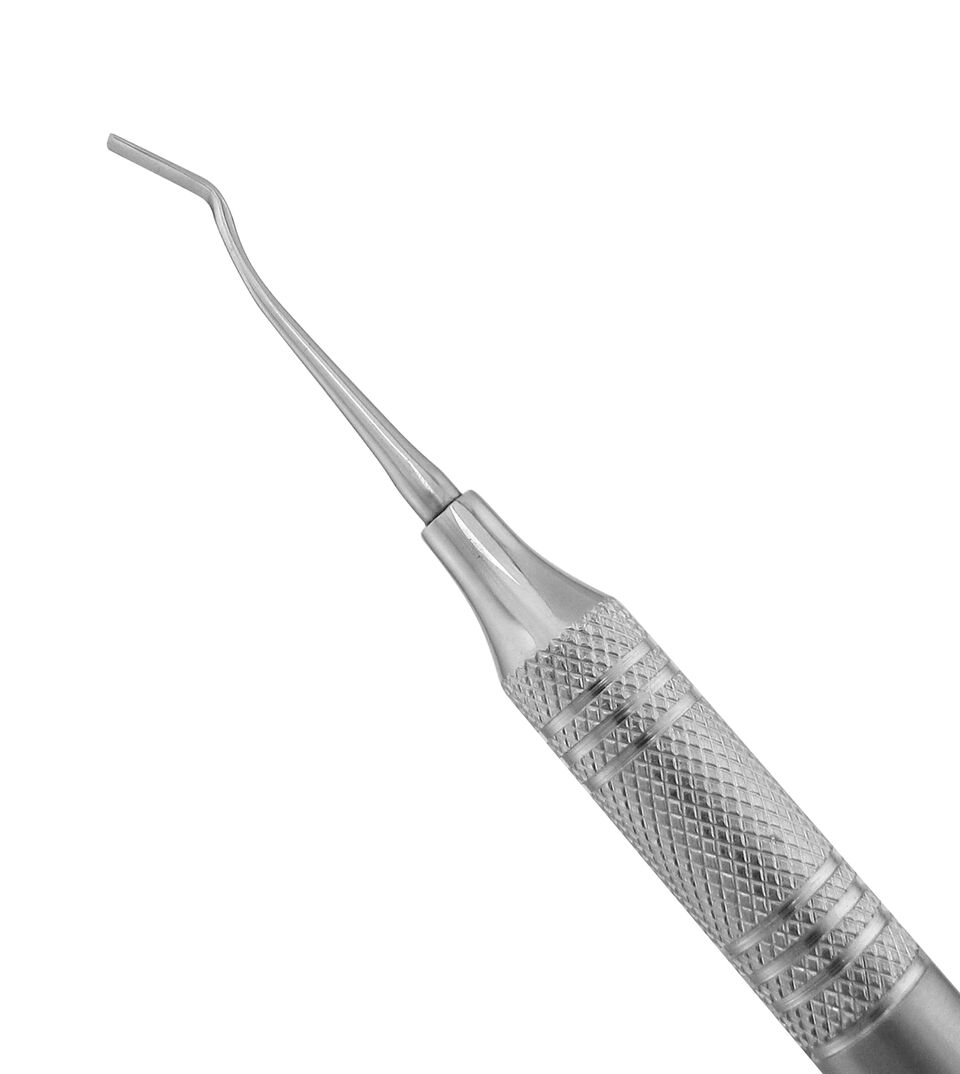 Chisels
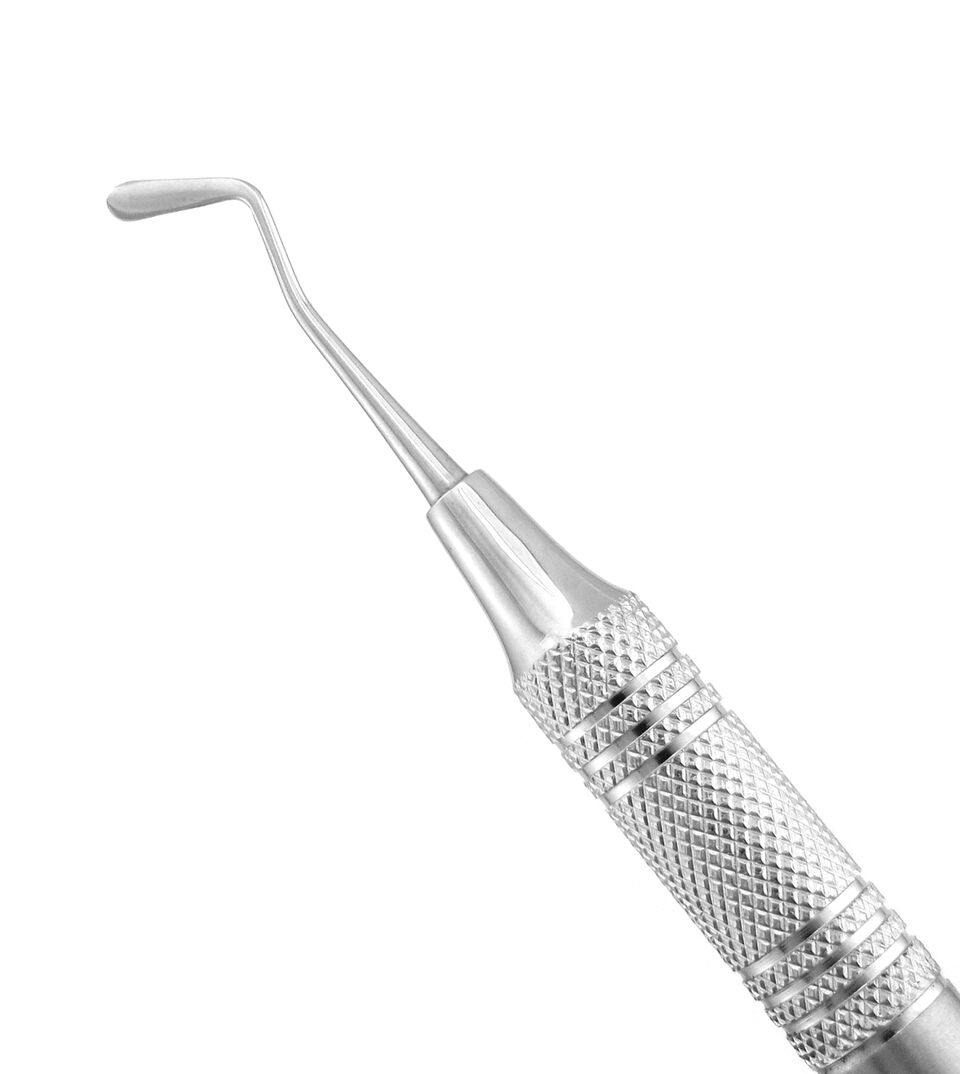 Composite & Plastic Filling Instruments
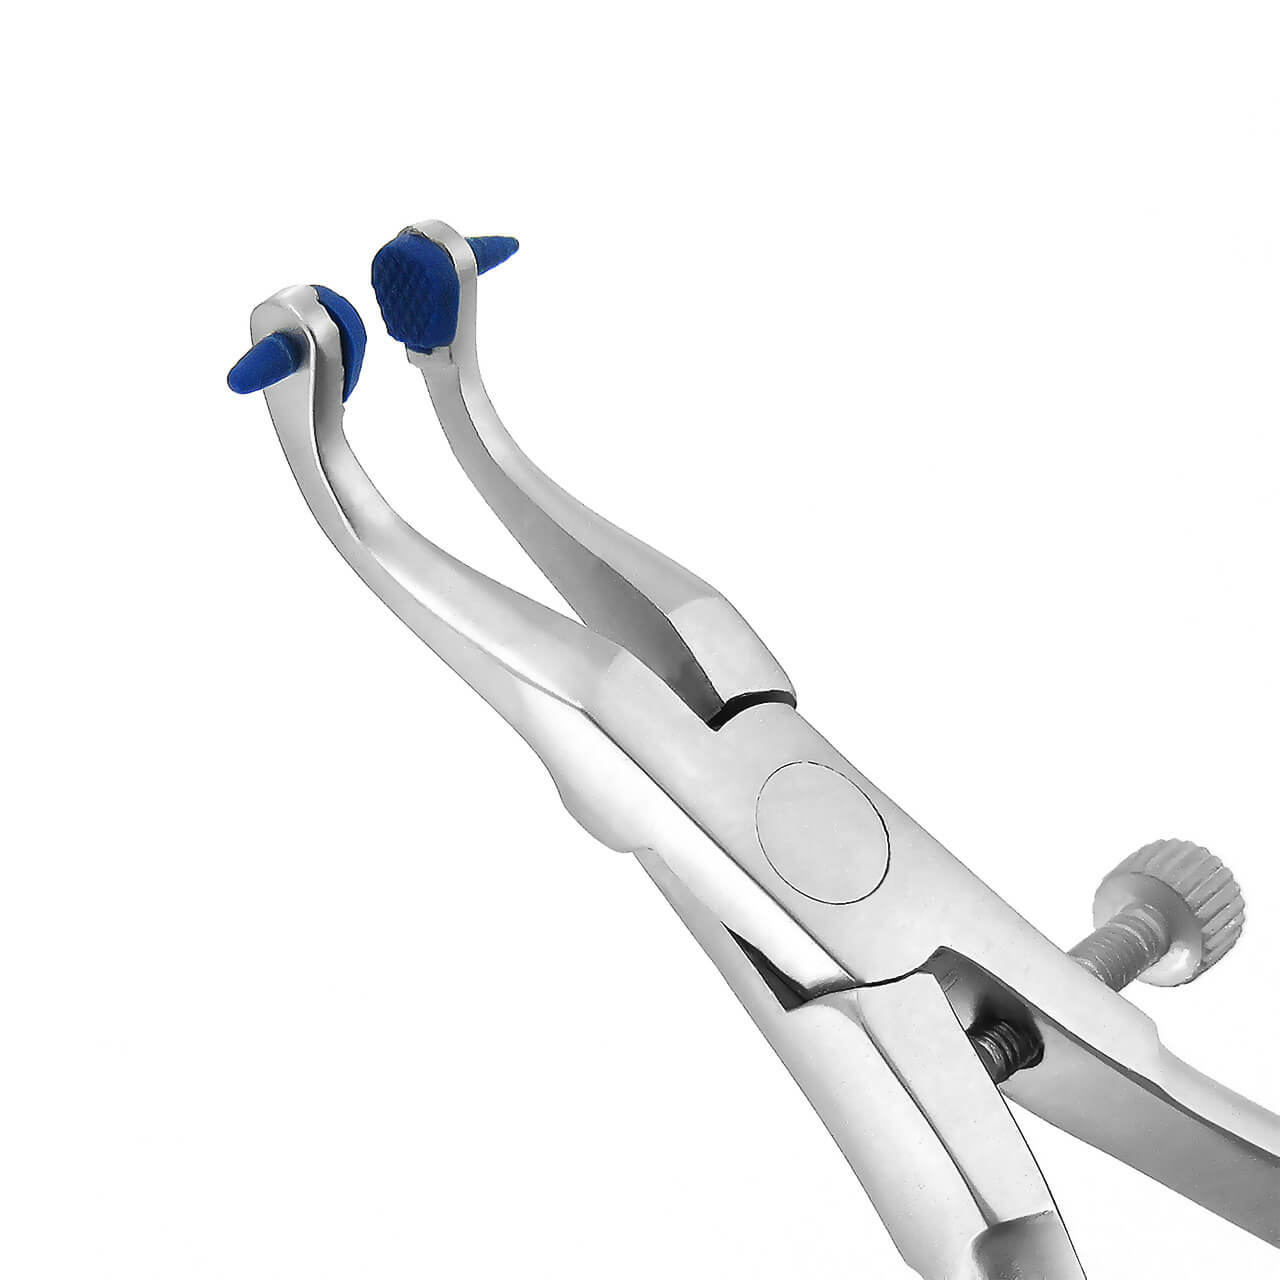 Crown Removers & Spreaders
 Excavators
 Forceps & Tweezers
 Gingival Cord Packers
 Gingival Retractors
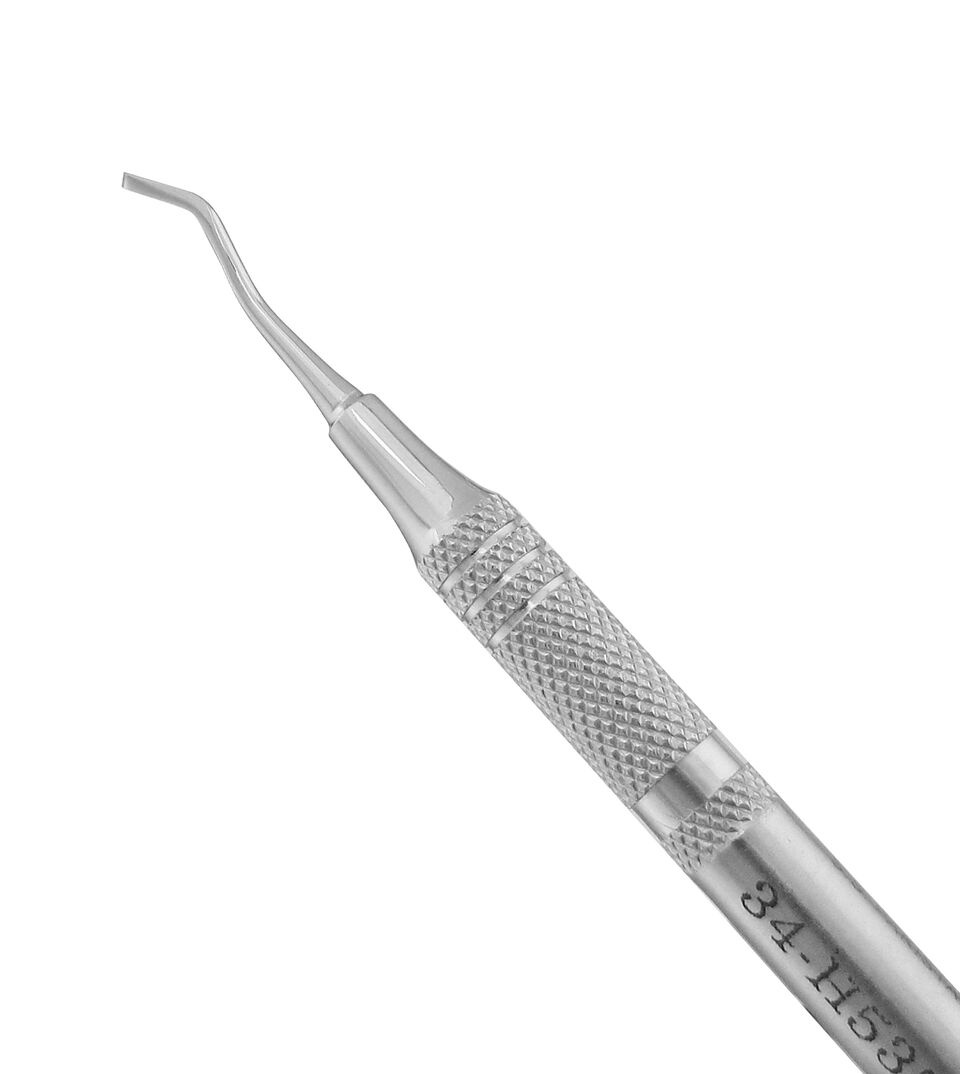 Hatchets
 Impression Tray Sets
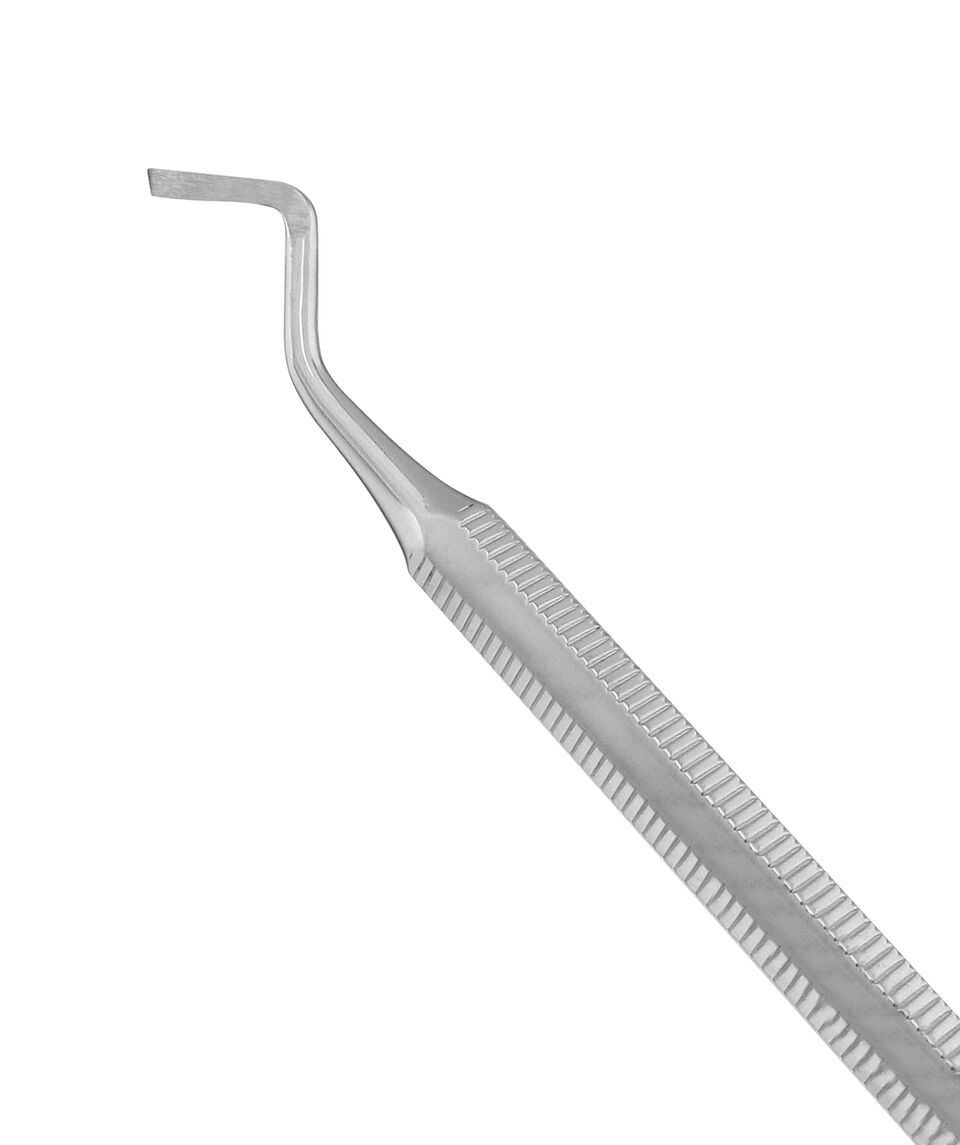 Margin Trimmers
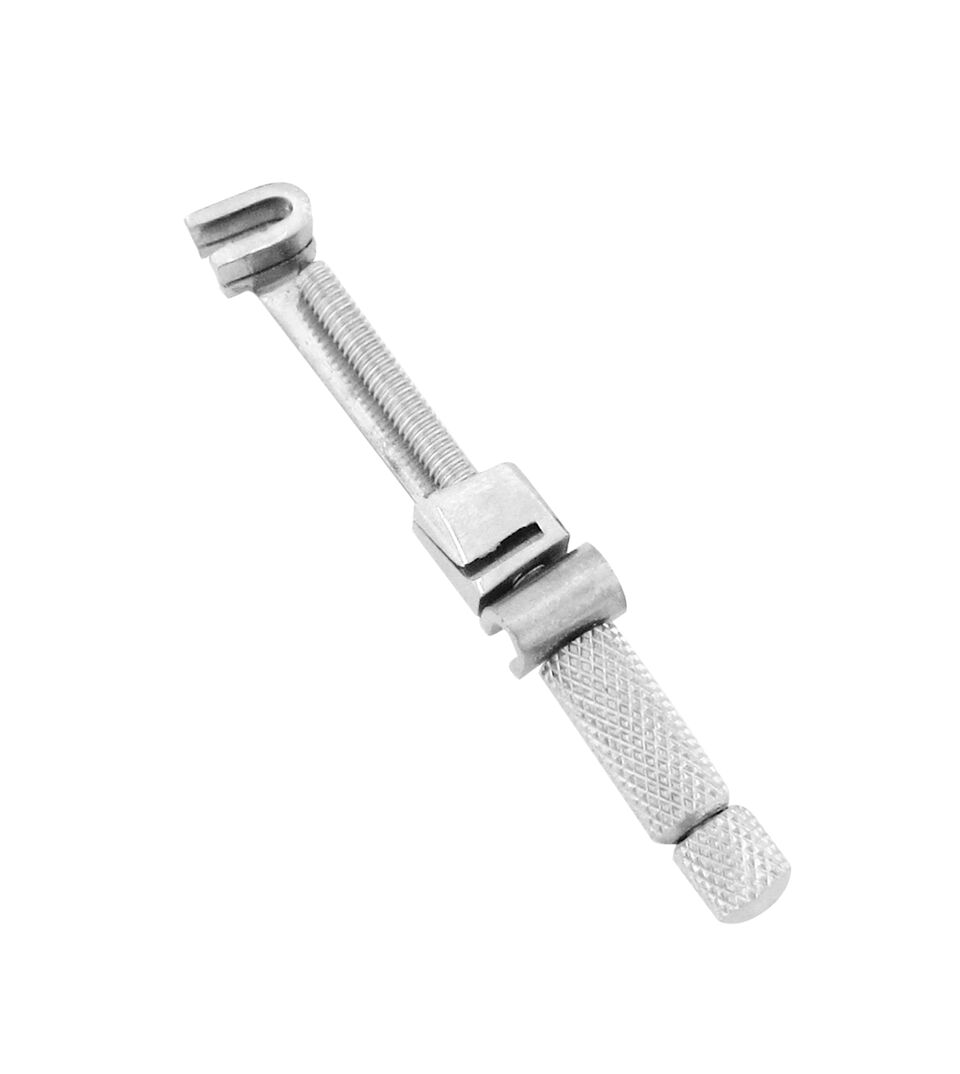 Matrix Retainers
 Placement Instruments
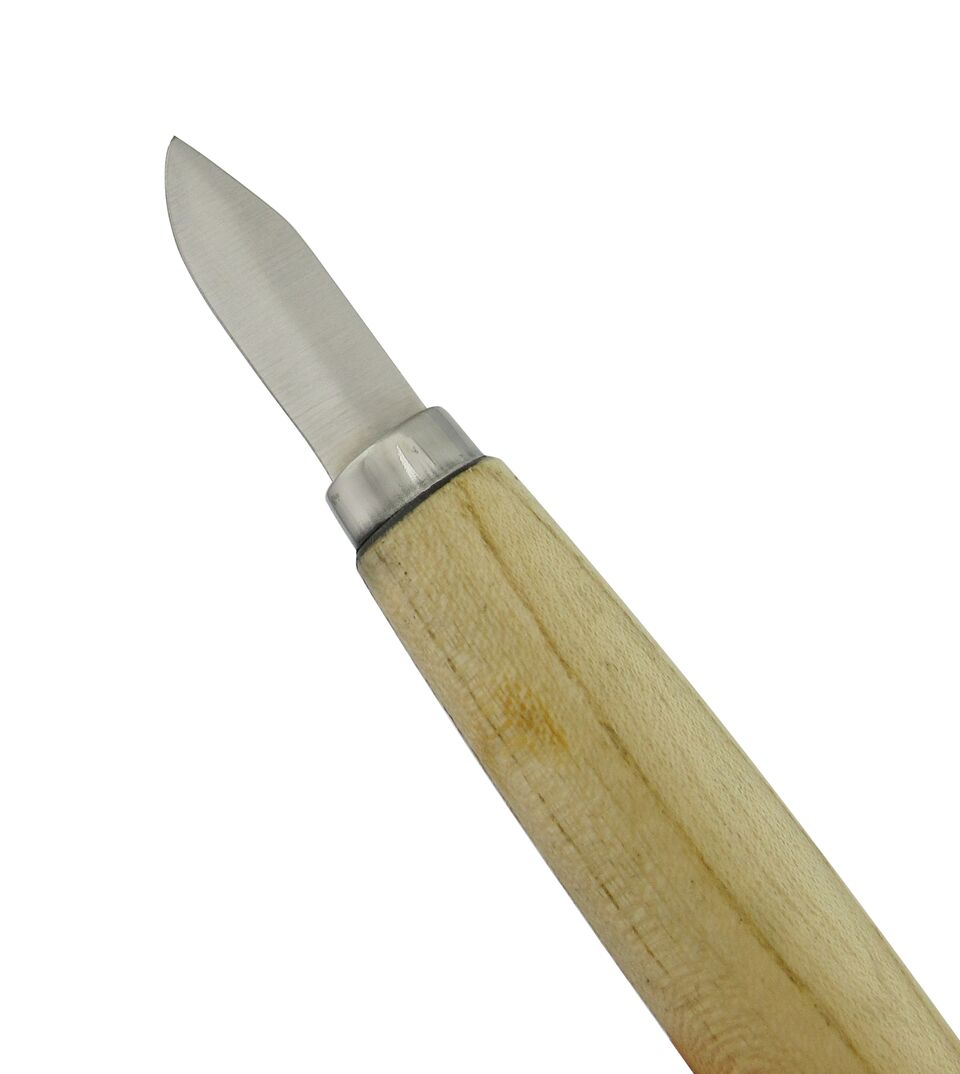 Plaster Knives & Nippers
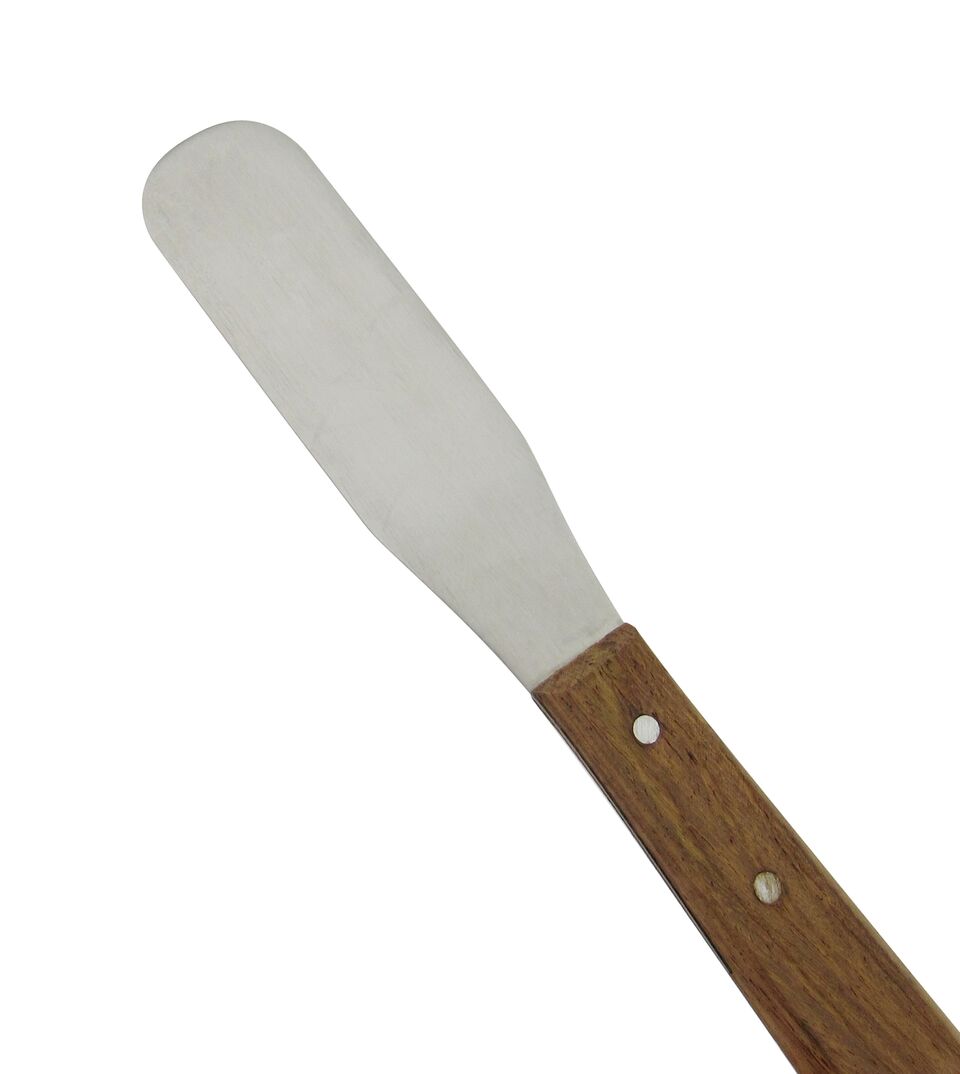 Plaster Spatulas
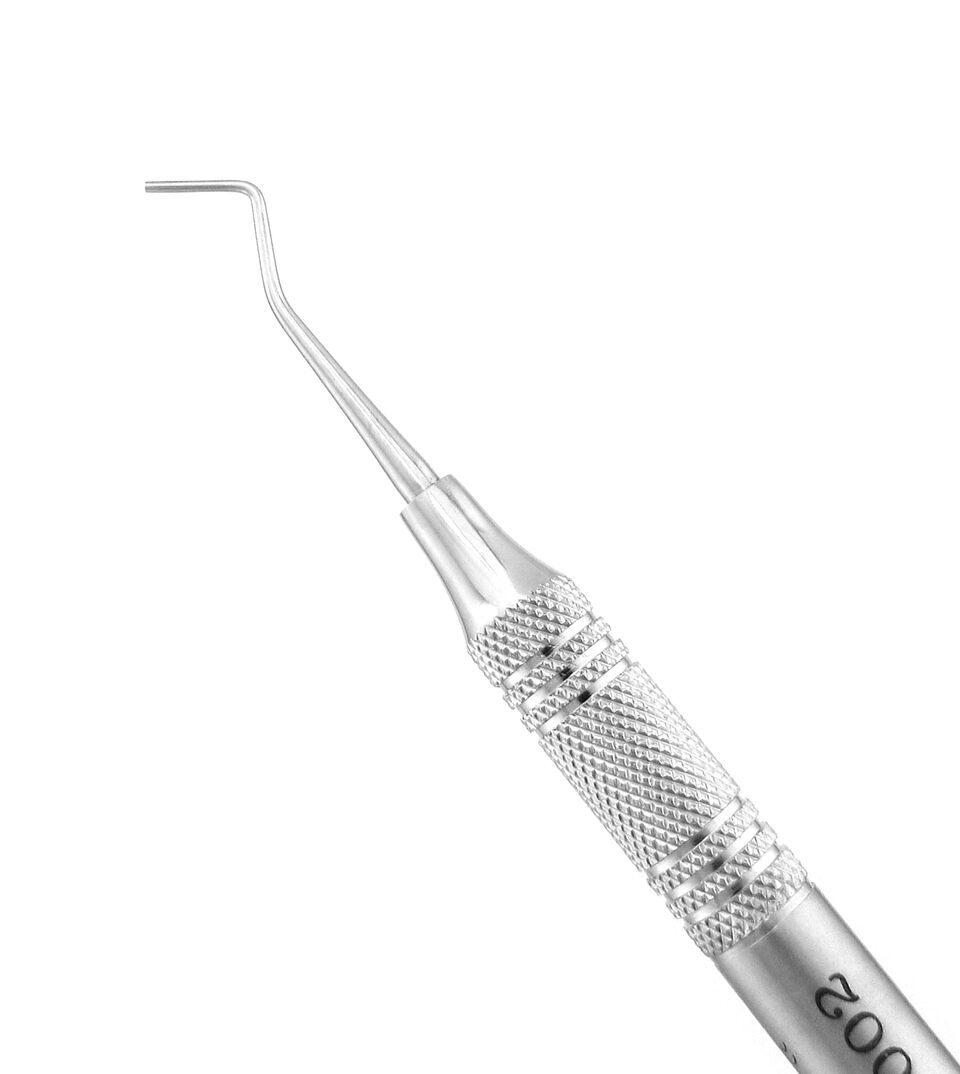 Pluggers/Condensers
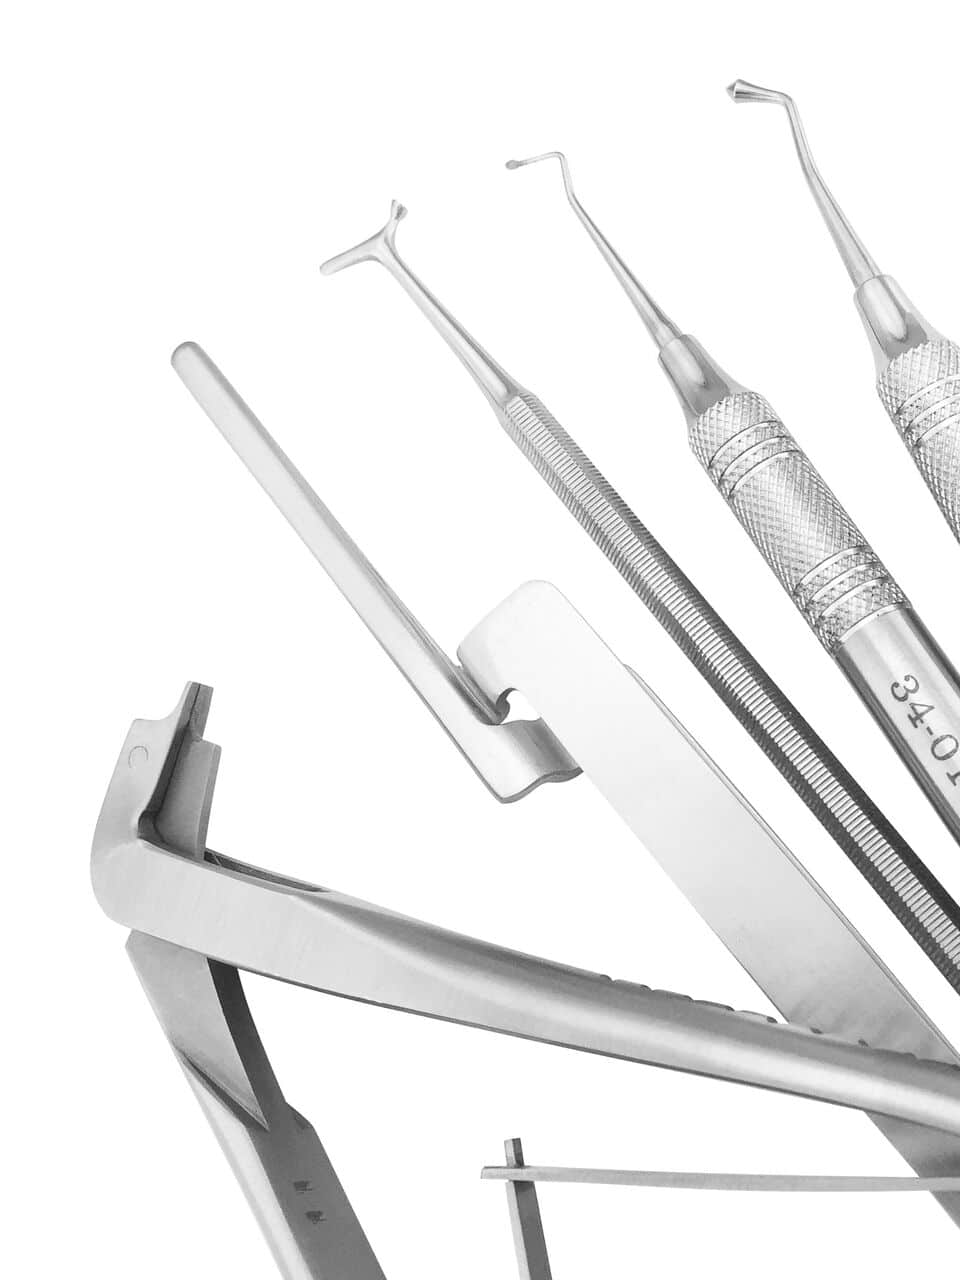 Restorative Sets
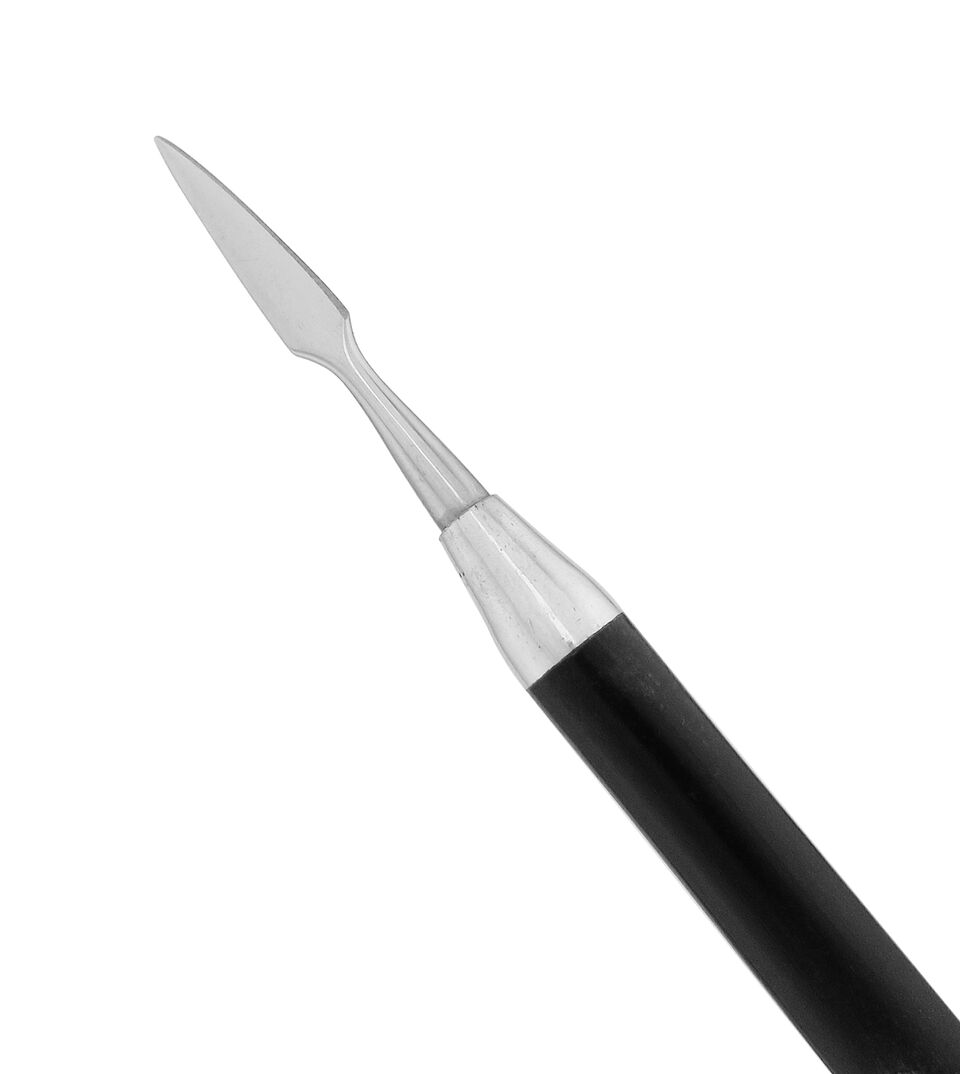 Wax & Porcelain Carvers
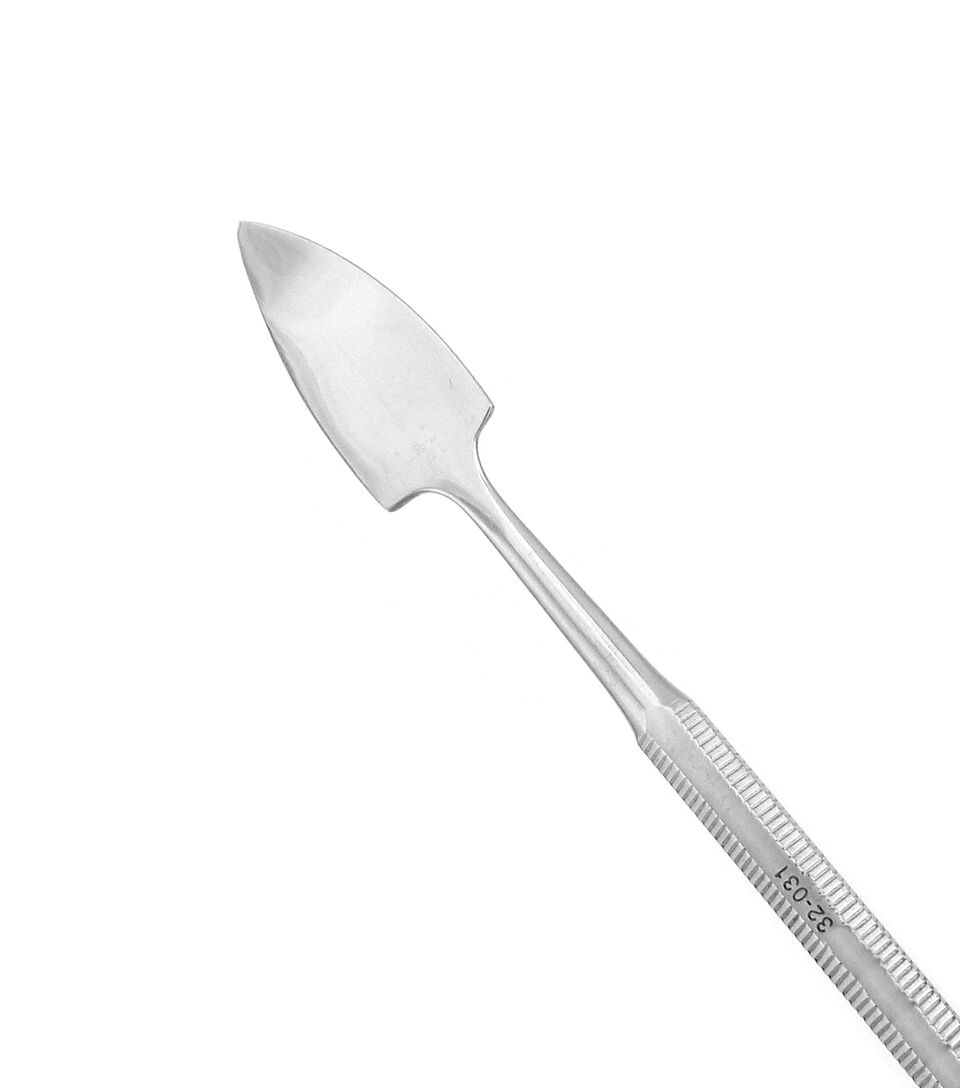 Wax Spatulas
 Waxing Instruments
 Aspirators
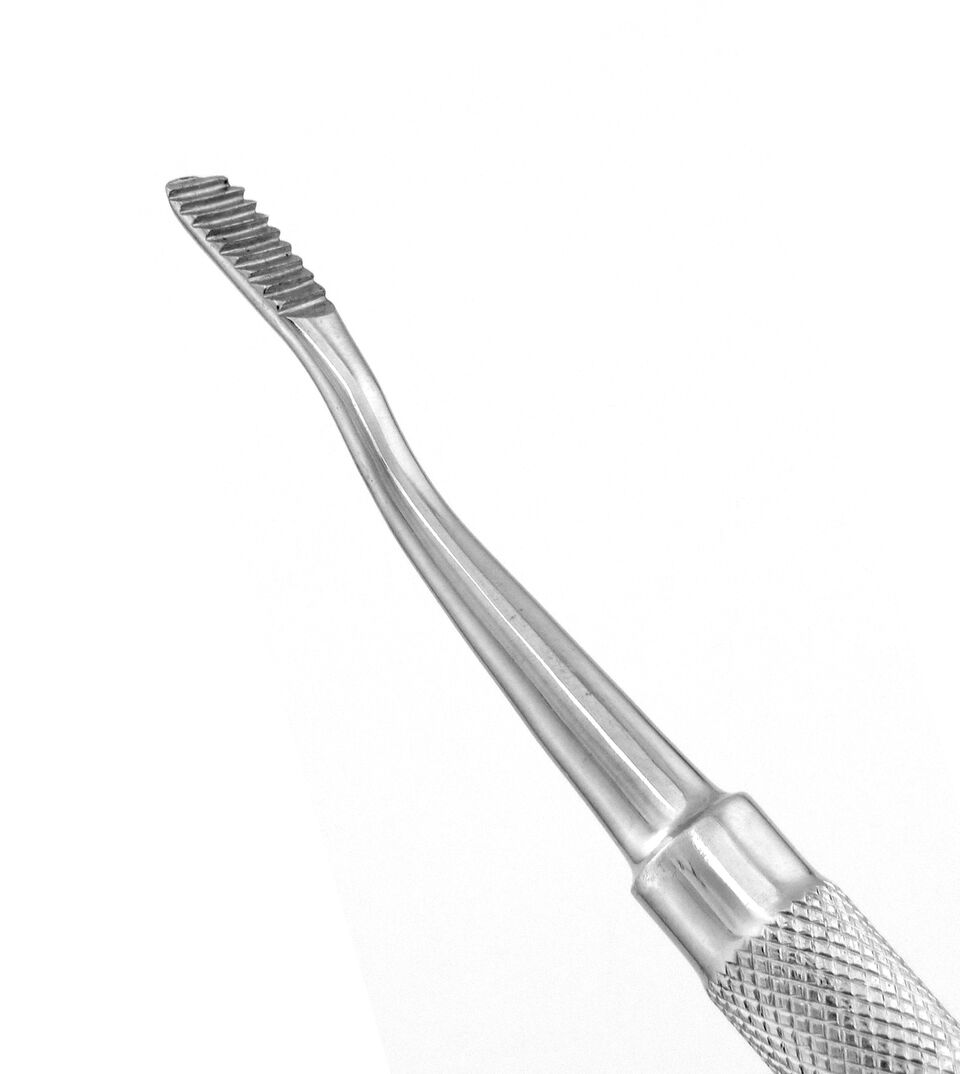 Bone Chisels
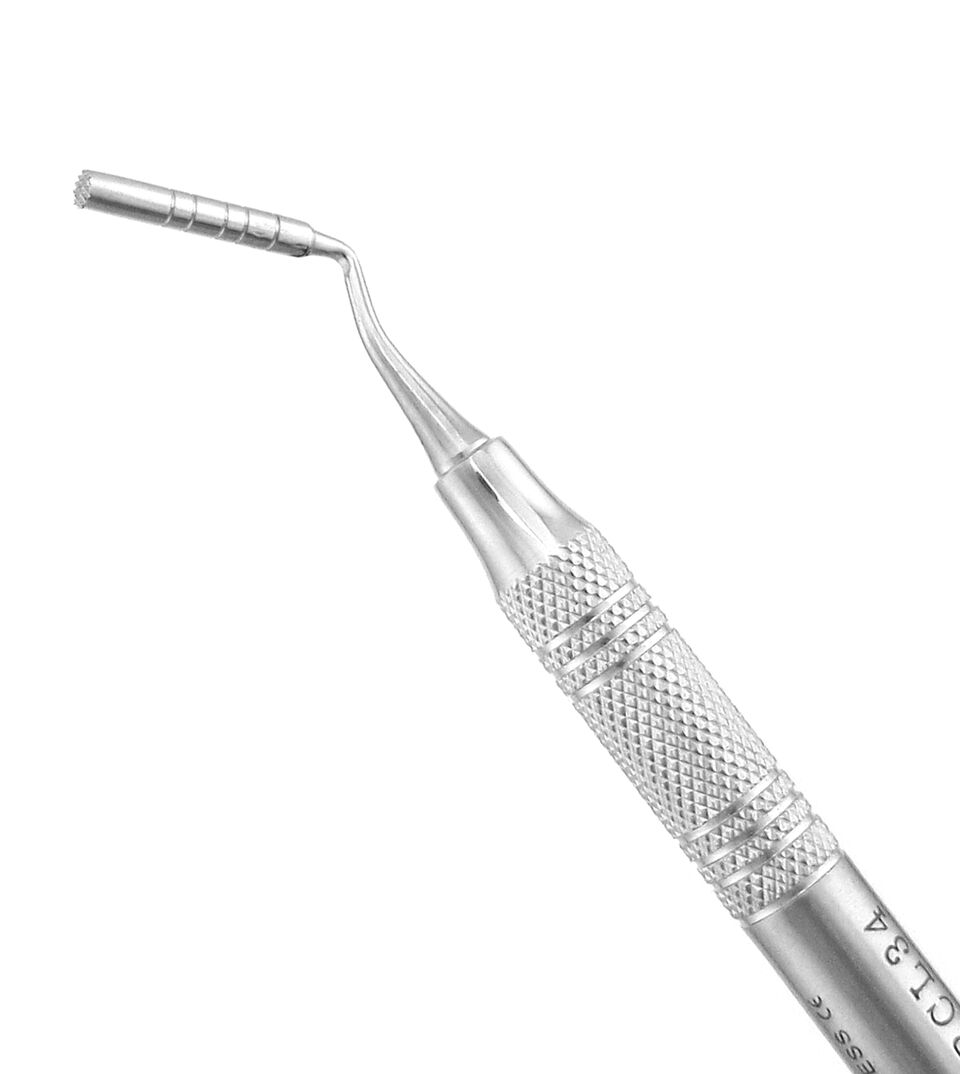 Bone Grafting Instruments
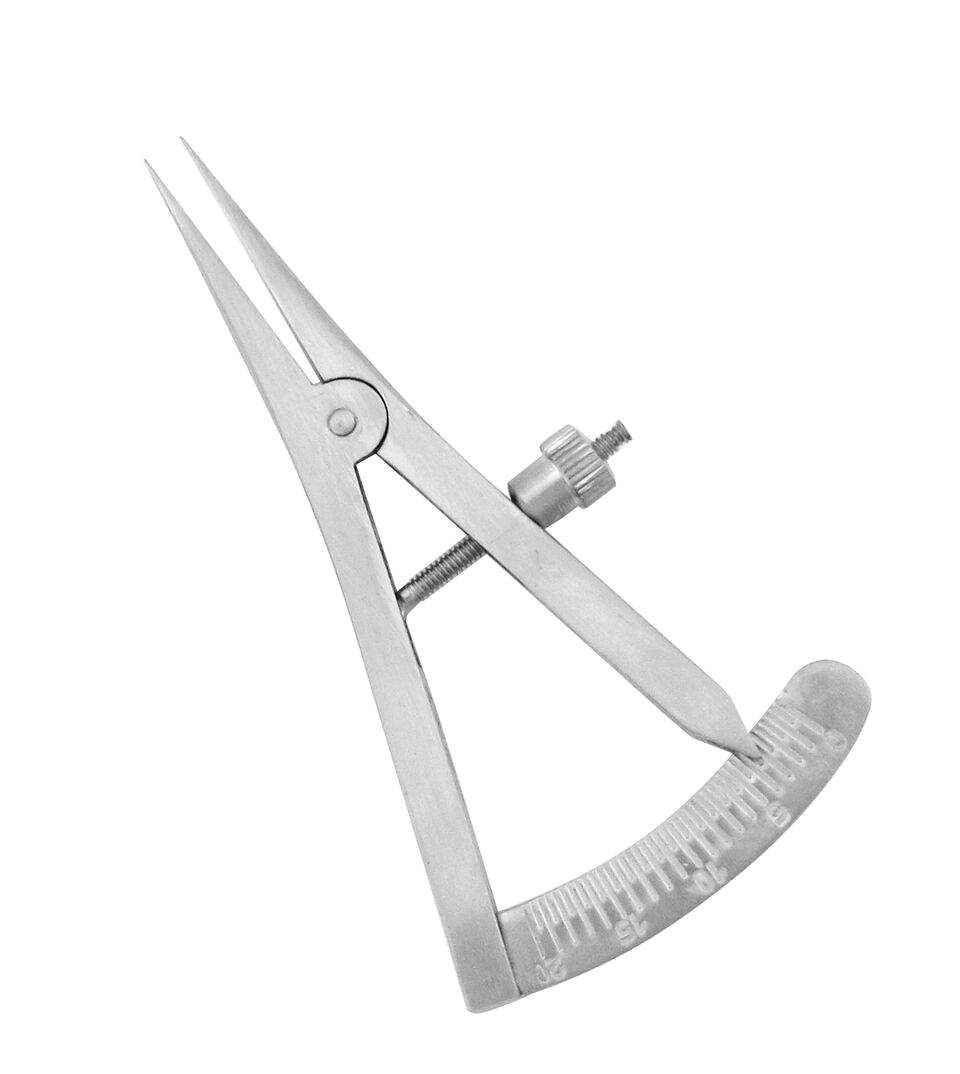 Calipers
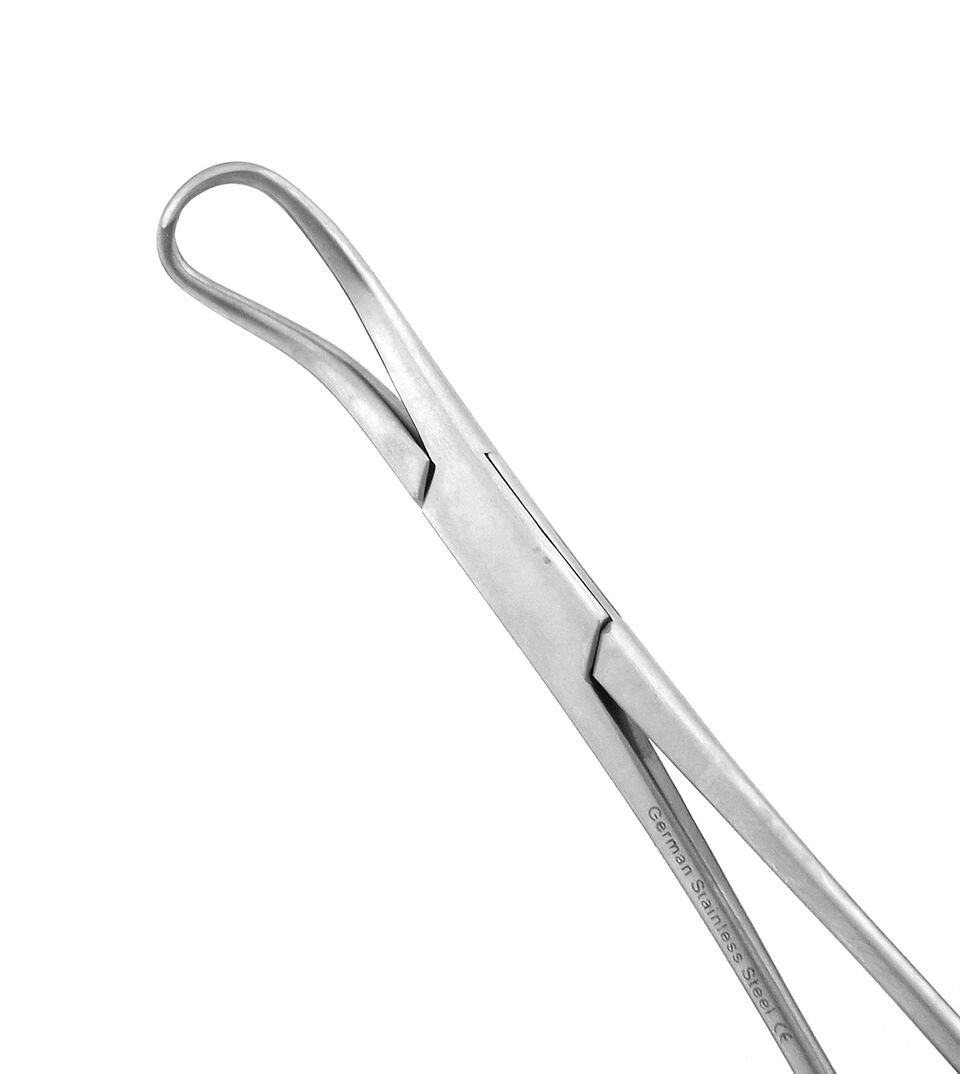 Clamps
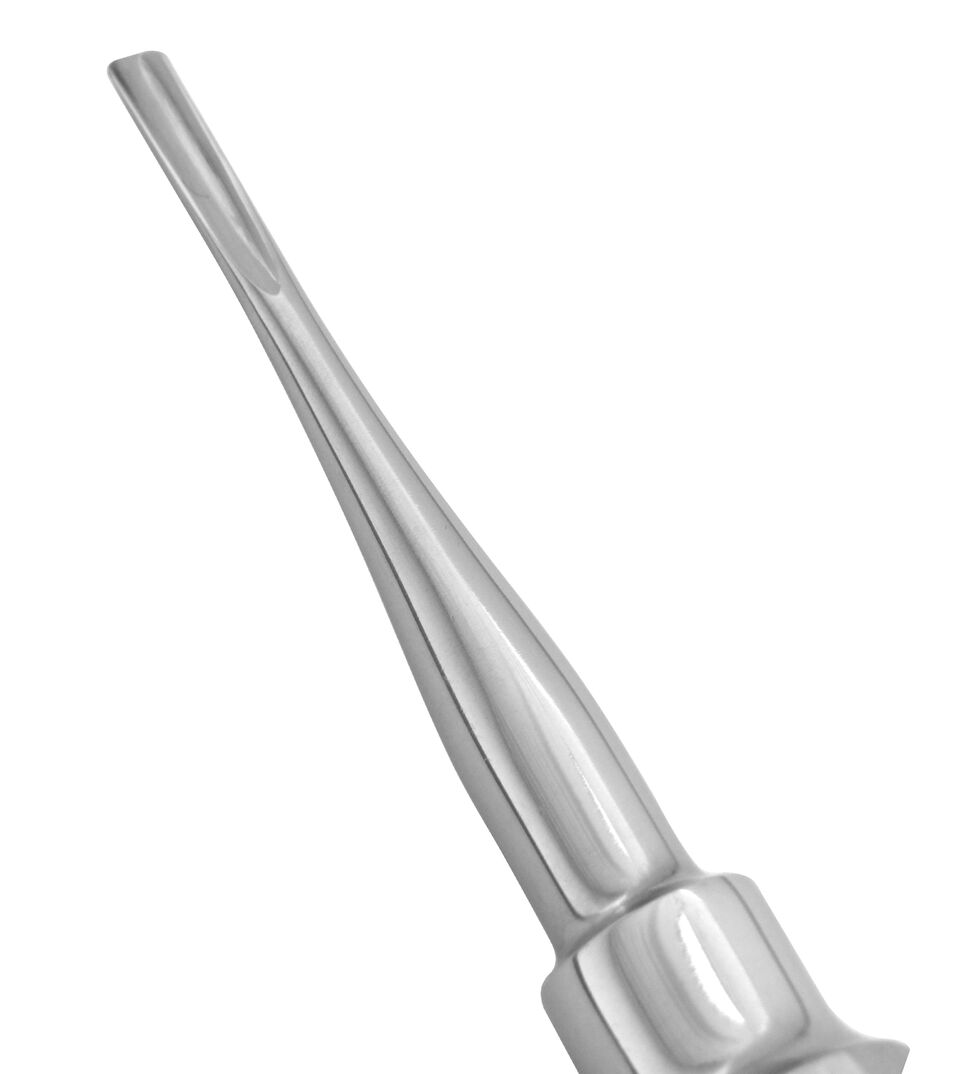 Dental Elevators
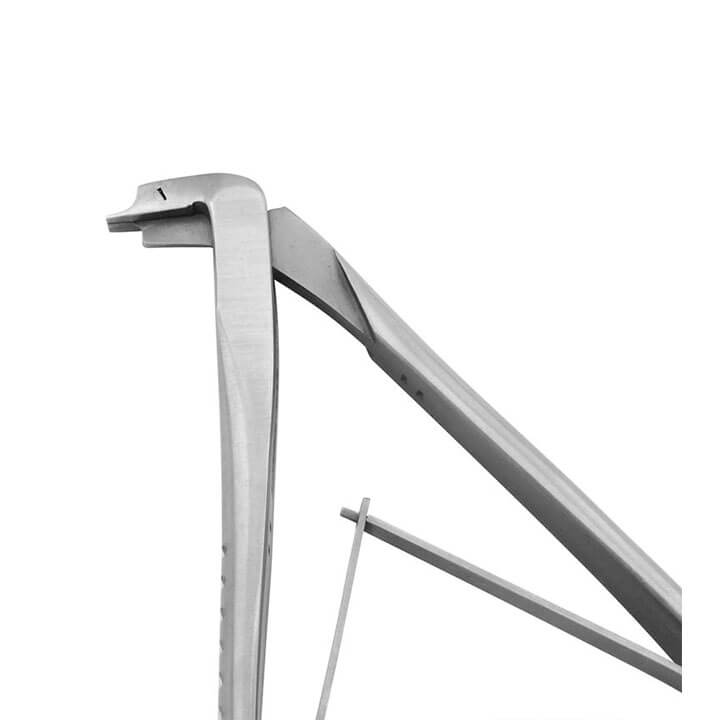
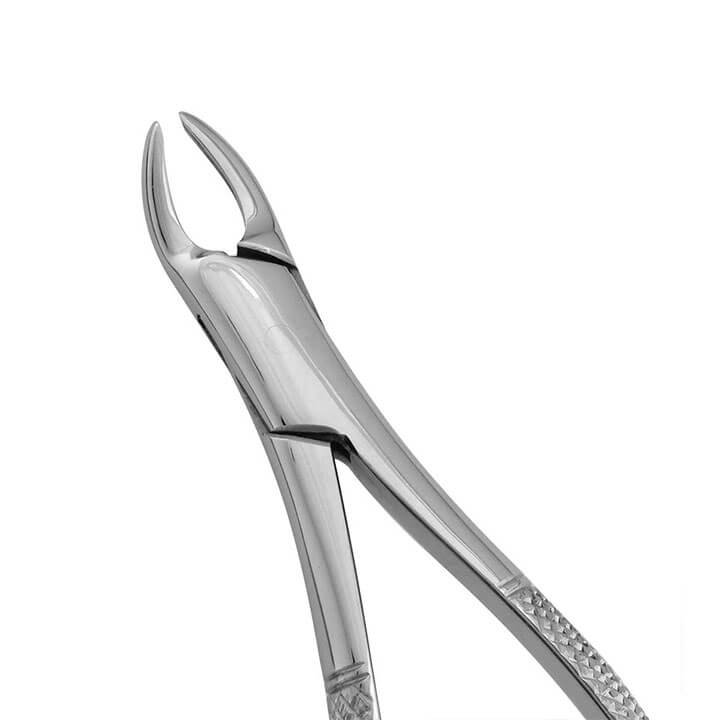
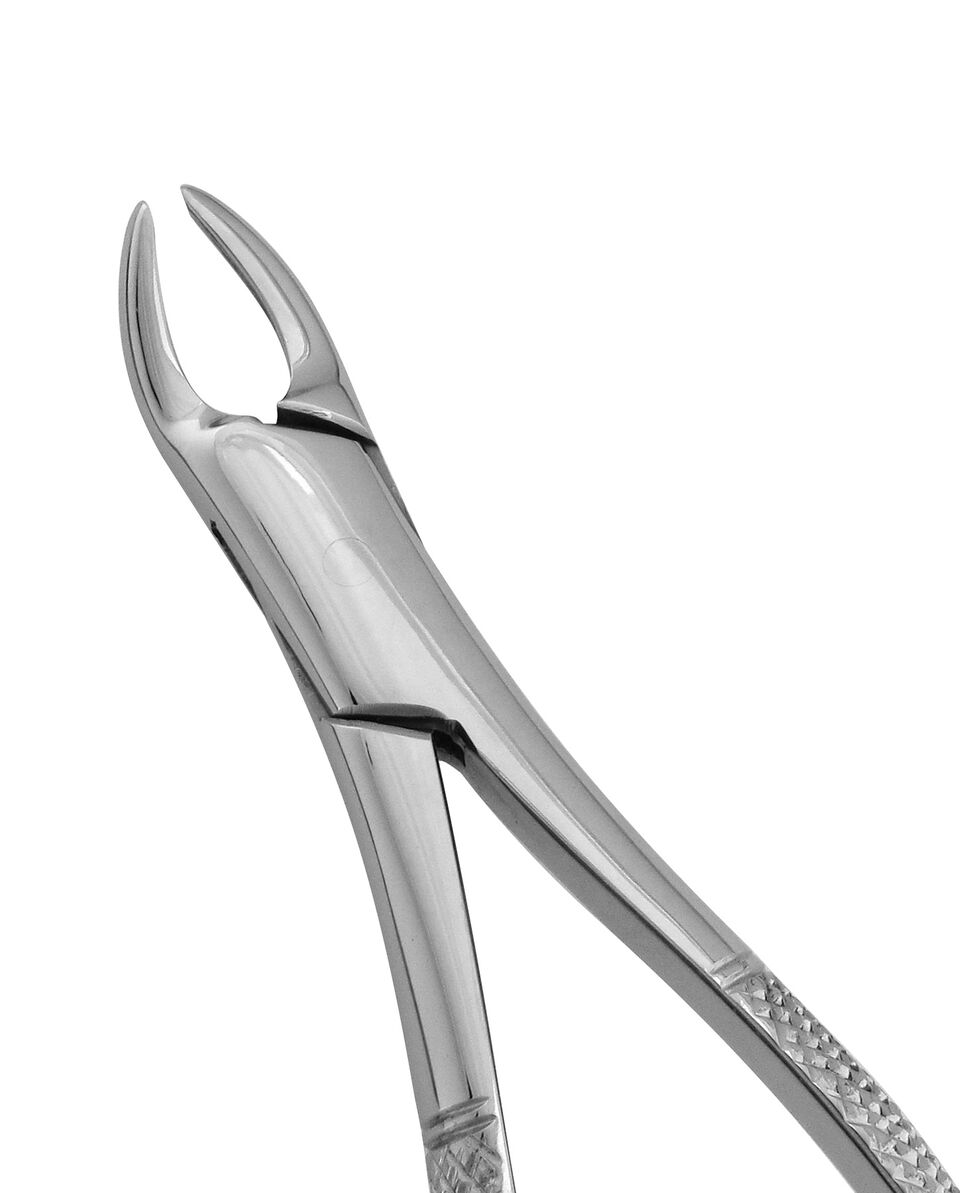 Extraction Forceps
 Hemostats & Forceps
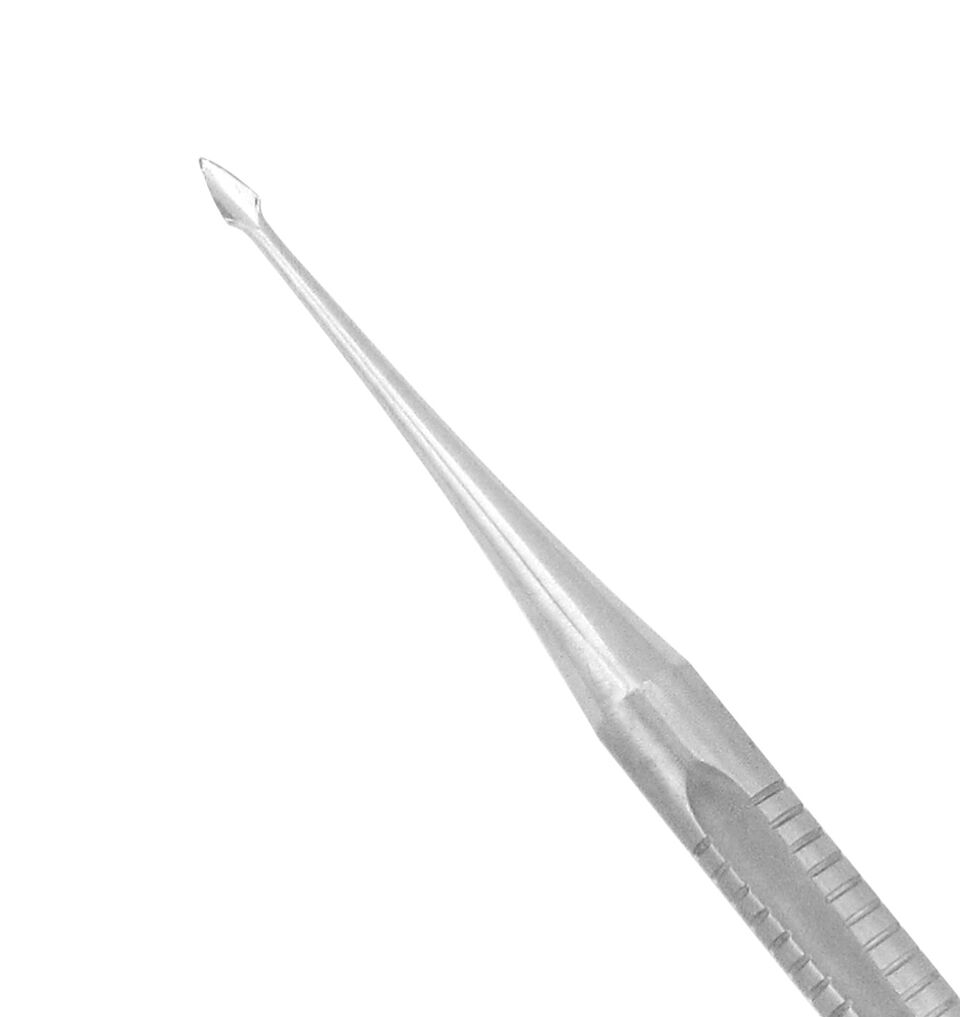 Hybrid Instruments
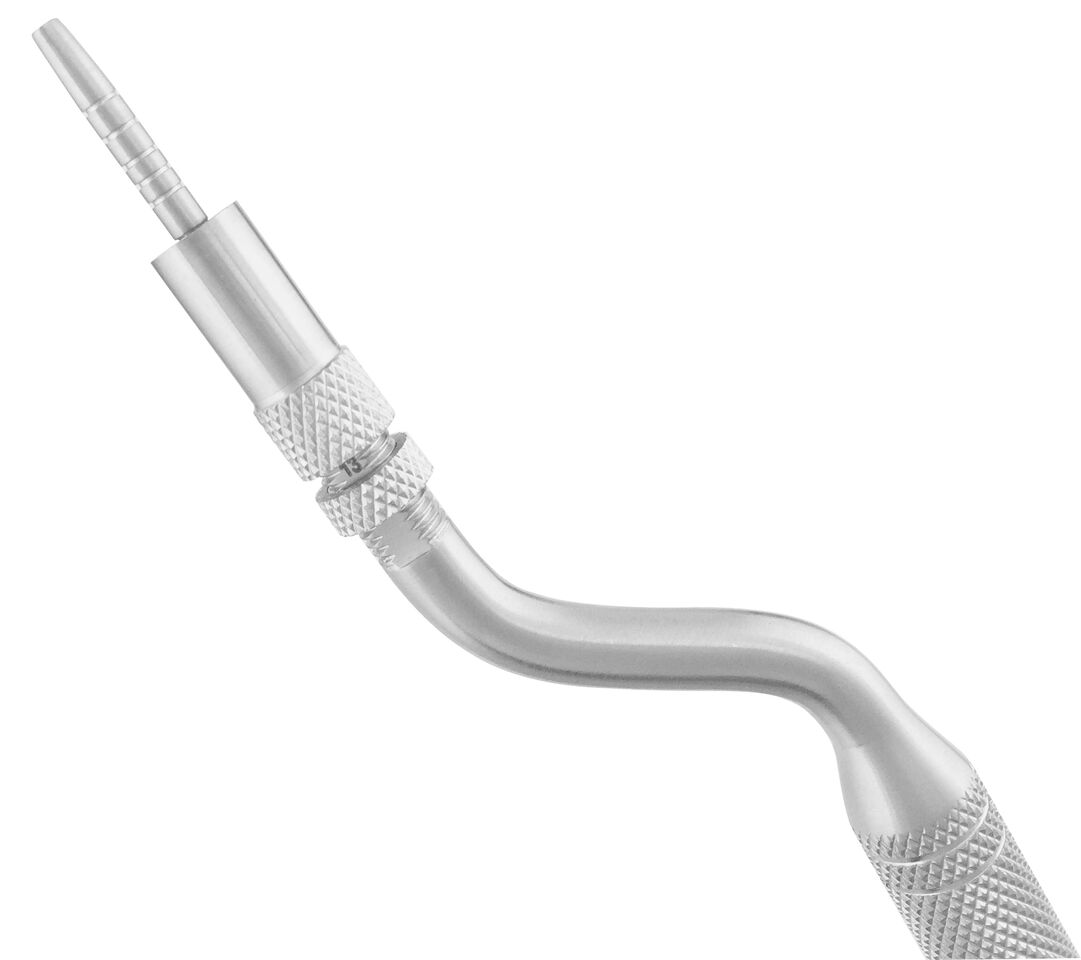 Implant Instruments
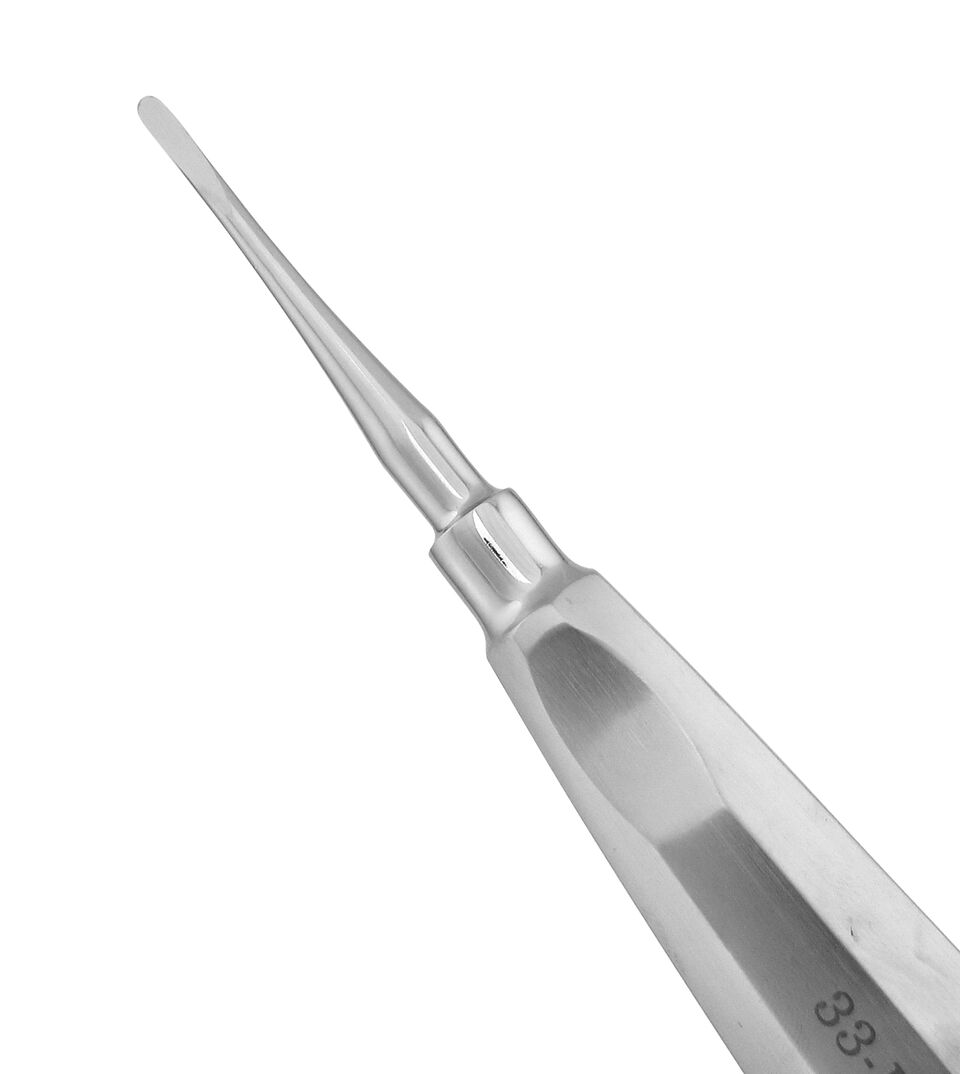 Luxating Elevators
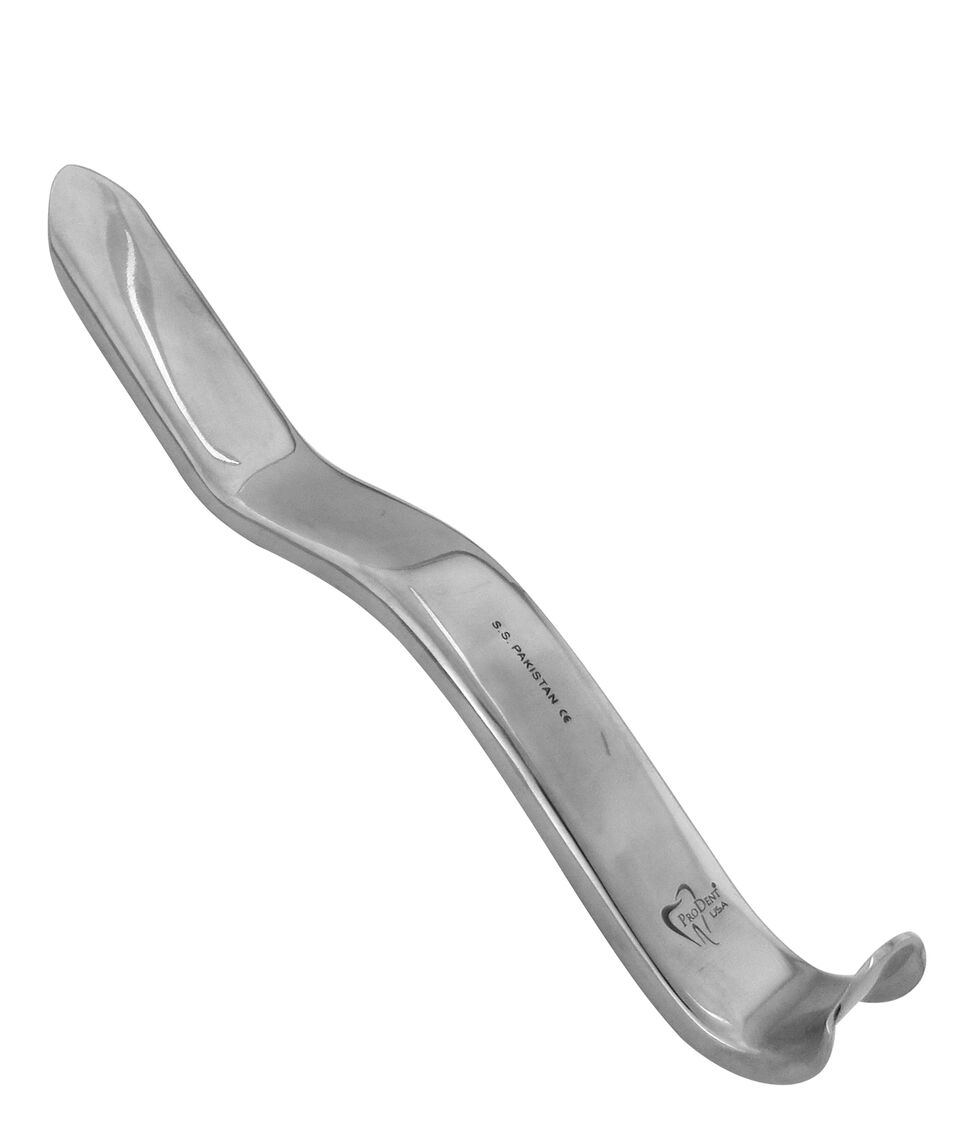 Mouth Gags & Retractors
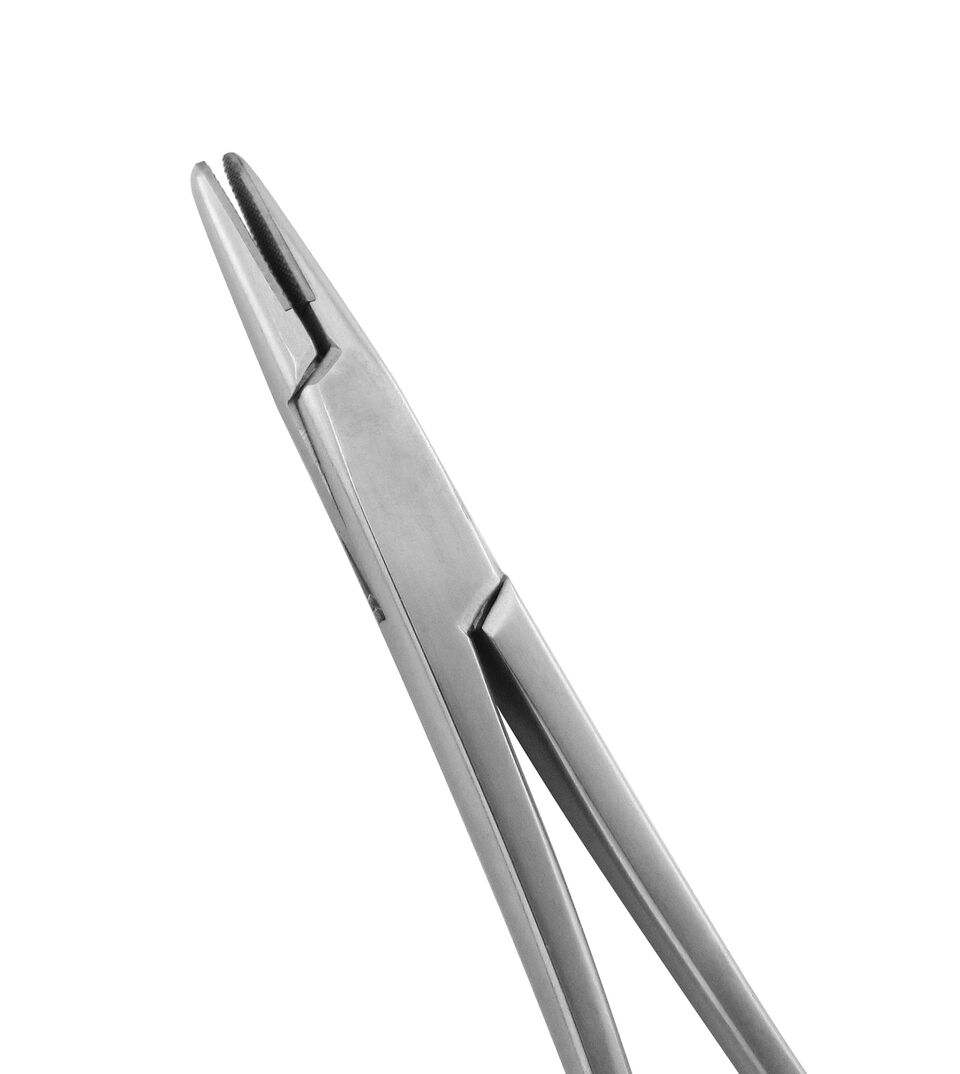 Needle Holders
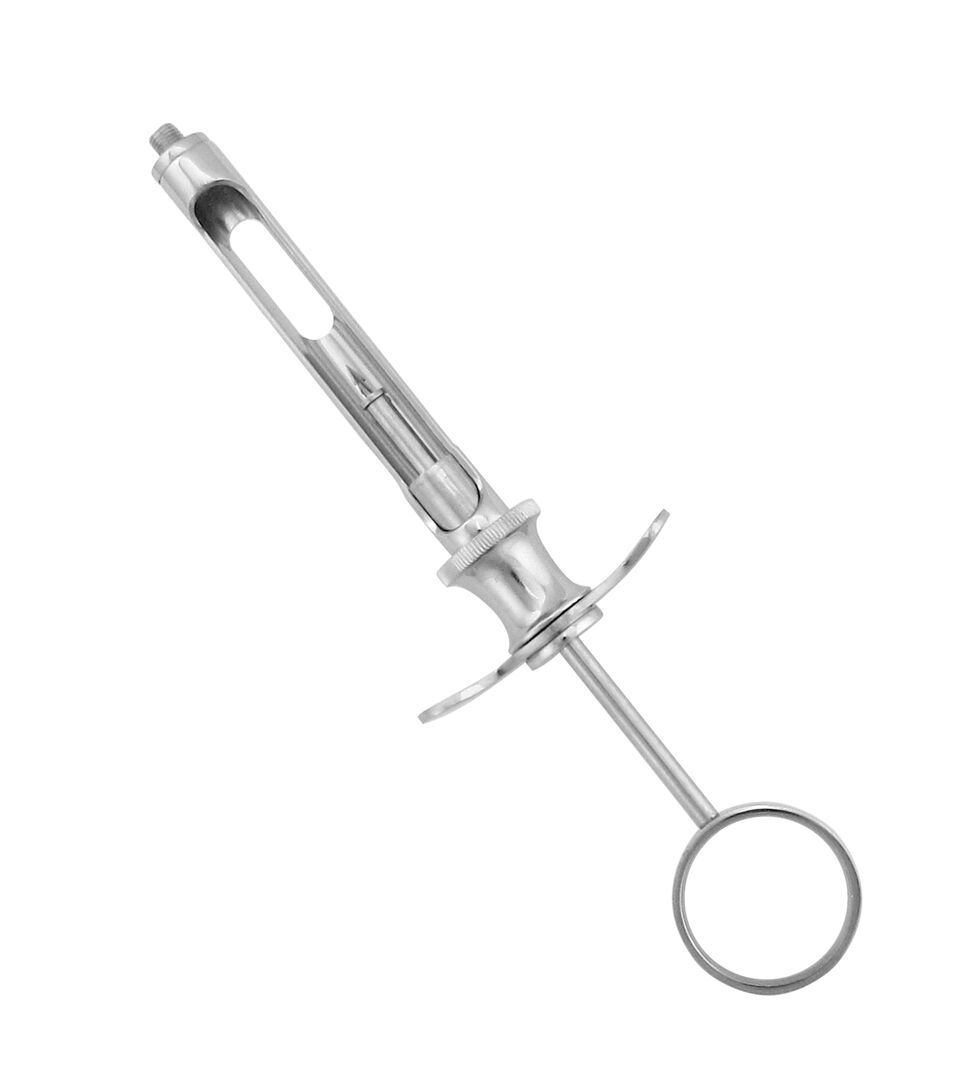 Oral Surgery Aspirating Syringes
 Periodontal Surgical Instruments
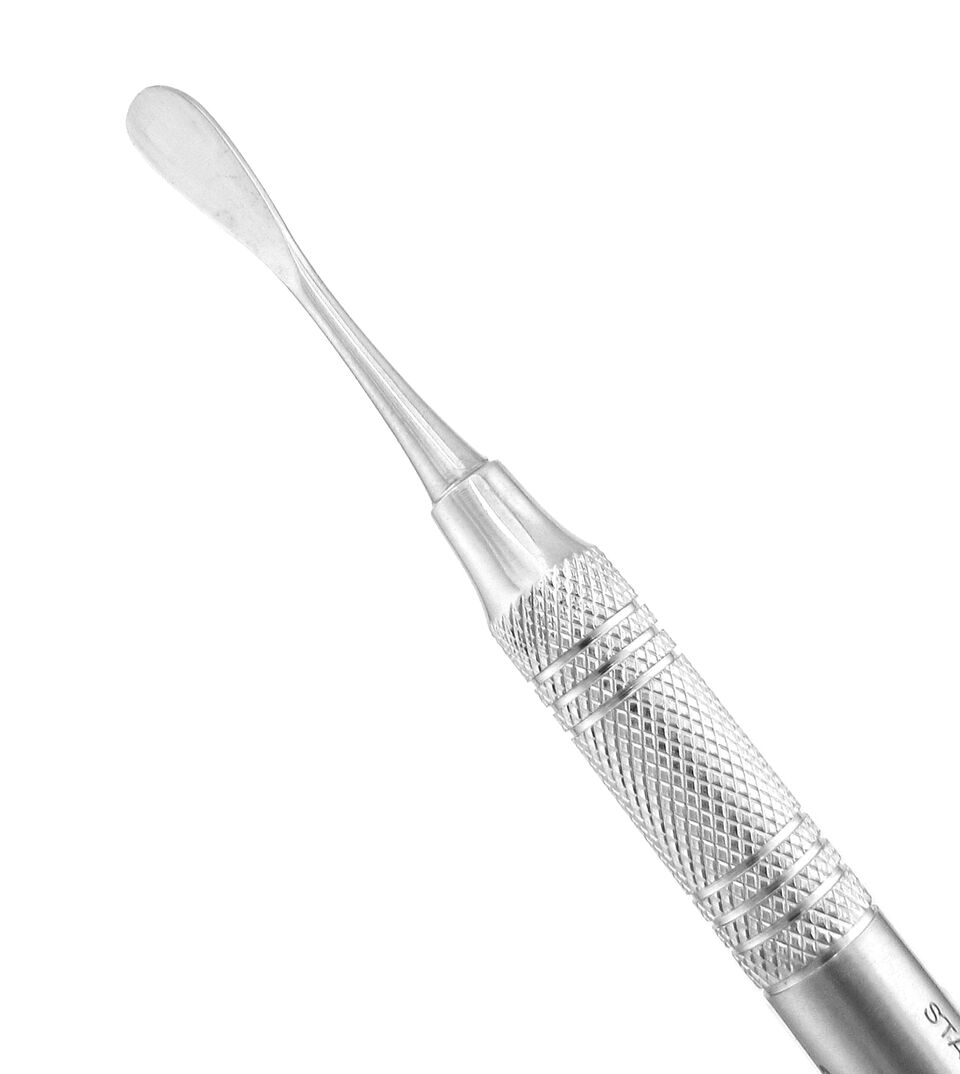 Periosteal Elevators
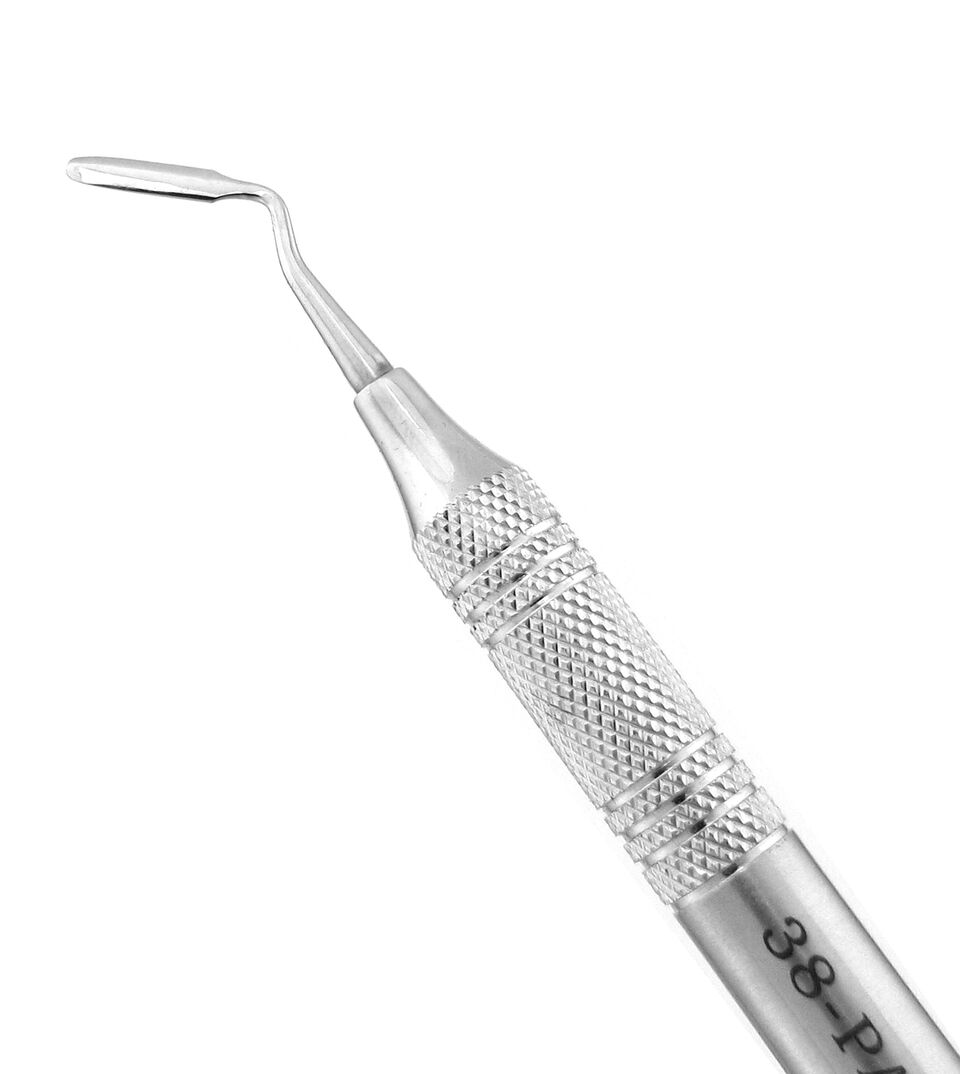 Periotomes
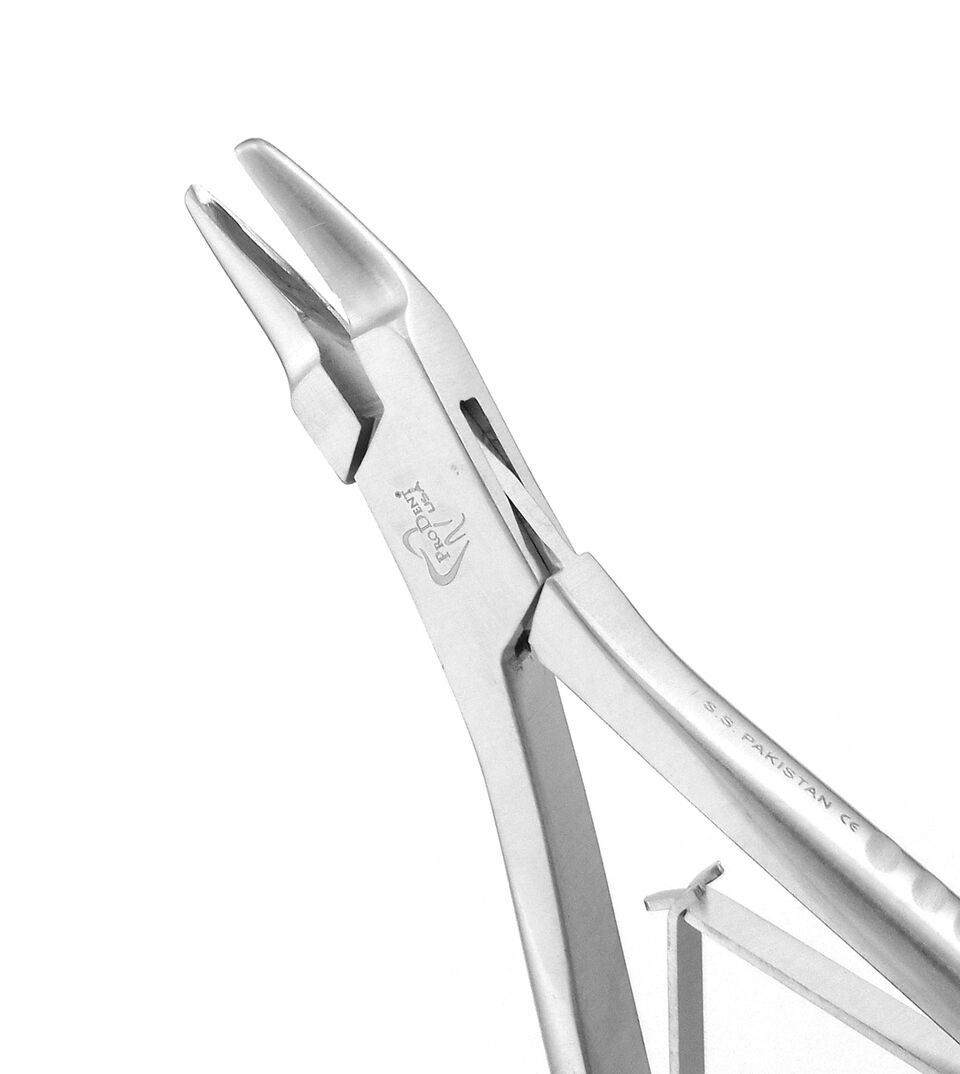 Rongeurs
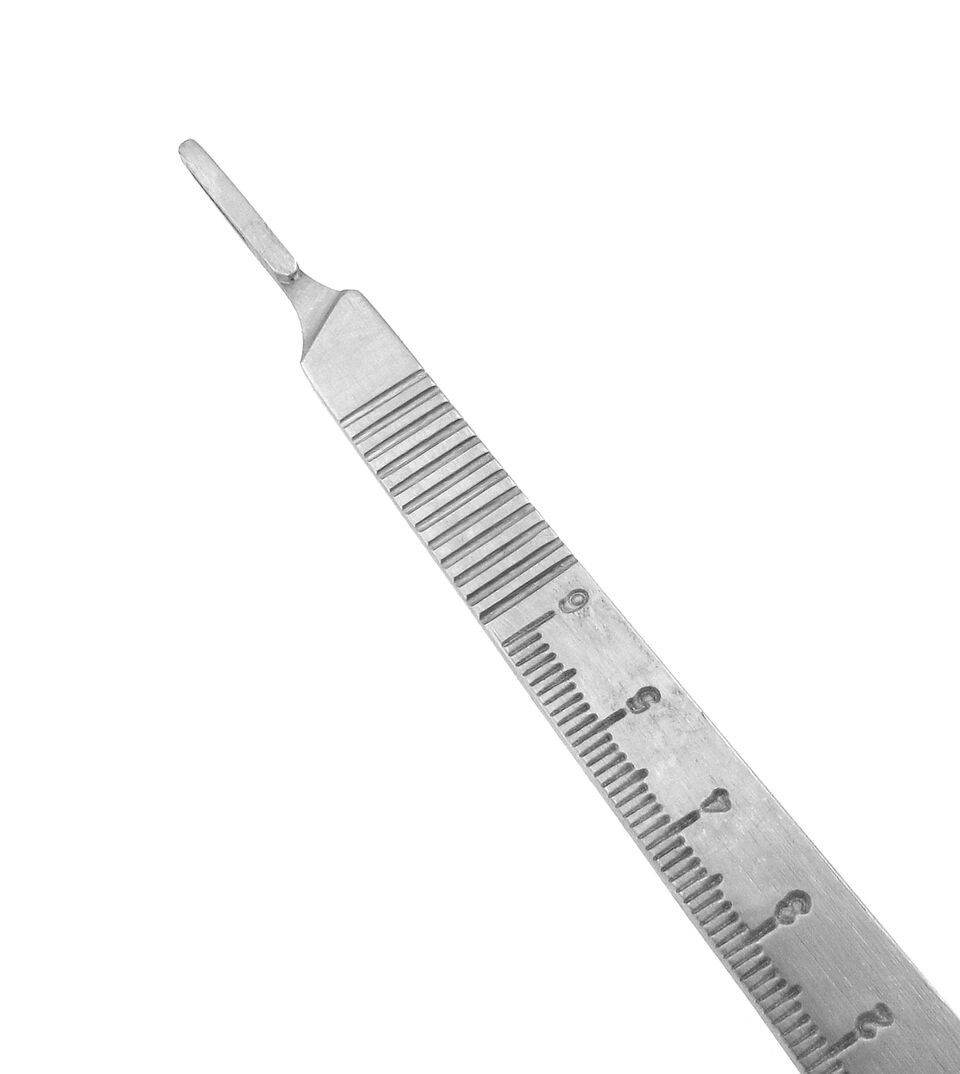 Scalpel Handles
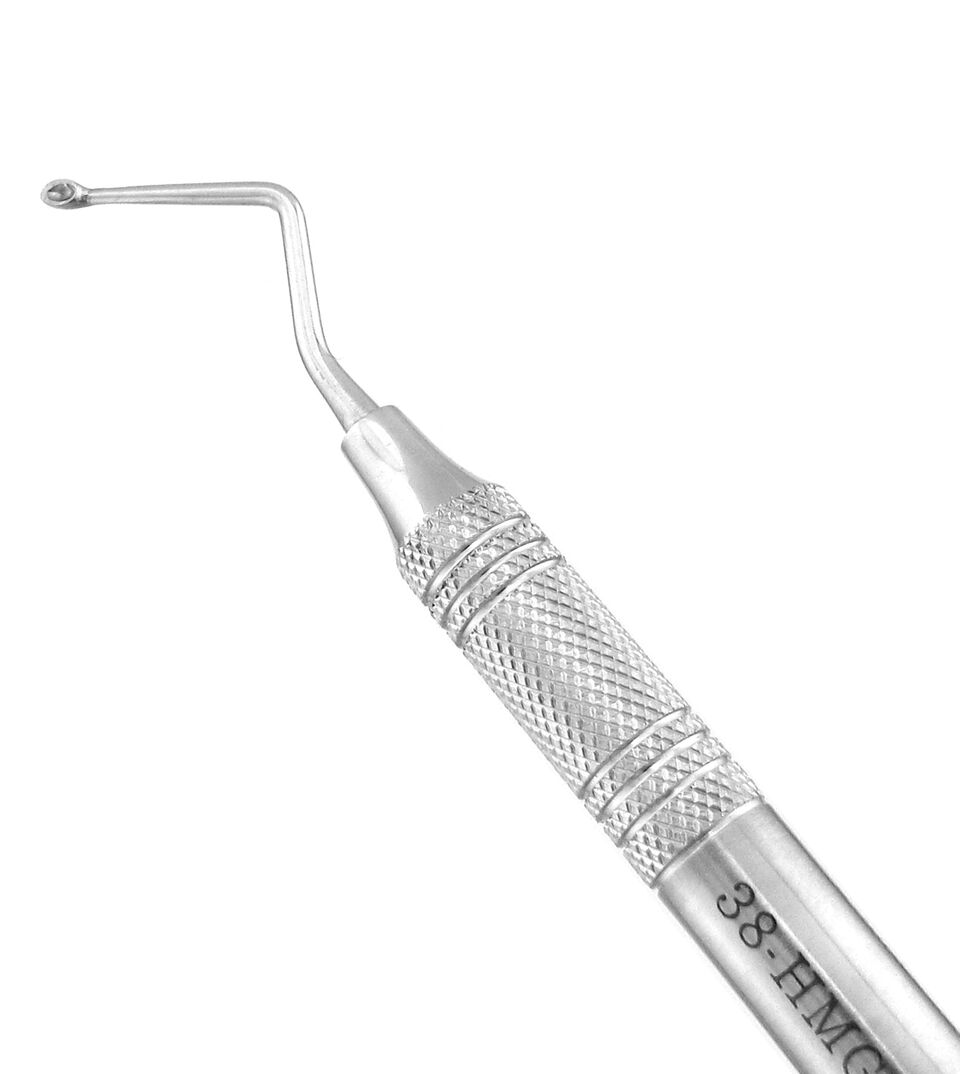 Surgical Curettes
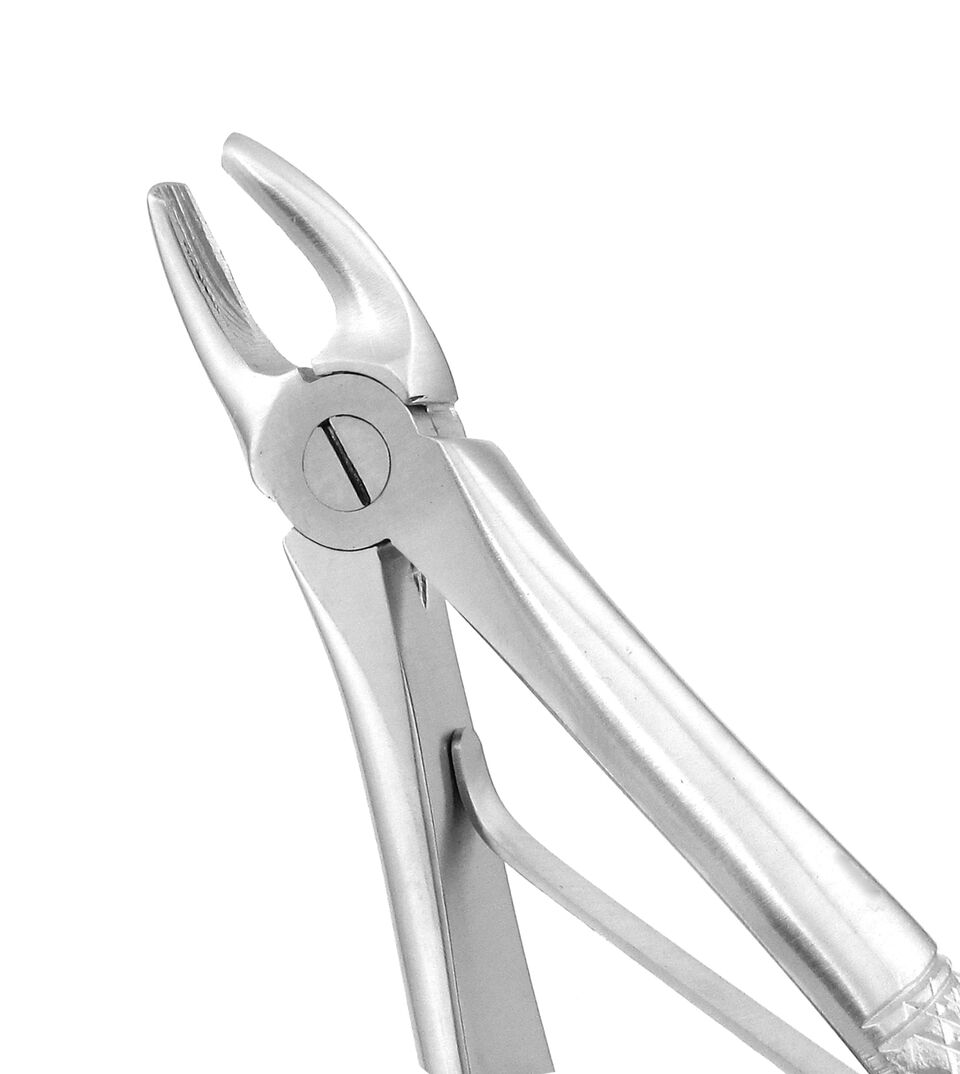 Surgical Pediatric Forceps
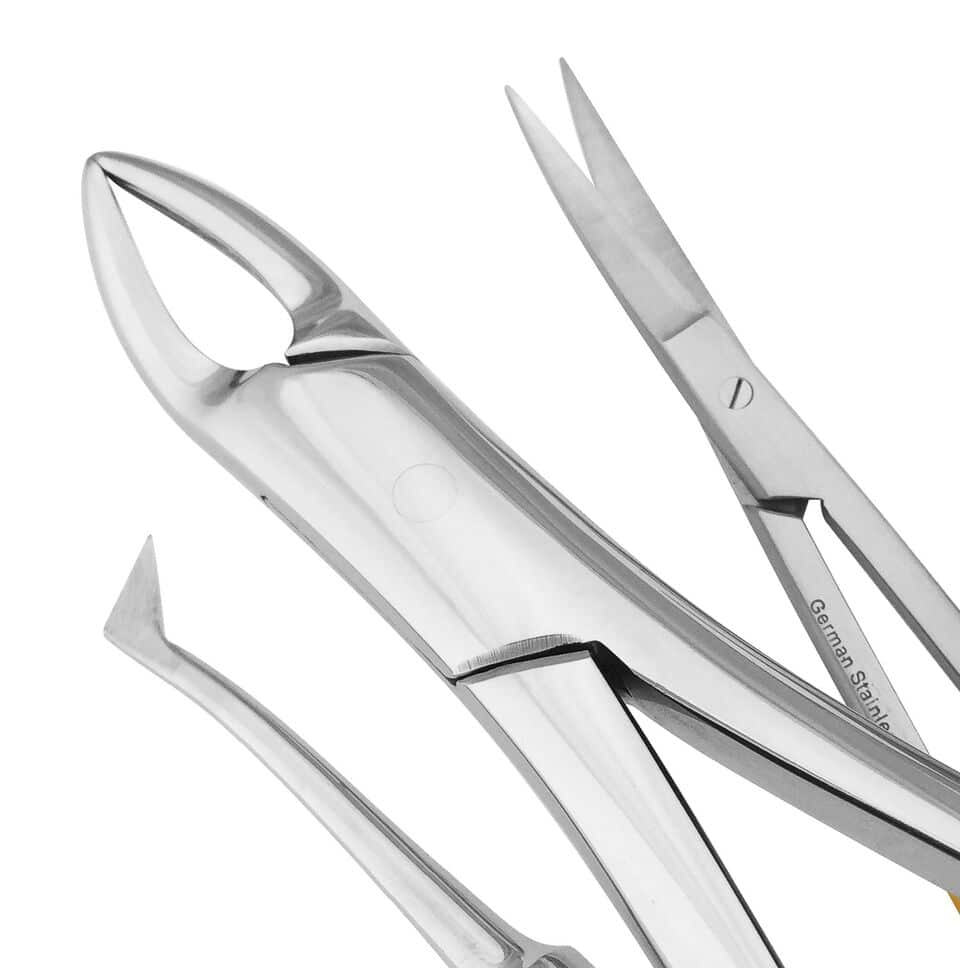 Surgical Sets
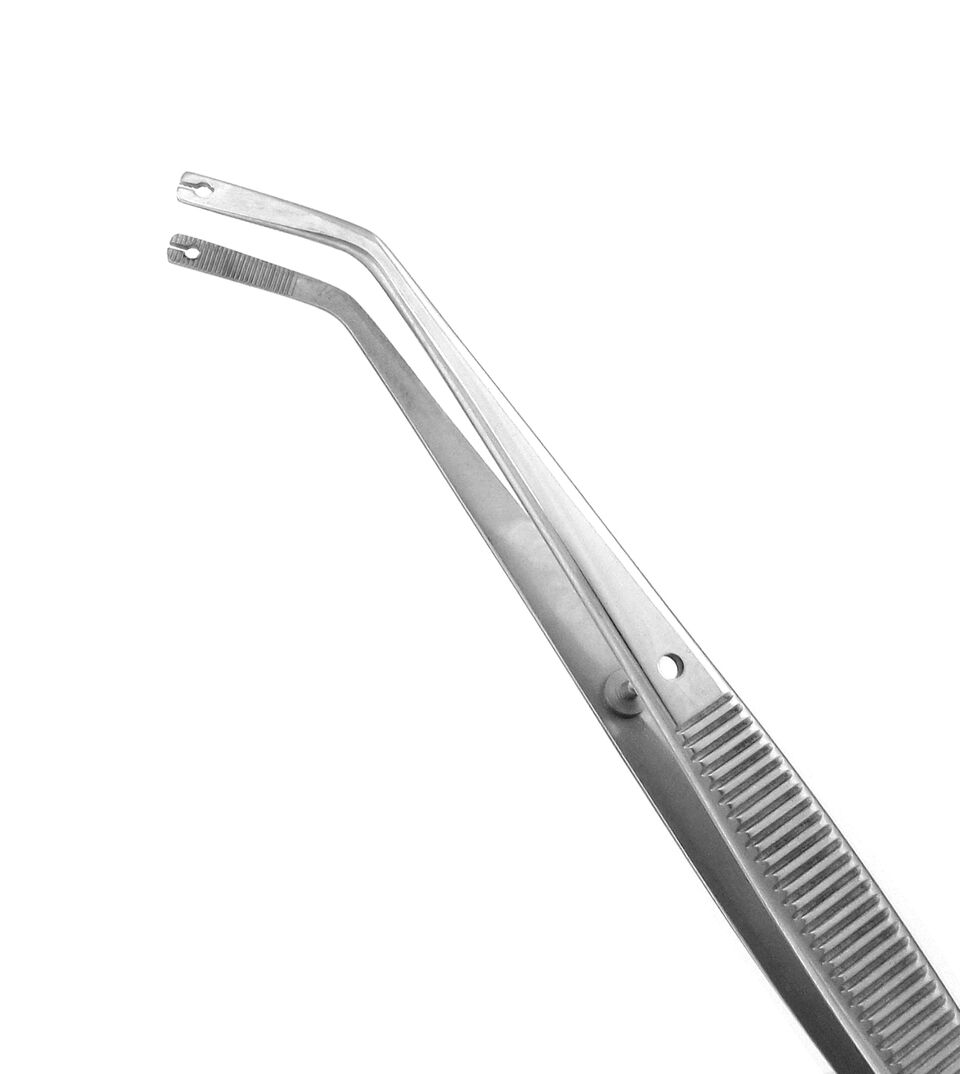 Suture Forceps
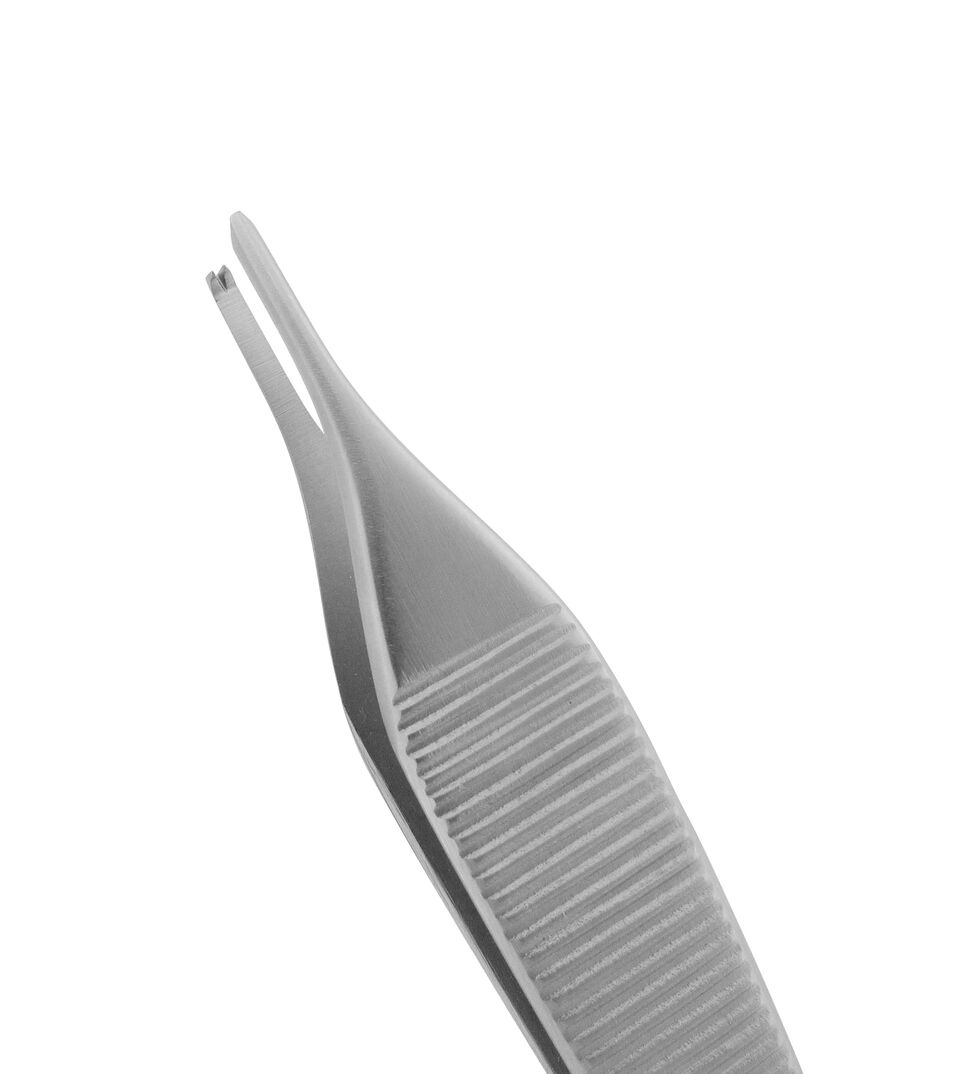 Tissue & Dressing Forceps
 Utility Forceps
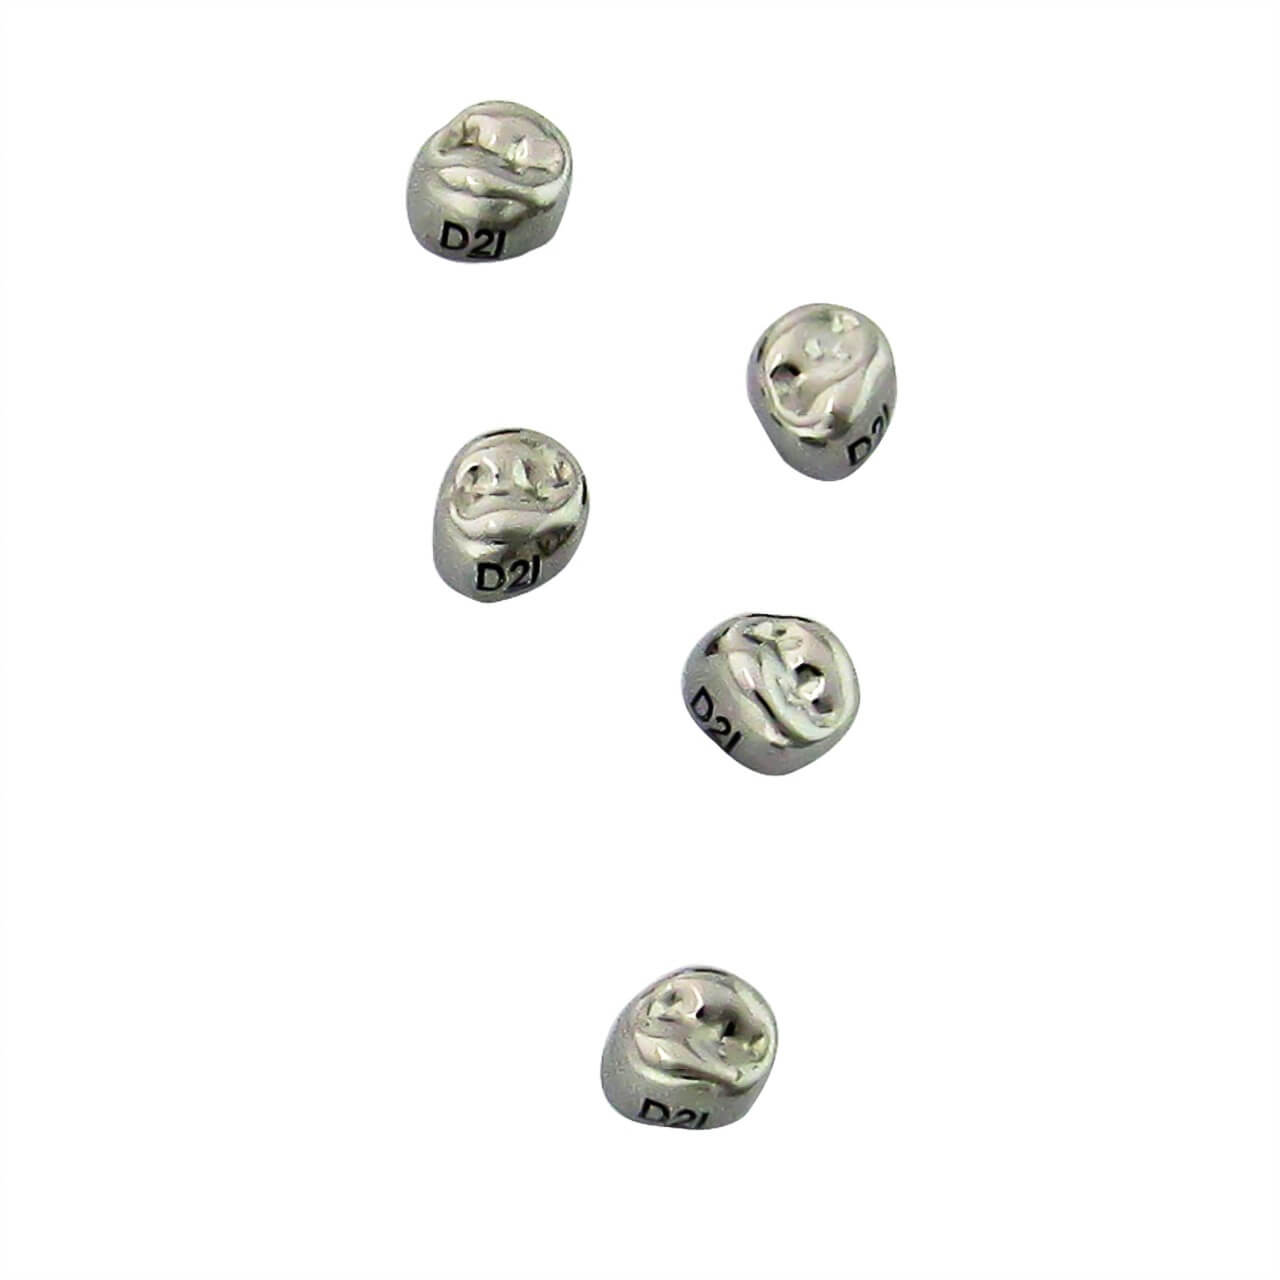 Stainless Steel Crowns
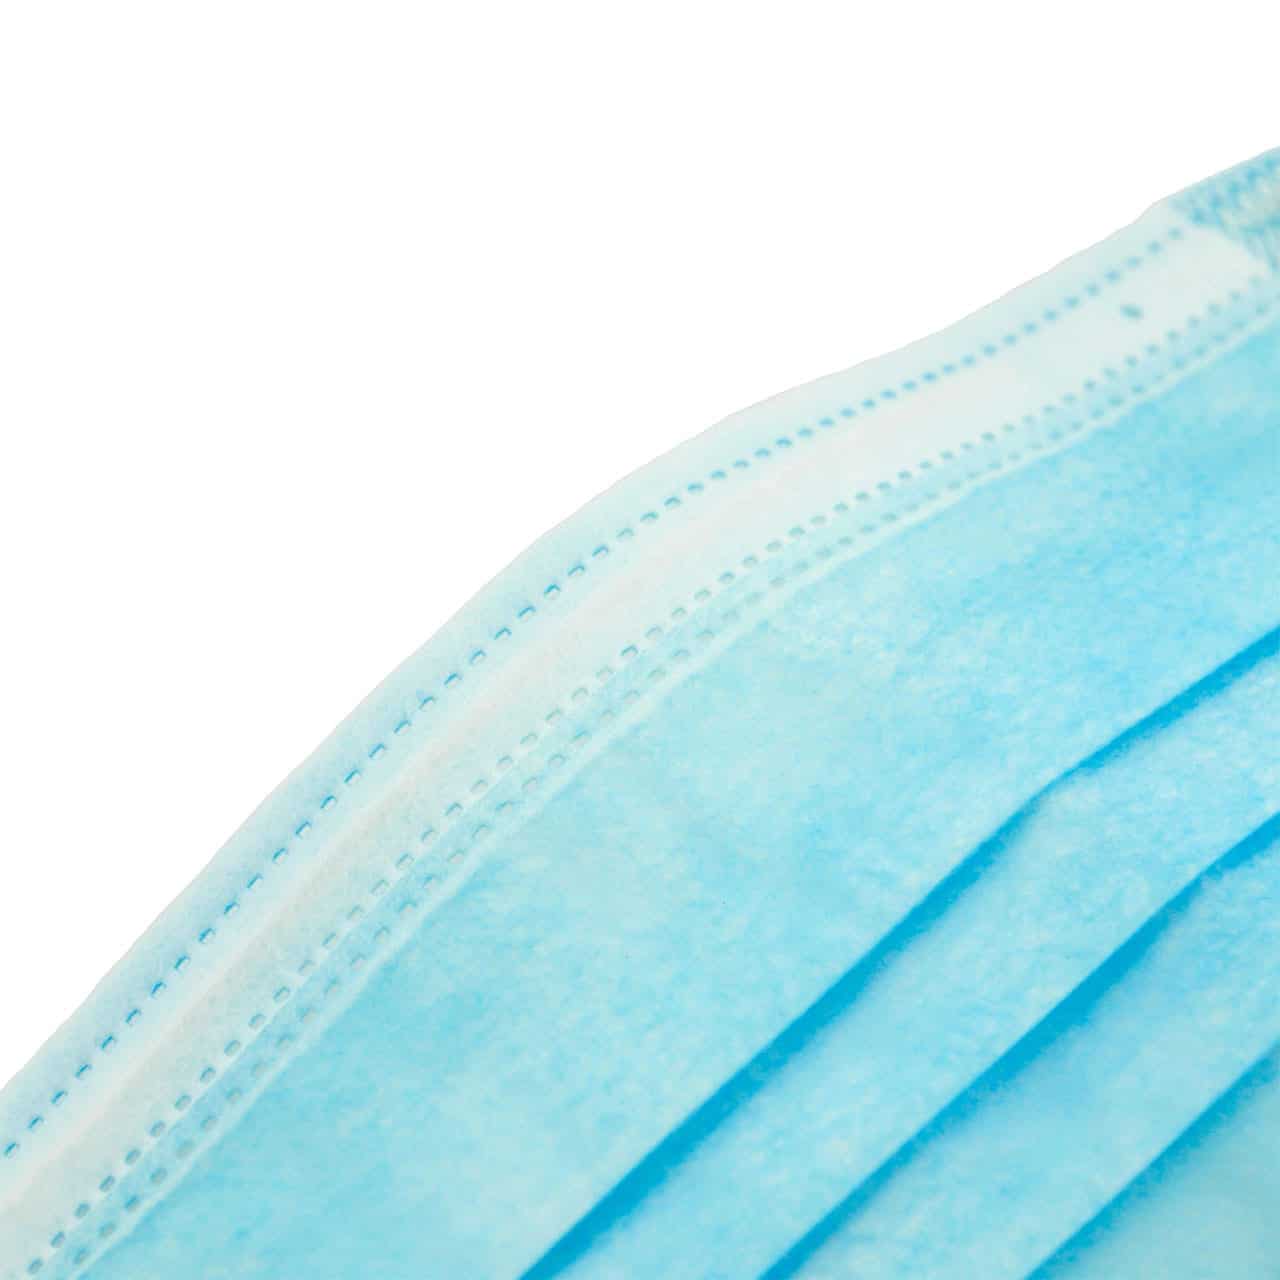 Personal Protective Equipment