


It’s important to remember:
While Surgical Stainless Steel is known for its resistance to wear, corrosion, and discoloration, just like any other impermanent material, it is still susceptible to harm when not cared for or maintained properly. Following all manufacturer recommendations for sterilization and reprocessing is imperative to ensure you get the longest lifespan from your instruments.
A printable version of this guide is also available.
An Overview:
ProDentUSA instruments are best maintained if they are cleaned and sterilized immediately after they have performed their intended uses. Reprocessing steps are as follows:
- Cleaning & Disinfecting
- Lubricating
- Sterilizing
- Storing
Before You Get Started:
- It is important to make sure all staff are properly trained in using the chemicals and equipment necessary to reprocess instruments. All staff must wear protective gear including non-puncture gloves, eye shields, and gowns to protect
- All instruments should be handled with care throughout the reprocessing cycle to avoid both personal injury and damage caused to instruments from
- Distilled water must be used in all cleaning and sterilization processes. Minerals, salts, and high chloride content in tap and drinking water will cause discoloration, corrosion and pitting on instrument surfaces when the water dries. Distilled water is free of any impurities and additives and will not tarnish instrument surfaces when used *
A note on disinfectants:
Use only pH neutral chemicals to disinfect*. Do not use corrosive chemicals. Detergents or disinfectants containing the following substances must be avoided:
- alkalines (> pH 9)
- acids (< pH 4)
- phenols or iodophors (petroleum-based/derived chemicals)
- interhalogenic agents/halogenic hydrocarbons/iodophors
- strong oxidizing agents/peroxides/bleach
- organic solvents
All new instruments must be cleaned, lubricated, and sterilized before use.
I. Cleaning & Disinfecting
All instruments must be cleaned and disinfected prior to sterilization. This step must not be skipped.
Low pH detergents may cause pits and stains on instruments. High pH detergents can interfere with the smooth operation of instruments.
*Discoloration or tarnish on instrument surfaces happens when the incorrect water or chemical type is used in any step of the reprocessing cycle. See “A note on disinfectants” for a list of chemicals to avoid.
A. MANUAL CLEANING:
Manual cleaning presents many hazards, as there is a greater risk of exposure to potentially dangerous materials. If no other cleaning method is available, staff should wear extra protective gear to manually clean instruments. Washing should be done low in a sink to ensure substances and contaminants do not splash.
- Immediately after use, remove organic materials by rinsing instruments with distilled water. Rinse should remove most blood, fluids, tissue, and debris.
- Immerse instruments completely in a disinfectant* for 10-15 minutes, ensuring all hinged, jointed and clamped instruments are in an open position. Then rinse again.
- Using a stiff nylon brush, gently scrub instruments with a neutral detergent (pH7). Do not use steel wool or wire brushes, as these may cause instruments to corrode from metal to metal contact. Brush delicate instruments separately from general instruments. Make sure all serrated areas, grooves, hinges, joints, and hard to reach areas have been cleaned thoroughly.
- Check that all instrument surfaces are visibly clean and free from stains and organic materials.
- After scrubbing, rinse instruments thoroughly using distilled water*. While rinsing, open and close hinged instruments, to make sure hinged areas are rinsed out.
- Dry instruments immediately and thoroughly, and inspect for functionality.
B. ULTRASONIC CLEANING:
Ultrasonic cleaning is not only safer but also more effective than manual cleaning, particularly for those instruments with hinges and moving parts. Protective gear must be worn throughout the ultrasonic cleaning
- Immediately after use, move contaminated instruments to the cleaning area. For best results, remove all materials like cements, composites, etc. at chairside before processing in the ultrasonic unit.
- Load instruments with hinges, joints, and clamps in the open position into sterilizing cassette or basket. Take care that instruments, particularly sharp blades and cutting edges, do not overlap or touch. Do not overload cassette, basket, or ultrasonic unit as this will result in improper cleaning.
- Fill the ultrasonic unit with rust-inhibiting, general-purpose solution to the level indicated on the unit. This fluid must be prepared and changed daily to ensure your instruments’ longevity is not compromised.
- Fully submerge prepared cassette or basket into fluid. Do not exceed a temperature of 40°C or 104°F, and keep the frequency of the unit at 35-60kHz. Wash instruments for full recommended cleaning cycle.
- Remove instruments from ultrasonic and rinse thoroughly with distilled water for at least 20 seconds per instrument.
- Dry instruments immediately and thoroughly and allow to cool.
C. AUTOMATIC CLEANING:
Of the three methods, automatic washing units are most efficient in cleaning and disinfecting. Protective gear must be worn throughout the automatic cleaning process.
- Immediately after use, move contaminated instruments to the cleaning area. For best results, remove all materials like cements, composites, etc. at chairside before processing in the washer unit.
- Load instruments with hinges, joints, and clamps in the open position into sterilizing cassette or basket. Take care that instruments, particularly sharp blades and cutting edges, do not overlap or touch. Do not overload cassette, basket, or washer unit as this will result in improper cleaning.
- Ensure that correct cleaning solution is being used and begin the washing cycle. The recommended temperature for cleaning/disinfecting instruments in the automatic washer is 105°C or 221°F. Let the whole cycle run before removing instruments.
- Remove instruments from washer unit and allow to cool.
D. RESIDUE:
All remaining residue must be wiped thoroughly before lubricating and sterilizing, as trapped residue will cause improper sterilization, discoloration, staining, or all of these.
II. Lubricating
All hinged, jointed, and box-locked instruments with moving parts must be lubricated prior to sterilization.
A. LUBRICANTS:
It is important to choose a lubricant that is water-soluble so as to allow steam to permeate for sterilization. Lubricants must be free of mineral and silicone oil as these oils trap microorganisms, preventing proper sterilization. The film created by these oils also adversely affects instruments’ functionality. Thermally stable, synthetic lubricants with anti-corrosion agents are recommended.
B. LUBRICATING AND FUNCTIONALITY CHECK:
- After instruments have cooled completely, apply lubricant to hinges and joints with care, opening and closing the joints and hinges as necessary to ensure the lubricant has properly coated the area.
- Check for functionality at this time. Open and close all hinged, jointed, and clamped instruments to ensure they are working properly.
- No rinsing is necessary after (Except in cold sterilization processes. See Section III.C.2.)
C. LUBRICATING IN AN AUTOMATIC WASHER:
Some automatic washers have a lubrication cycle built in. Be sure to choose the correct type of lubricant to use in the washer.
III. Sterilizing
After instruments have been cleaned, disinfected, lubricated, and checked, they are ready to be sterilized. This step kills all microorganisms on instrument surfaces and, when performed properly, renders instruments ready to be used
A. AUTOCLAVING:
Autoclave (steam sterilization) is the recommended method of sterilization for ProDentUSA Siberian Stone™ Pliers and most other ProDentUSA instruments. The sterilizer and methods of steam sterilization (either Gravity-Displacement or Dynamic-Air-Removal) must comply with German Standard DIN EN 13060 Type B for wrapped, packaged, solid, hollow, and porous instruments.
- Use only distilled water in sterilizer. Dirty or impure water will create dirty steam resulting in staining and improper sterilization.
- Before loading instruments into sterilizer, ensure that all hinged, jointed, and clamped instruments are wrapped or packaged in the open Sterilizing closed instruments will result in cracked hinges due to heat expansion and improper sterilization as steam will not be able to permeate all surfaces of the instrument.
- Place heavy instruments on the bottom of sets and position sets such that steam penetration is not hindered in any way. Do not overload cassette, tray, or sterilizer, as this will not allow full circulation of steam.
- Follow sterilizer manufacturer instructions for cycle time and temperature. See table below for general sterilization parameters for the two types of steam sterilization. Follow all specified routine checks and maintenance regulations.
Do not perform functionality check until instruments are completely cool so as to avoid metal wear and abrasion, which can lead to corrosion.
Table 1: Autoclave Exposure Times and Drying Times
| Gravity-Displacement Steam Sterilization | |
| Exposure time at 127°C
(260°F) |
Drying times |
| 30 minutes | Minimum 30 minutes |
| Dynamic-Air-Removal Steam Sterilization | |
| Exposure time at 132°C
(270°F) |
Drying times |
| 5 minutes | Minimum 30 minutes |
Do not remove instruments from autoclave until they are completely
B. DRY HEAT STERILIZATION:
Dry heat sterilization uses oven-type heat to remove microorganisms from instrument surfaces. All dry heat sterilizer manufacturer instructions should be followed closely to ensure your instruments’ longevity is not compromised.
- Follow manufacturer’s packaging requirements for sterilization cycle. Instruments must be completely dry before dry heat sterilization, as water will interfere with the sterilization
- Make sure to load instruments into sterilizer properly.
- Maintain, but do not exceed 180°C or 356°F. Exceeding this temperature for even a brief time will compromise your instruments’ hardness and functionality. See table below for general dry heat sterilization parameters.
Table 2: Dry Heat Temperature and Exposure Times
| Temperature | Exposure Time |
| 150°C (300°F) | 150 minutes |
| 160°C (320°F) | 120 minutes |
| 170°C (300°F) | 60 minutes |
| 180°C (300°F) | 30 minutes |
Never open the sterilizer unit during the sterilization cycle. Allow instruments to cool completely before removing them from the unit.
C. COLD STERILIZATION:
Cold sterilization is the least efficient way to sterilize instruments because of how long the process takes and because of the chemicals that are used. It should only be used if instruments are not compatible with steam or dry heat sterilization. Cold sterilization should not be used for ProDentUSA Siberian Stone™ pliers, but may be used for non-metal parts of instruments such as rubber tips and/or instruments with non-metal parts, such as luxators with silicon handles.
- Ensure that all staff follow safety regulations for handling high-level disinfectants/sterilants. These solutions must be cleared by the FDA for use in dental settings. Staff should not handle high-level disinfectants without chemical-resistant utility gloves and protective glasses. Cold sterilization should only take place in well-ventilated areas. The container with the solution must always be closed tightly to prevent environmental hazards. Evaporation also decreases the effectiveness of the solution. Follow high-level disinfectant manufacturer instructions closely for changing solution and monitoring germicide.
- Wipe instruments clean of all lubricants, as lubricants interfere with the cold sterilization process.
- Follow high-level disinfectant manufacturer instructions for submerging instruments. Instruments are typically disinfected in 15 to 30 minutes, but, depending on the solution, sterilization occurs only after at least six hours of immersion.
- Be sure to follow state and local guidelines for disposal of high-level disinfectants.
IV. STORING:
Storing instruments for future use is an integral part of reprocessing.
- All instruments must be completely dry before being stored.
- Separate sterile and non-sterile instruments strictly.
- Store all sterile instruments in a dust-free environment, away from any cleaning areas or equipment.
- Do not open instruments’ sterile packaging prior to Opened instruments are no longer sterile.
SHARPENING & REPAIRS
All ProDentUSA Signature Siberian Stone™ Cutters come with a 1-Year Free Sharpening Warranty. All other instruments can also be repaired or sharpened. Download our repair form for further instructions.
Our Instrument Recycling Program: Instruments for Change
At ProDentUSA, we love the earth and everyone in it. That’s why we’ve created a recycling program where we refurbish instruments that can be salvaged and donate them to organizations and doctors around the globe who provide free dental care to communities in need. For instruments that cannot be salvaged, we recycle the materials and donate them to industries that can use it.
You can be a part of ProDentUSA’s Instruments for Change initiative! Send us any seven used instruments, regardless of manufacturer, and we will send you one instrument for free. Simply sterilize and package the instruments and send them to our headquarters in East Brunswick, New Jersey. Once we receive the instruments, we will send out your free gift. Download and send our recycling program form to get started.
Together, we can close the gap on dental healthcare and spread smiles, one instrument at a time.
For all further questions, do not hesitate to contact us. We are here to help.
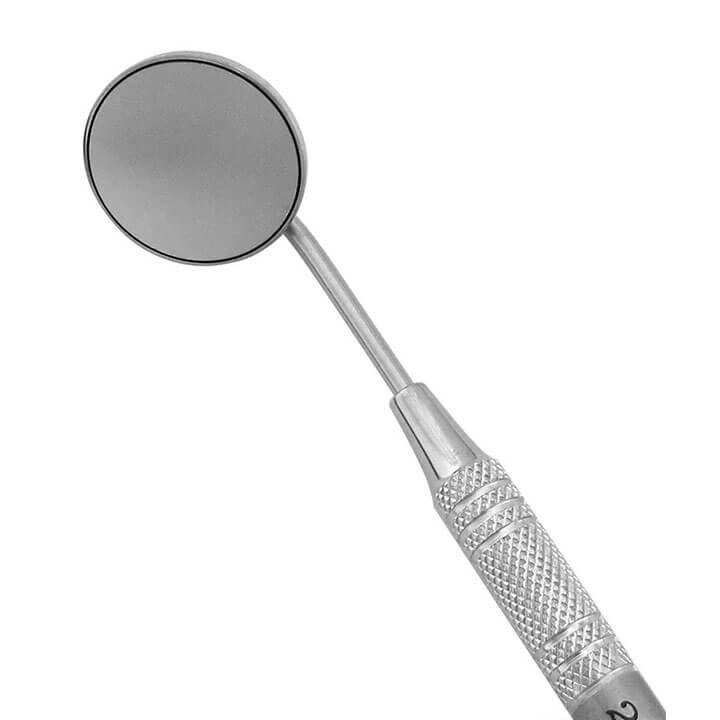
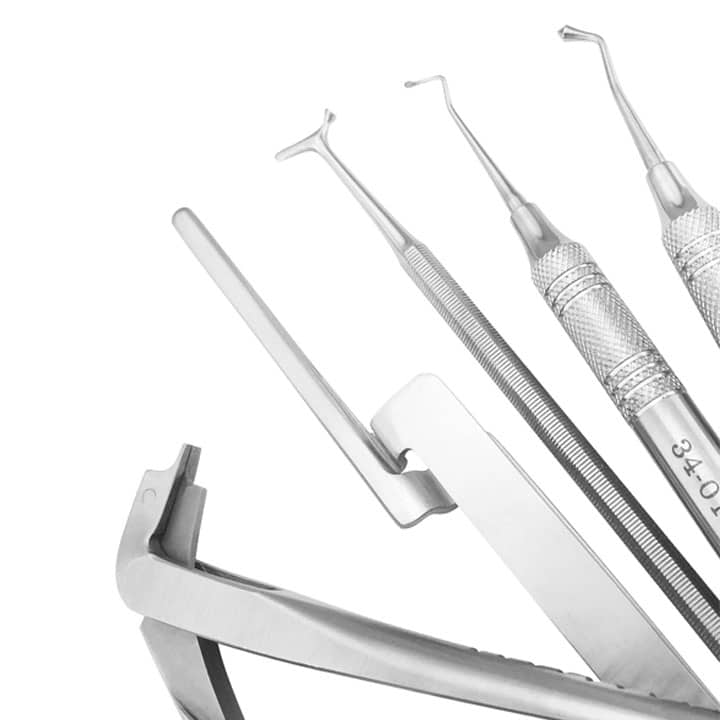
 Diagnostic Sets & Accessories
 Dressing Pliers
 Explorer/Probes
 Explorers
 Intraoral Photography Mirrors
 Mirror Handles
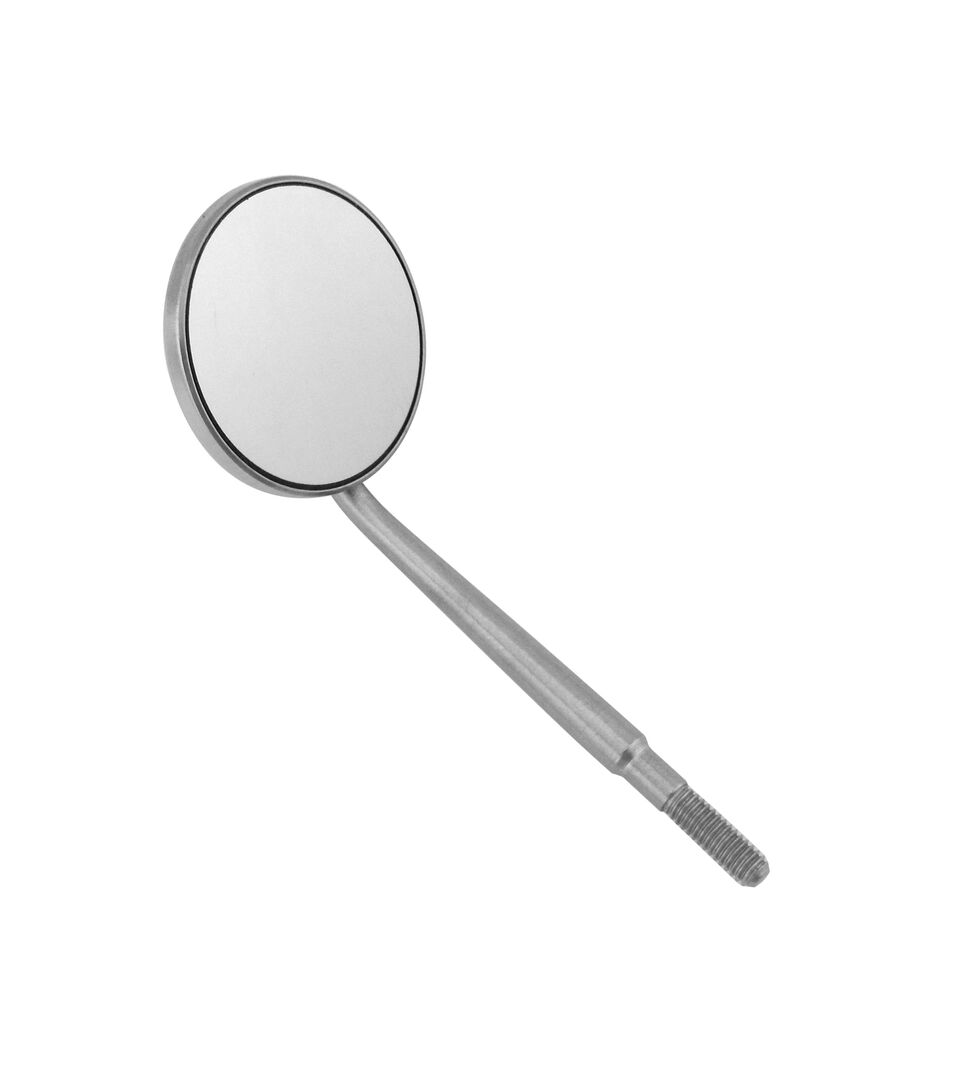 Mirrors
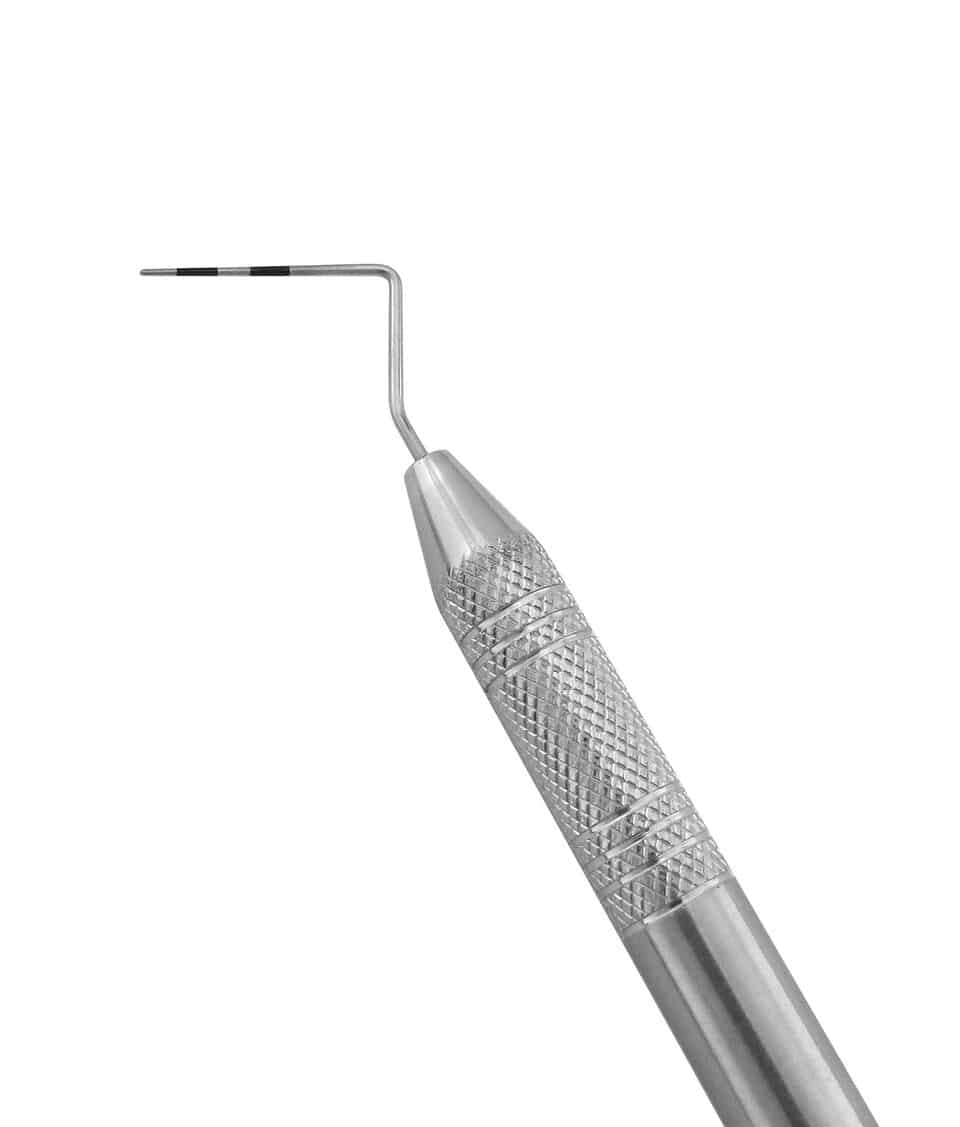 Probes
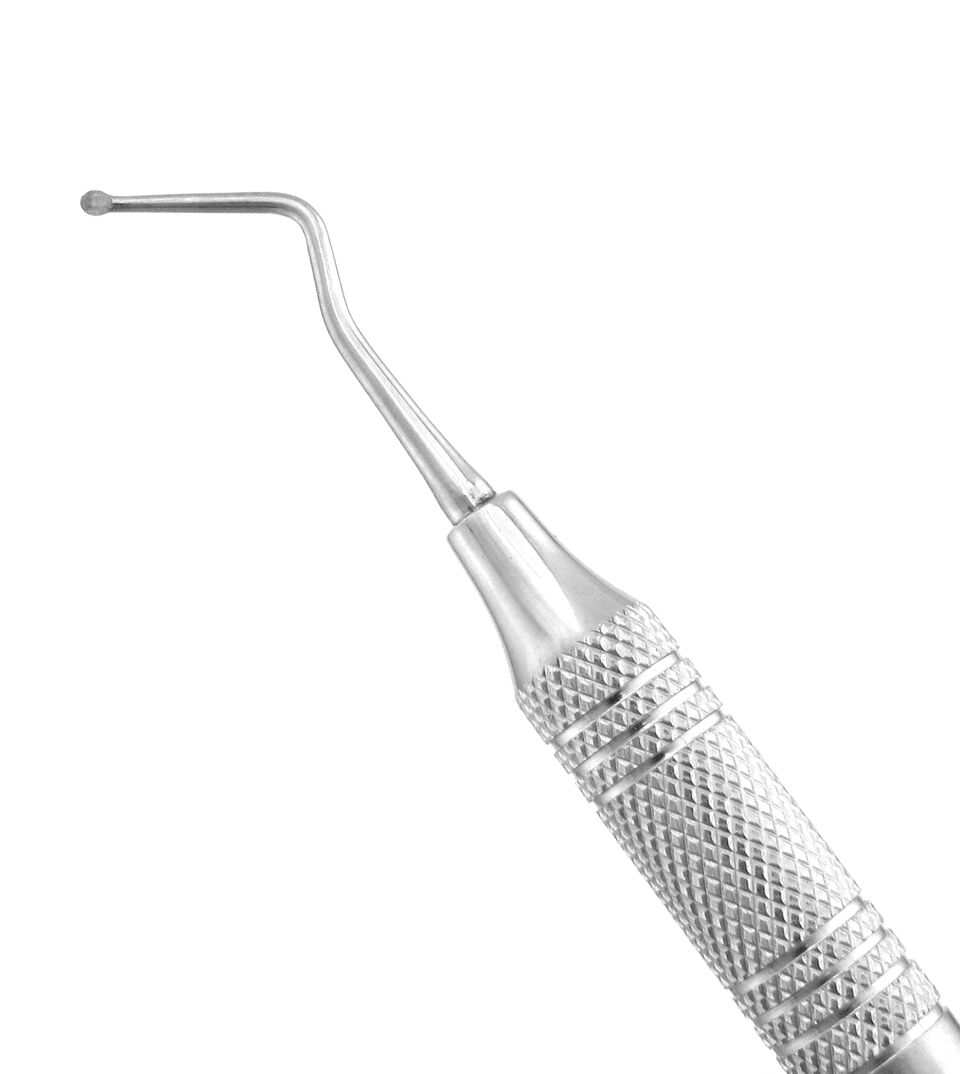 Endo Excavators
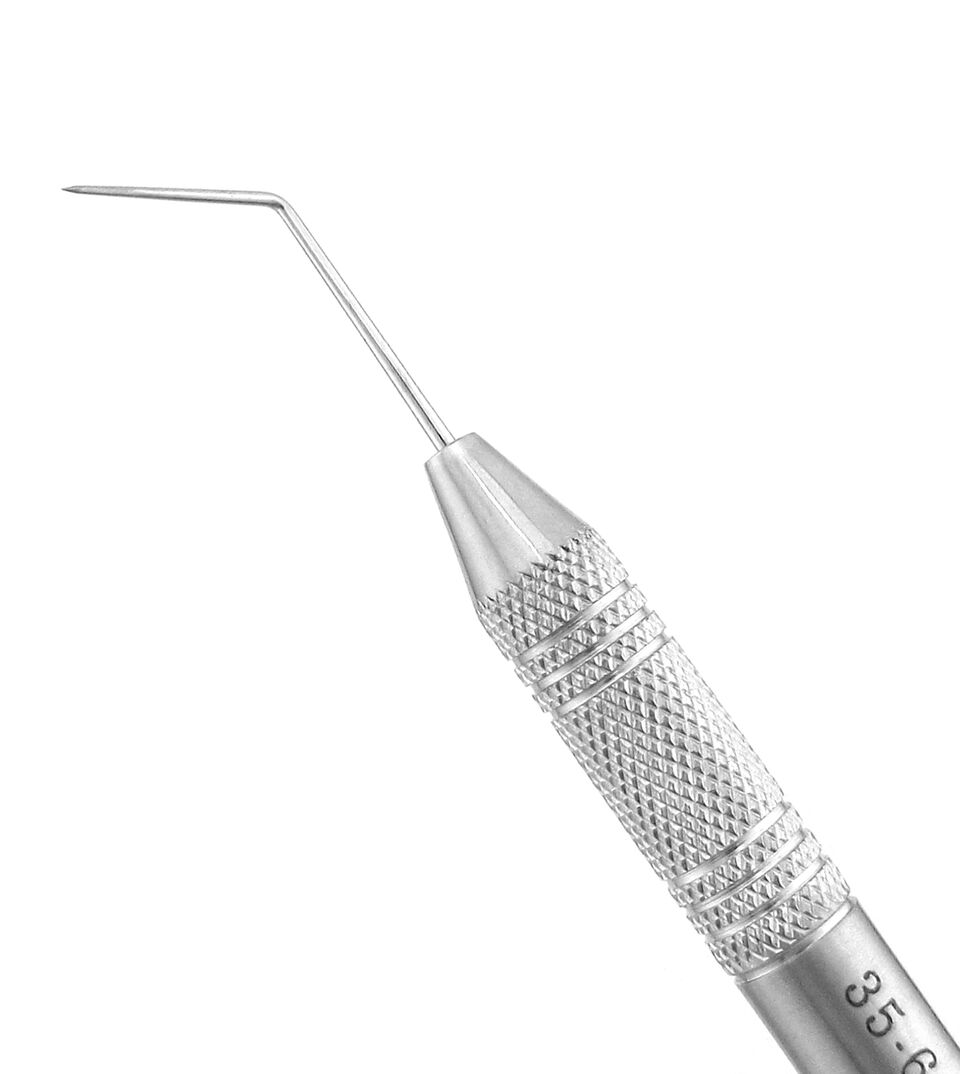 Endo Explorers
 Endo Forceps
 Endo Rulers
 Endodontic Sets
 Root Canal Pluggers
 Root Canal Spreaders
 Rubber Dam Clamps
 Rubber Dam Frames
 Rubber Dam Punches & Forceps
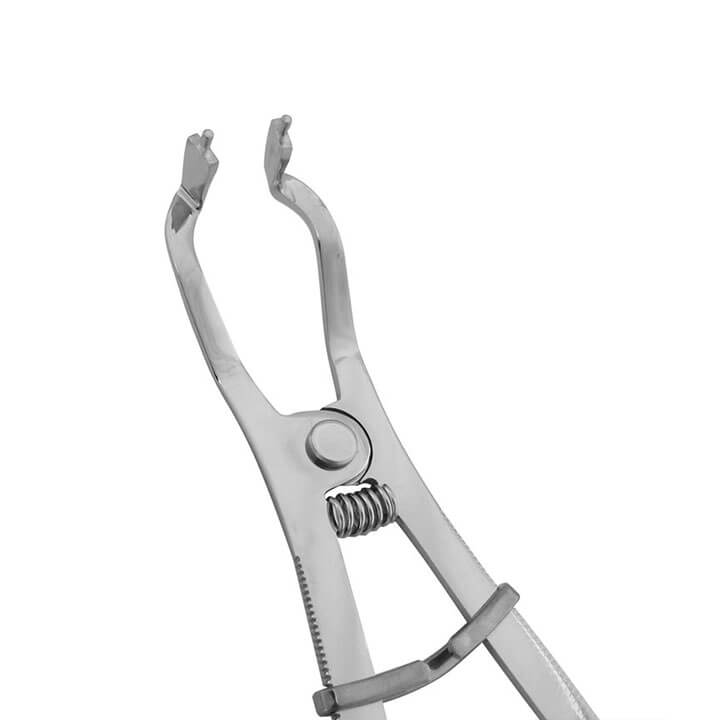
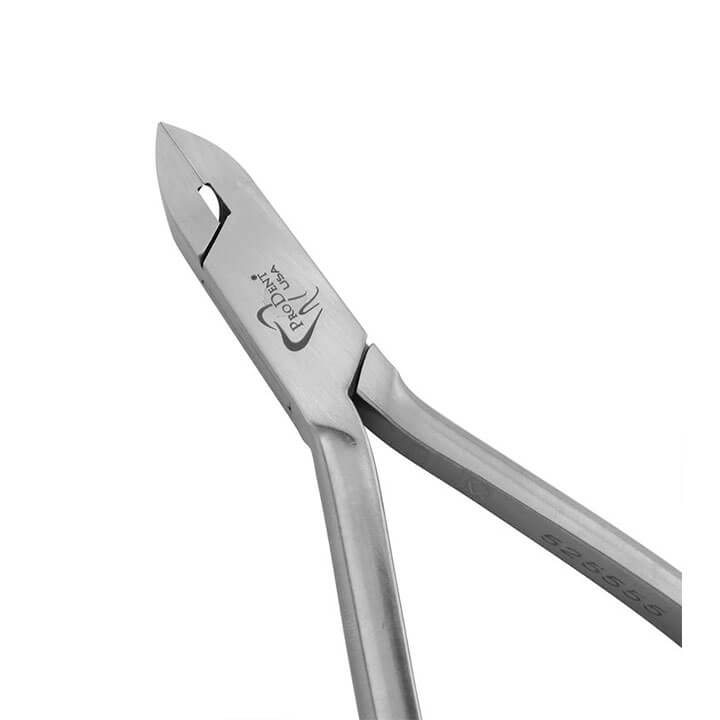
 Cutters
 Elastic Placing Mathieu Pliers
 Gauges
 Hand Instruments
 Mosquitoes
 Orthodontic Sets
 Pliers
 Scissors
 Tweezers
 Curettes
 Gracey Curettes
 Periodontal Sets & Accessories
 Periodontal Specialty Instruments
 Scalers
 Siberian Stone™ Collection
 Amalgam Carriers & Well
 Burnishers
 Calipers
 Carvers
 Cement Spatulas
 Chisels
 Composite & Plastic Filling Instruments
 Crown Removers & Spreaders
 Excavators
 Forceps & Tweezers
 Gingival Cord Packers
 Gingival Retractors
 Hatchets
 Impression Tray Sets
 Margin Trimmers
 Matrix Retainers
 Placement Instruments
 Plaster Knives & Nippers
 Plaster Spatulas
 Pluggers/Condensers
 Restorative Sets
 Wax & Porcelain Carvers
 Wax Spatulas
 Waxing Instruments
 Aspirators
 Bone Chisels
 Bone Grafting Instruments
 Calipers
 Clamps
 Dental Elevators
 Extraction Forceps
 Hemostats & Forceps
 Hybrid Instruments
 Implant Instruments
 Luxating Elevators
 Mouth Gags & Retractors
 Needle Holders
 Oral Surgery Aspirating Syringes
 Periodontal Surgical Instruments
 Periosteal Elevators
 Periotomes
 Rongeurs
 Scalpel Handles
 Surgical Curettes
 Surgical Pediatric Forceps
 Surgical Sets
 Suture Forceps
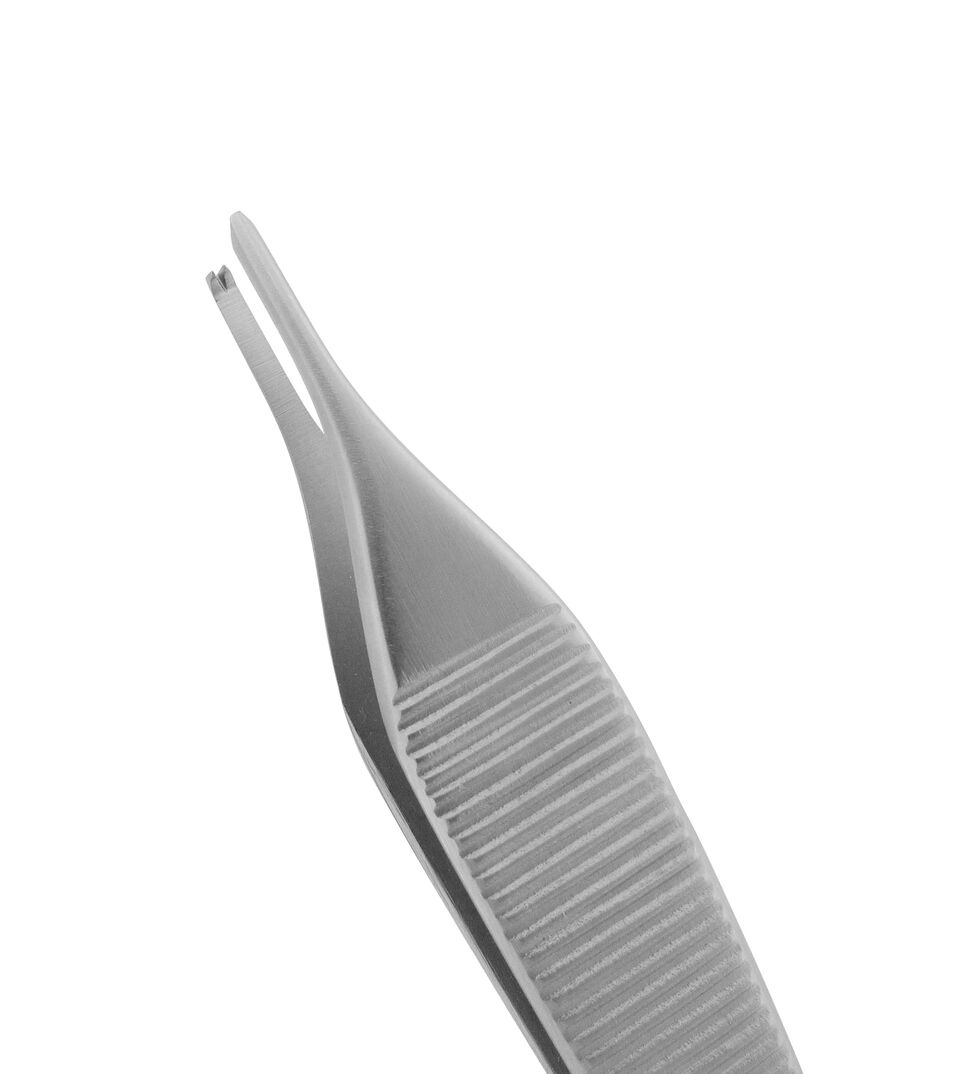 Tissue & Dressing Forceps
 Utility Forceps
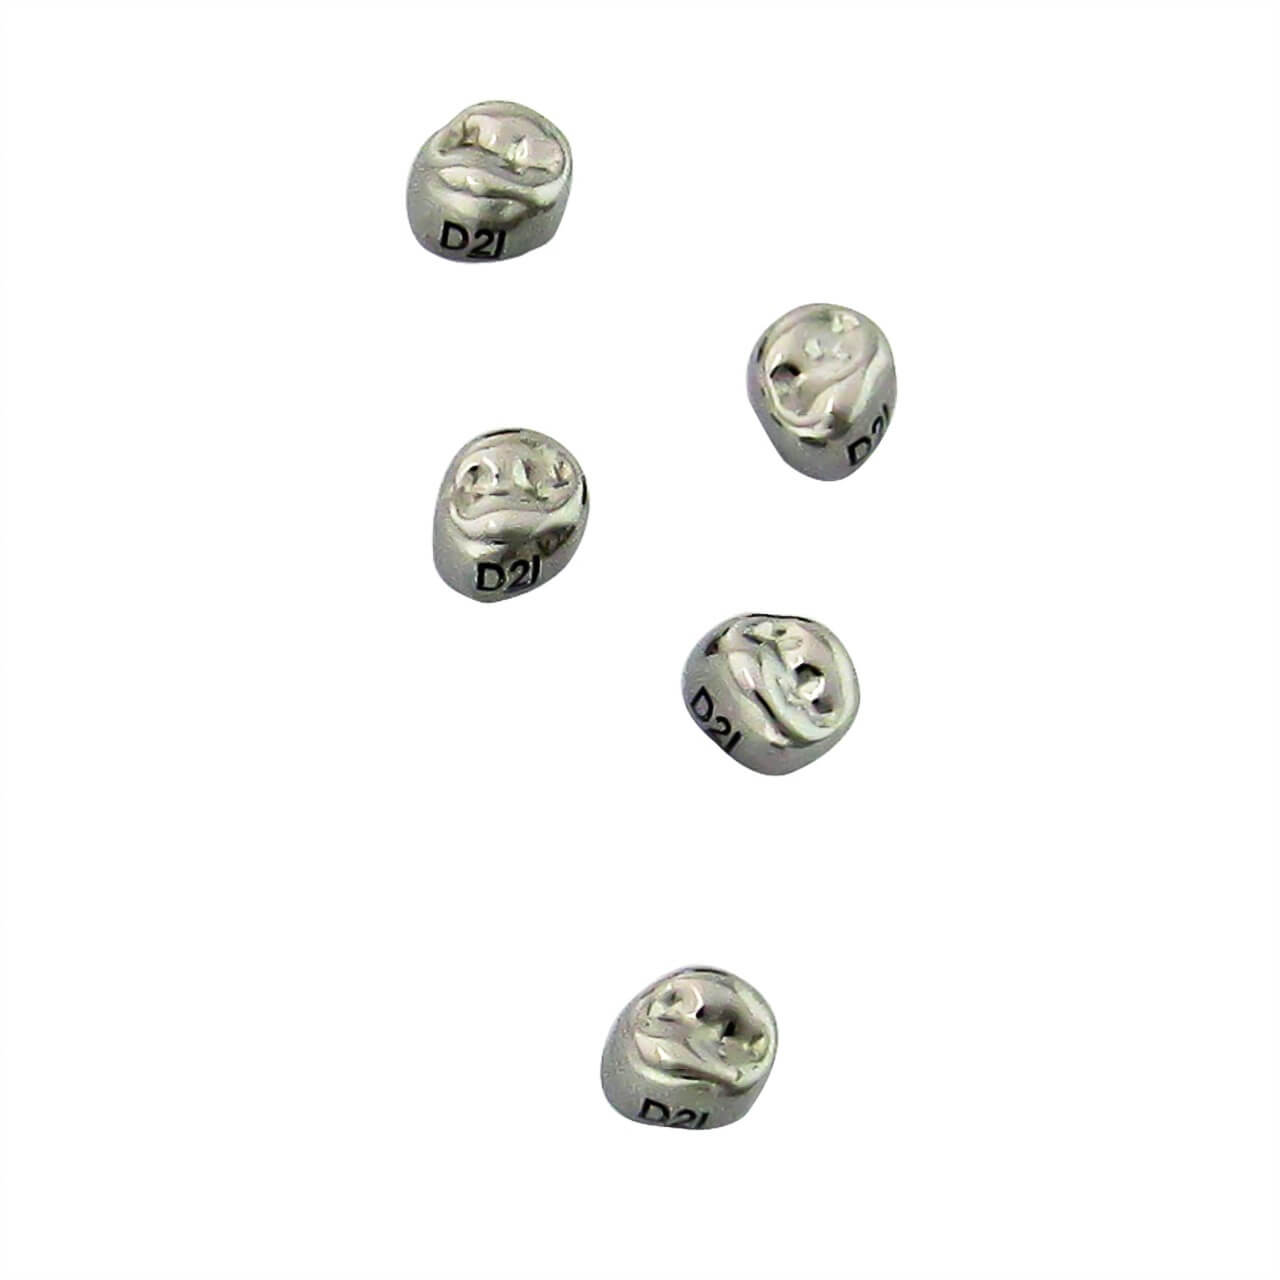 Stainless Steel Crowns
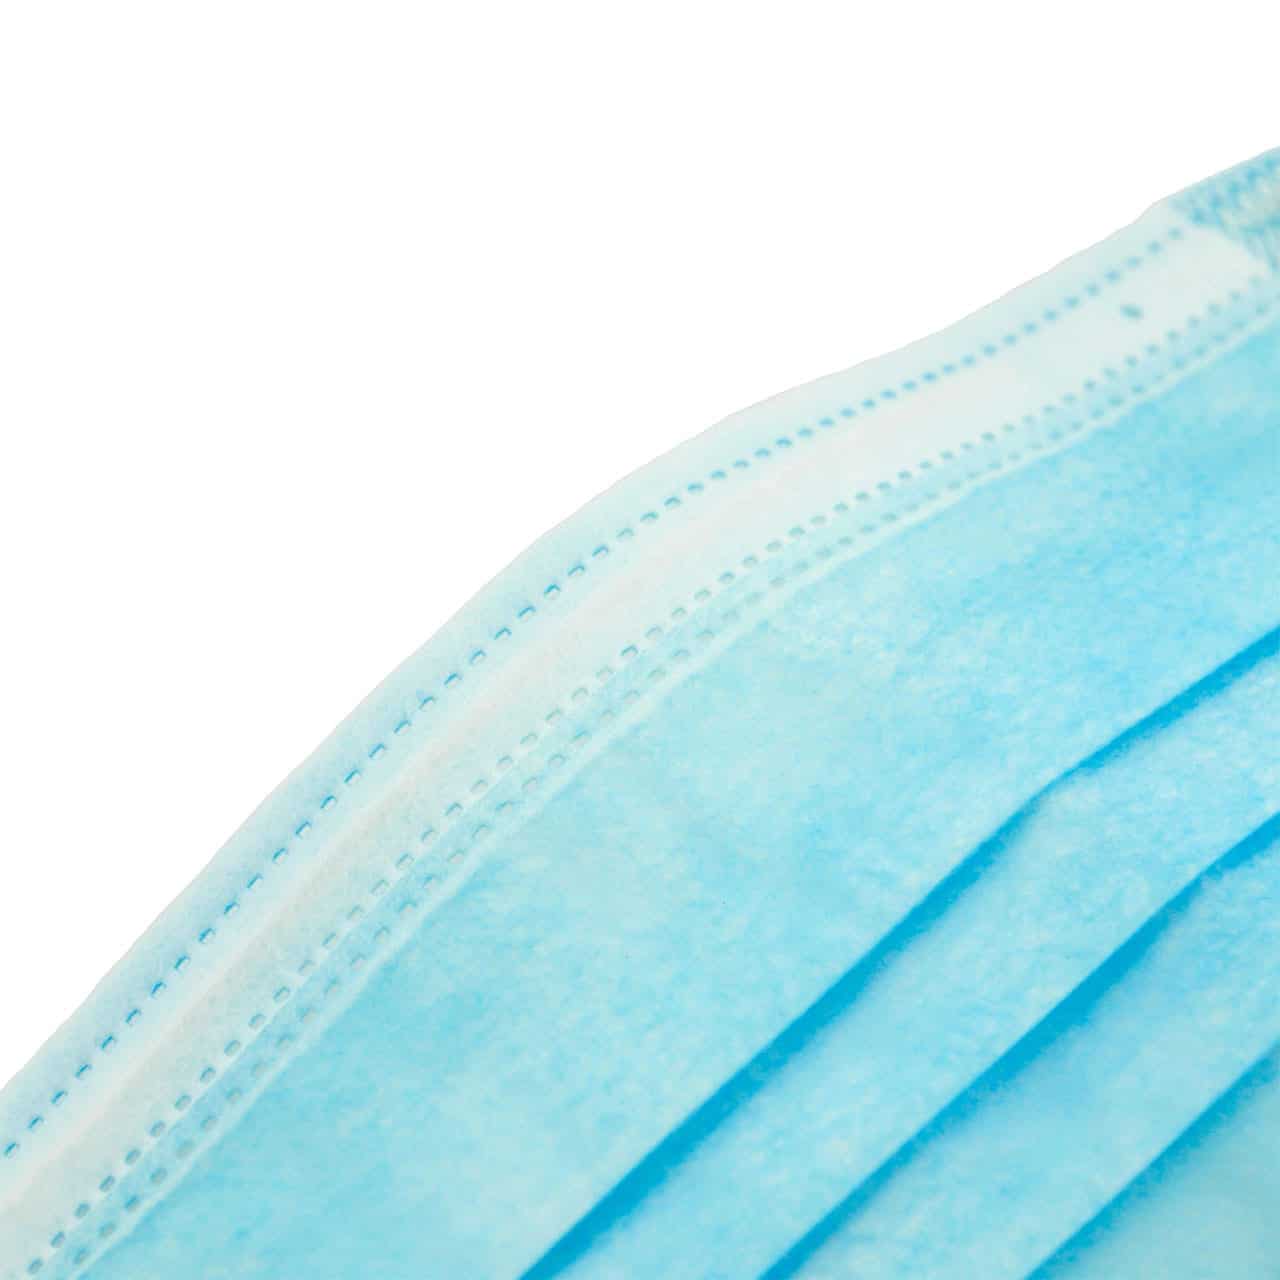 Personal Protective Equipment